소개
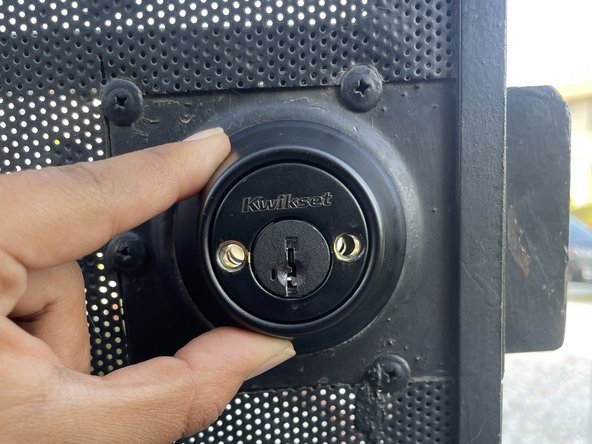
This guide will easily help you attach an out door doorknob. The resources needed to fix the doorknob would be a cross head screwdriver and new doorknob. There aren't any precautions when getting this done so I'd suggest this to be some type of bonding time between you and a loved one.
필요한 것


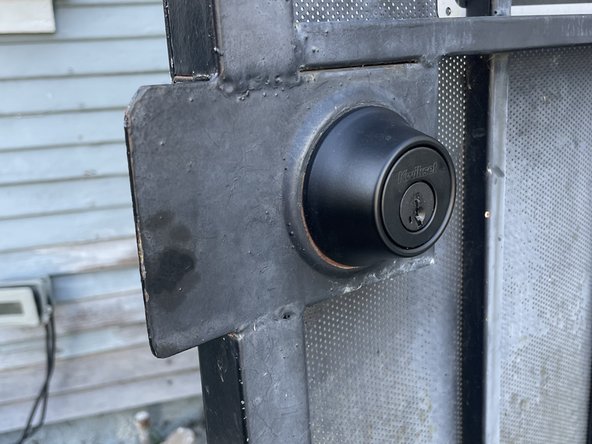


거의 끝나갑니다!
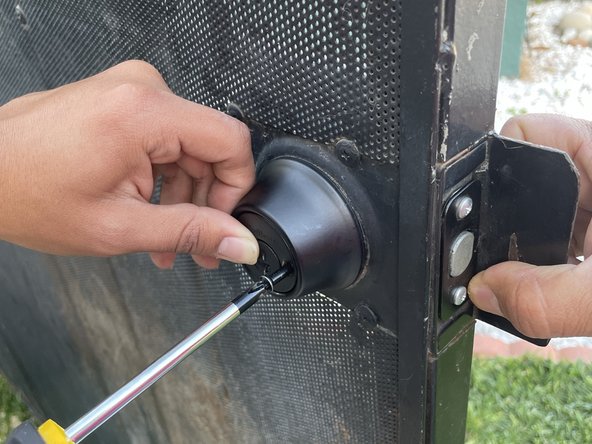
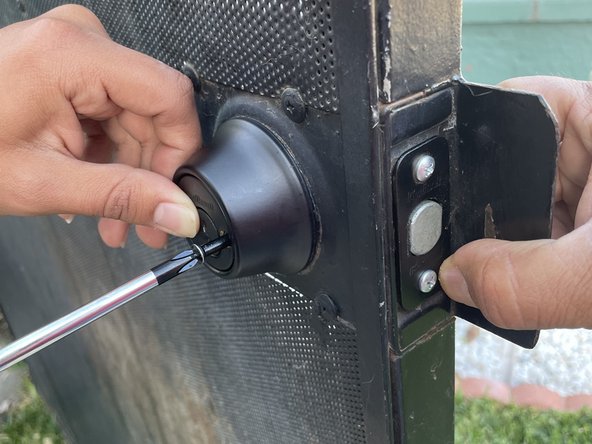
To reassemble your device, follow these instructions in reverse order.
결론
To reassemble your device, follow these instructions in reverse order.
팀

CSU Los Angeles, Team 1-26, Harris Spring 2024 CSU Los Angeles, Team 1-26, Harris Spring 2024 회원
CSULA-HARRIS-S24S1G26
1 회원
안내서 1개 작성하였습니다