소개
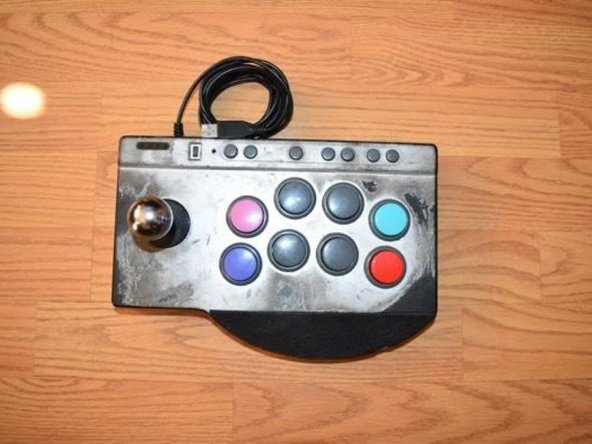
Many buttons become unresponsive after time, especially for a controller built for fighting games. This guide is for replacing any buttons on your PXN Arcade Stick.
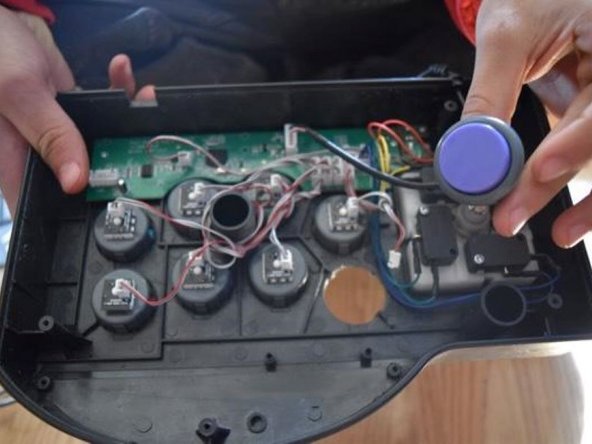
This guide applies to all buttons from any position on the controller.
필요한 것


결론
To reassemble your device, follow these instructions in reverse order.
팀

CSU Los Angeles, Team 3-7, Harris Fall 2024 CSU Los Angeles, Team 3-7, Harris Fall 2024 회원
CSULA-HARRIS-F24S3G7
1 회원
안내서 2개를 작성함