이 버전에는 잘못된 편집 사항이 있을 수 있습니다. 최신 확인된 스냅샷으로 전환하십시오.
필요한 것
-
이 단계는 번역되지 않았습니다. 번역을 도와주십시오
-
Remove the touchpad pen from the top left corner on the back to reveal the last of 6 screws to be removed.
-
-
이 단계는 번역되지 않았습니다. 번역을 도와주십시오
-
Lift the rubber cap at the top right to reveal the sixth screw.
-
Remove the six screws using the T5 Torx screwdriver.
-
-
-
이 단계는 번역되지 않았습니다. 번역을 도와주십시오
-
Use a plastic pry tool to separate the bottom of the case to remove the small plastic insert.
-
-
이 단계는 번역되지 않았습니다. 번역을 도와주십시오
-
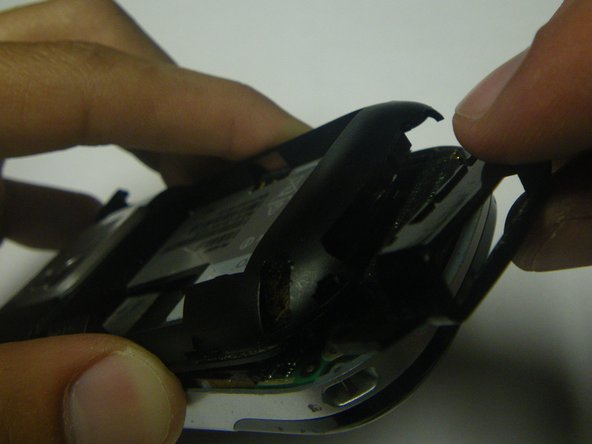
Continue with plastic pry tool all the way around the phone to remove the back housing.
-
-
이 단계는 번역되지 않았습니다. 번역을 도와주십시오
-
Carefully peel back the tape holding the speaker (left) and keyboard (right) connection tabs in place.
-
-
이 단계는 번역되지 않았습니다. 번역을 도와주십시오
-
Using the plastic prying tool, lift the tabs and carefully pull the contact connections out on both sides.
-
-
이 단계는 번역되지 않았습니다. 번역을 도와주십시오
-
Separate the logic board from the case by lifting and pulling out the bottom.
-
-
이 단계는 번역되지 않았습니다. 번역을 도와주십시오
-
Slowly peel off the protective lining that is on the screen and keyboard.
-
-
이 단계는 번역되지 않았습니다. 번역을 도와주십시오
-
Lift and slowly remove the screen from the front panel
-
Place the new screen into the front panel
-
-
이 단계는 번역되지 않았습니다. 번역을 도와주십시오
-
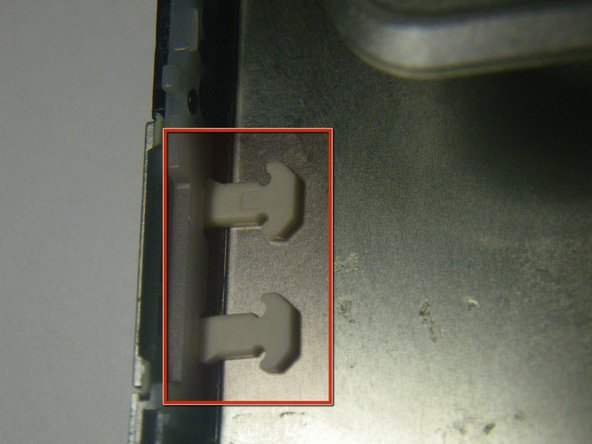
Now that the screen is out and its electrical ribbon is not in the way, you can remove the keyboard by prying it free of the tabs that hold it in place.
-


다른 한 분이 해당 안내서를 완성하였습니다.
팀

Cal Poly, Team 15-49, Garner Spring 2010 Cal Poly, Team 15-49, Garner Spring 2010 회원
CPSU-GARNER-S10S15G49
5 회원들
안내서 12개 작성하였습니다