소개
This is a repair guide to access and replace the LCD screen.
필요한 것
-
-
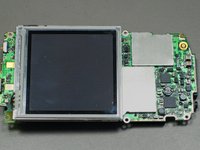
Position the phone so the screen faces down.
-
Remove the stylus found on the back of the phone.
 FixBot에 문의하기
-
-
-
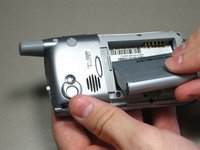
Hold the button in the middle of the phone's back to remove the battery cover.
-
Slide the cover down to remove it, and set the cover aside.
-
-
-
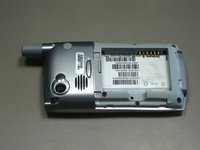
Lift the edge of the battery, separating contact points, and pull out as pictured.
-
-
-
Remove the round, rubber cover to expose a screw that will be removed in the next step.
-
-
-
-
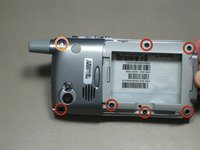
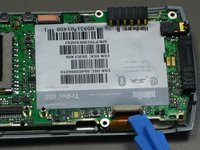
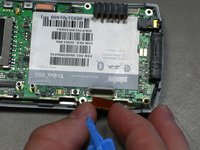
Remove the six 6.9 mm screws as pictured with a T5 Torx screwdriver.
-
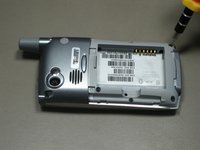
Remove the single 9.8 mm screw next to the antenna on the back plate, using a Phillips #00 screwdriver.
-
-
-
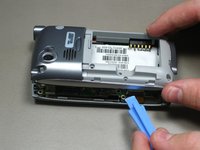
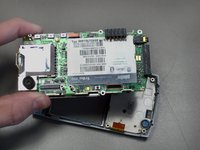
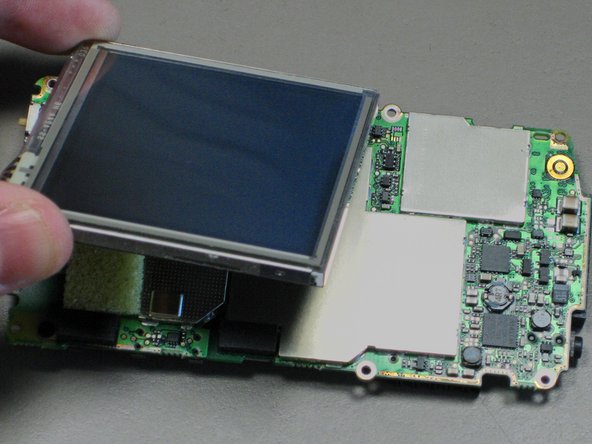
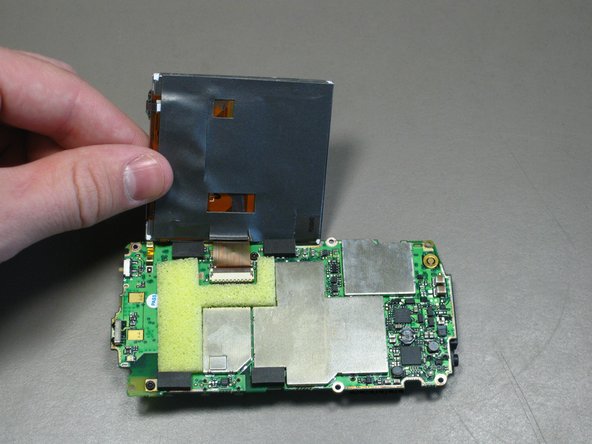
Lift up the LCD screen so that the ribbon strip connecting it to the motherboard can be accessed.
-
-
-
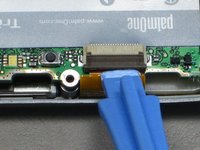
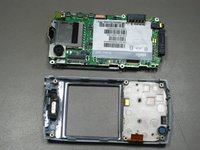
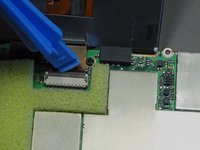
Unclip the gray tab.
-
Pull out the orange ribbon strip.
-
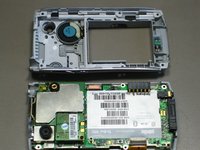
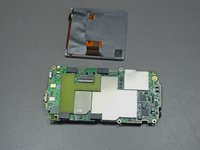
Remove the LCD screen.
-


To reassemble your device, follow these instructions in reverse order.
다른 4명이 해당 안내서를 완성하였습니다.
팀

Cal Poly, Team 19-3, Maness Fall 2009 Cal Poly, Team 19-3, Maness Fall 2009 회원
CPSU-MANESS-F09S19G3
4 회원들
안내서 18개를 작성함