소개
This guide demonstrates how to remove the necessary parts to clean or replace the buttons on your Palm m105.
A functional set of buttons on the Palm m105 should have full range of motion and should also result in the correct actions when pressed. If the buttons on your palm m105 feel obstructed or are not resulting in the correct action when pressed, then follow this guide as they may need to be cleaned or replaced.
Before you begin this process, make sure your Palm m105 is powered off and unplugged from its charger.
필요한 것
-
-
Using a T-5 Torx screwdriver, remove all four screws located on the back of the device. Turn counterclockwise to remove screws. The link to purchase this screwdriver is located at the top of this page.
-
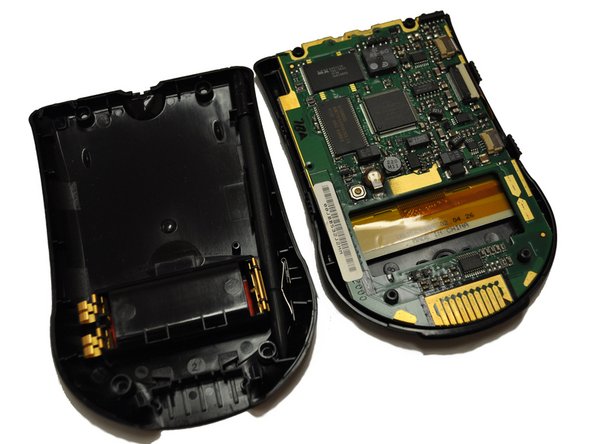
Once you have removed all four screws, the device will be in three separate pieces (the back, the computer, and the button board).
-
-
-
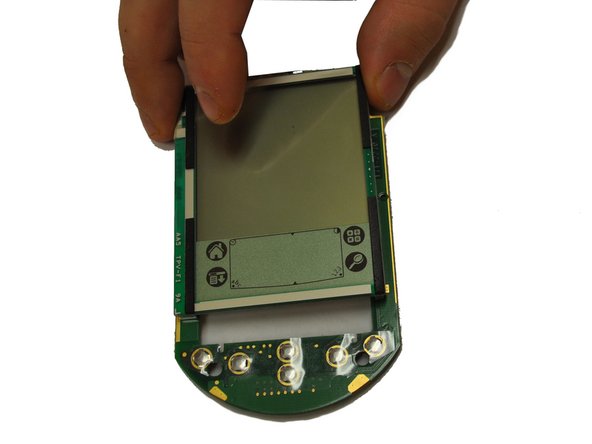
After step four, locate the button board. The button board should have a frame attached to it. Remove this frame.
-
To remove the buttons from the frame, apply even pressure on two buttons at a time. This should make them pop out easily. Once you have removed the buttons, you can now wash or replace them.
-
To insert a new set of buttons, push it back into the opening on the faceplate, and you should feel it click into place.
-


To reassemble your device, follow these instructions in reverse order.
To reassemble your device, follow these instructions in reverse order.
다른 한 분이 해당 안내서를 완성하였습니다.
팀

UW Stout, Team 1-3, Zhou Fall 2011 UW Stout, Team 1-3, Zhou Fall 2011 회원
UWSTOUT-ZHOU-F11S1G3
4 회원들
안내서 7개 작성하였습니다