소개
The purpose to this guide is to show how to properly replace the screen on a Palm V.
필요한 것
-
-
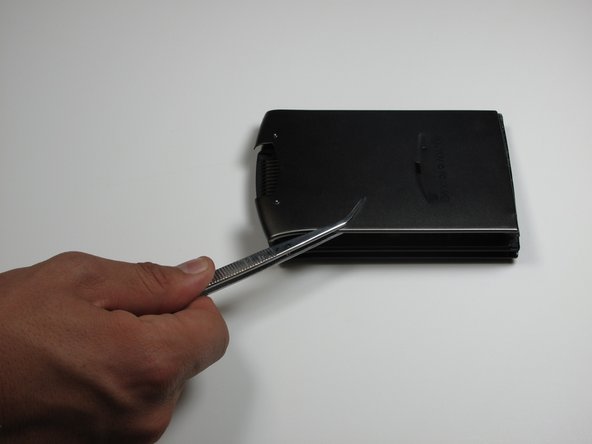
이 단계에 사용된 도구:Tweezers$4.99
-
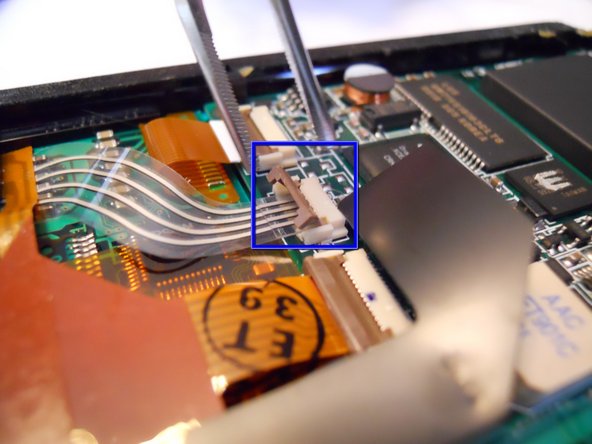
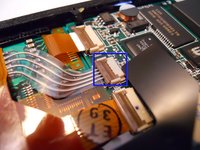
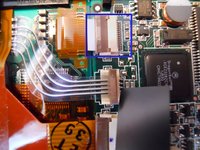
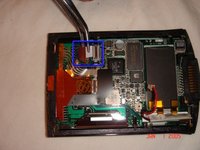
In order to seperate the screen from the motherboard you must disconnect the ribbon attached to the screen.
-
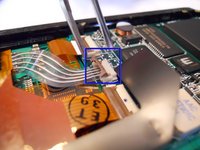
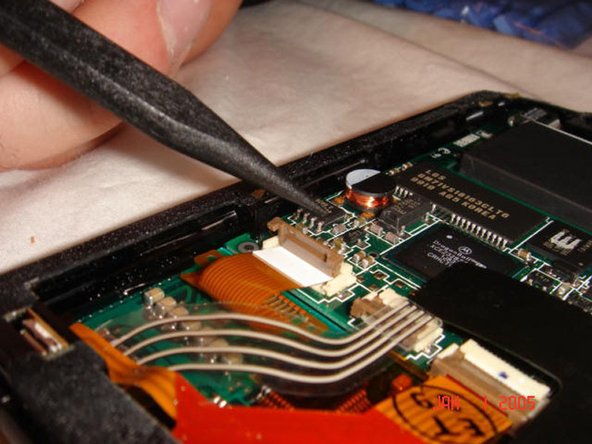
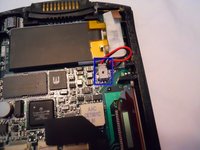
To do this, using tweezers, flip up the cable clamp that is connecting the ribbon to the screen.
-
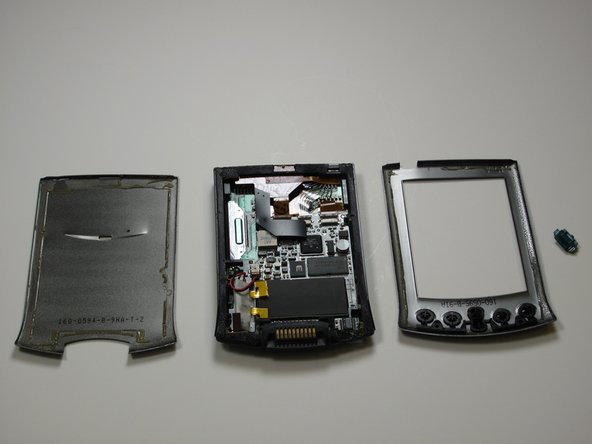
Once the clamp is up you can use the tweezers to gently detach the ribbon.
-


다른 한 분이 해당 안내서를 완성하였습니다.
팀

Cal Poly, Team 13-25, Maness Winter 2010 Cal Poly, Team 13-25, Maness Winter 2010 회원
CPSU-MANESS-W10S13G25
4 회원들
안내서 4개를 작성함
1가이드 댓글
Can the electroluminescent backlight panel be separated from the LCD? Then clip out the wires related to the LCD? Is that possible or are they fused?