소개
Use this guide to correctly repair damaged or loose wires in your Panasonic phone. Loose or damaged wires can lead to functions such as speakerphone not operating correctly, as well as calls being dropped completely. If damaged, replacing the wires is necessary to keep the phone functioning.
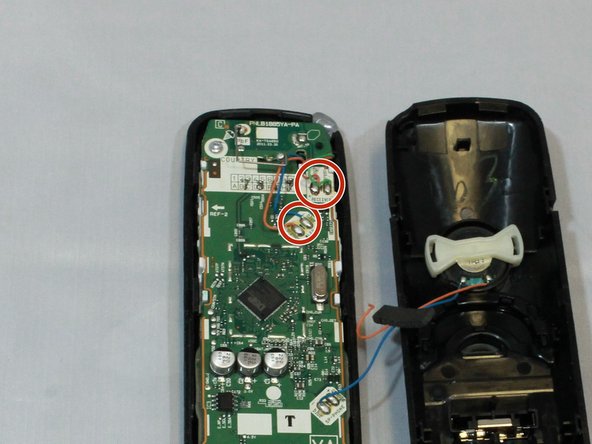
If you need help with soldering, review how to solder and desolder connections.
필요한 것


거의 끝나갑니다!
To reassemble your device, follow these instructions in reverse order.
결론
To reassemble your device, follow these instructions in reverse order.
팀

Eastern Washington University, Team S1-G2, Rowley Spring 2019 Eastern Washington University, Team S1-G2, Rowley Spring 2019 회원
EWU-ROWLEY-S19S1G2
4 회원들
안내서 5개 작성하였습니다