주요 콘텐츠로 건너뛰기

Panasonic KX-TGA600M Keypad Replacement

필요한 것

  1. Panasonic KX-TGA600M Keypad Replacement, Battery: 1 단계, 이미지 1/2 Panasonic KX-TGA600M Keypad Replacement, Battery: 1 단계, 이미지 2/2
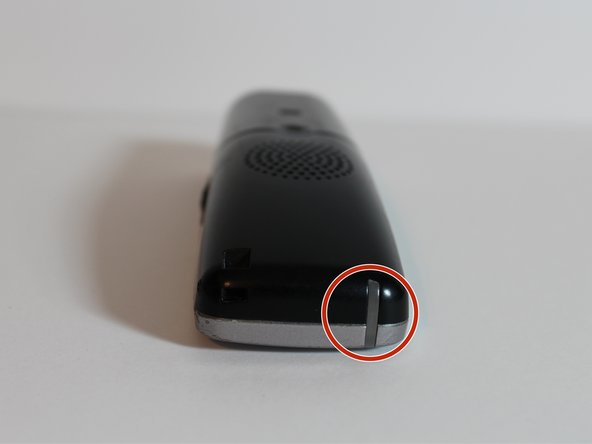
    • On the back of the phone, remove battery cover.

    • Push down on the marked indentation and pull downwards.

  2. Panasonic KX-TGA600M Keypad Replacement: 2 단계, 이미지 1/1
    • Pull out to remove the battery.

  3. Panasonic KX-TGA600M Keypad Replacement, Keypad: 3 단계, 이미지 1/1
    • Once battery is removed, use the Phillips #00 screwdriver to remove the two silver screws at the bottom left and right corners on the back of the phone.

  4. Panasonic KX-TGA600M Keypad Replacement: 4 단계, 이미지 1/3 Panasonic KX-TGA600M Keypad Replacement: 4 단계, 이미지 2/3 Panasonic KX-TGA600M Keypad Replacement: 4 단계, 이미지 3/3
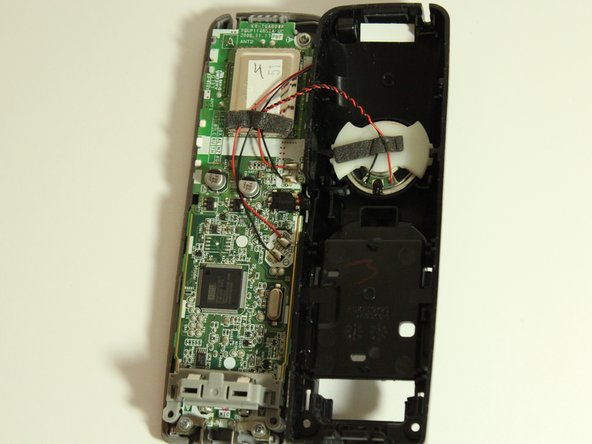
    • Pull the phone apart. The plastic opening tool may be needed.

    • The clear light piece will fall out, so make sure you place it next to the screws.

  5. Panasonic KX-TGA600M Keypad Replacement: 5 단계, 이미지 1/3 Panasonic KX-TGA600M Keypad Replacement: 5 단계, 이미지 2/3 Panasonic KX-TGA600M Keypad Replacement: 5 단계, 이미지 3/3
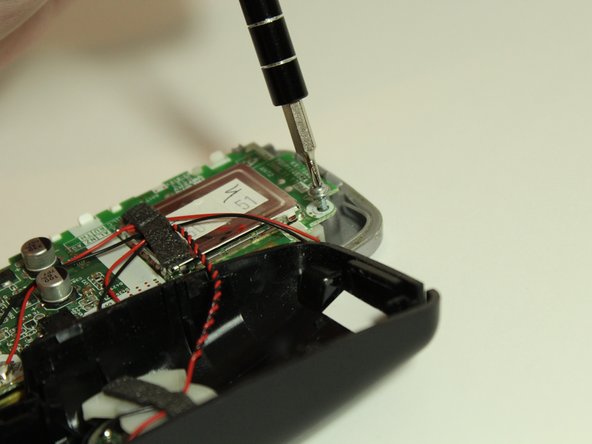
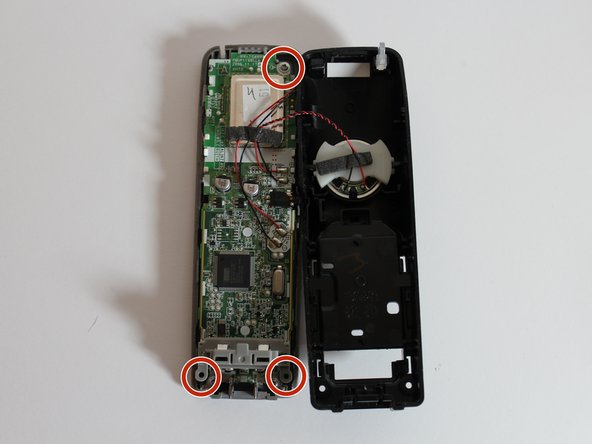
    • Use the Phillips #00 screwdriver to remove the three screws holding the circuit-board in place.

    • The screws are located in the top right corner, bottom left corner, and bottom right corner.

  6. Panasonic KX-TGA600M Keypad Replacement: 6 단계, 이미지 1/1
    • Once the screws are out, remove the charging contacts beneath the two bottom corner screws.

  7. Panasonic KX-TGA600M Keypad Replacement: 7 단계, 이미지 1/1
    • Remove the circuit board.

  8. Panasonic KX-TGA600M Keypad Replacement: 8 단계, 이미지 1/1
    • Pull back the black silicone keypad.

결론

To reassemble your device, follow these instructions in reverse order.

다른 2명이 해당 안내서를 완성하였습니다.

Lauren Bowman

회원 가입일: 01/31/17

158 평판

안내서 1개 작성함

댓글 한 개

Incomplete explanation with what materials to clean

asalmoom - 답글

댓글 쓰기

조회 통계:

24 시간 전: 0

7일 전: 3

30일 전: 11

전체 시간: 552