소개
If your digitizer cable has failed in your Panasonic Lumix DMC-FX9 camera, follow this guide to replace. By following this guide you should be able to continue using your camera.
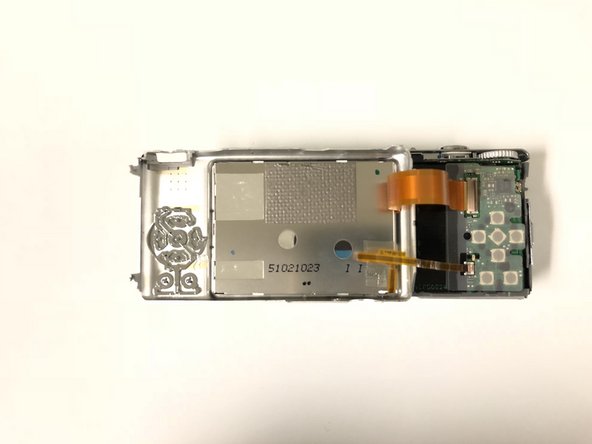
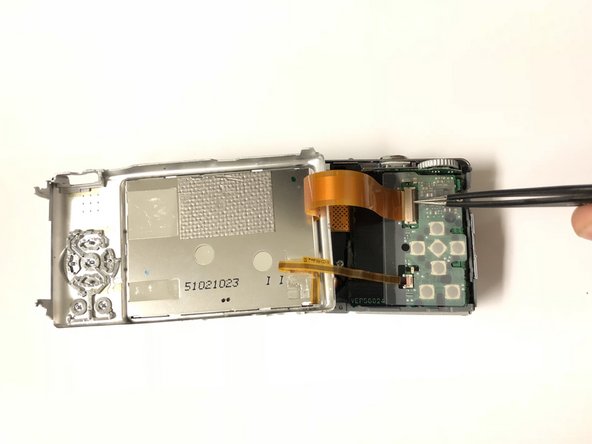
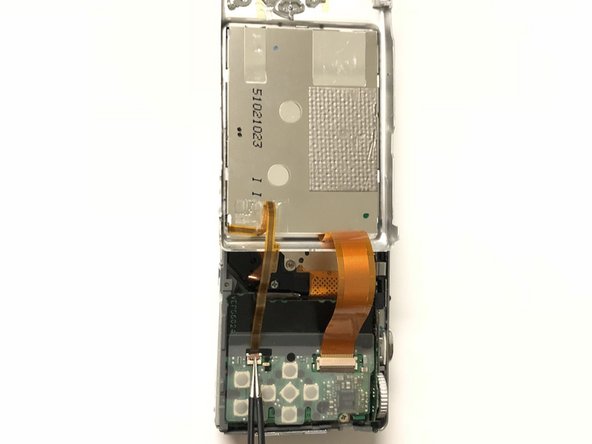
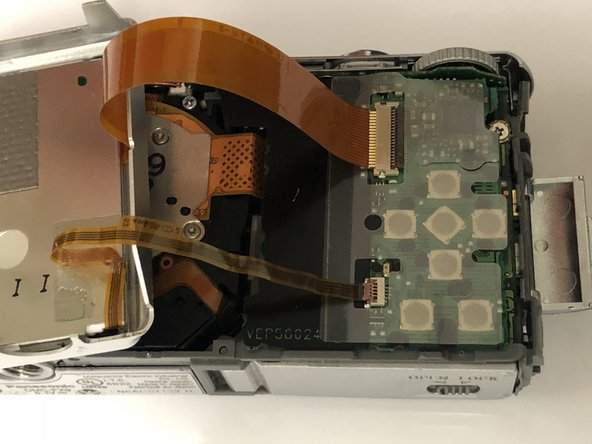
A digitizer cable is important to the camera as it sends the display signals to the camera screen from the motherboard. It is vital for both camera operation and a live view of the lens.
Be sure to remove the batteries from your camera prior to beginning this guide.
필요한 것
-
-
Power off your device by locating the on/off switch on top of camera.
-
-


To reassemble your device, follow these instructions in reverse order.
To reassemble your device, follow these instructions in reverse order.
팀

University of North Texas, Team S6-G1, Thomas Spring 2018 University of North Texas, Team S6-G1, Thomas Spring 2018 회원
UNT-THOMAS-S18S6G1
4 회원들
안내서 9개 작성하였습니다