소개
This replacement guide involves removing many screws. Before you start to take apart the device you will need to obtain a #2 Phillips screwdriver. Also make sure you have the replacement Panasonic SC-PM31 cassette player in hand.
필요한 것
-
-
Remove the five 9 mm #2 Phillips screws from the side panel nearest the power button.
-
Repeat the process for the opposite panel.
-
Remove the two 15 mm #2 Phillips screws from the back of the top panel.
-
Remove the middle 10mm #2 Phillips screw from the back of the top panel.
-
-
-
Swing the back half of the panel slightly away from the unit. Then, starting at the top back corner, slide plastic opening tool through the created gap from back to front. The panel should pop off. Repeat the process on the opposite panel.
-
-
-
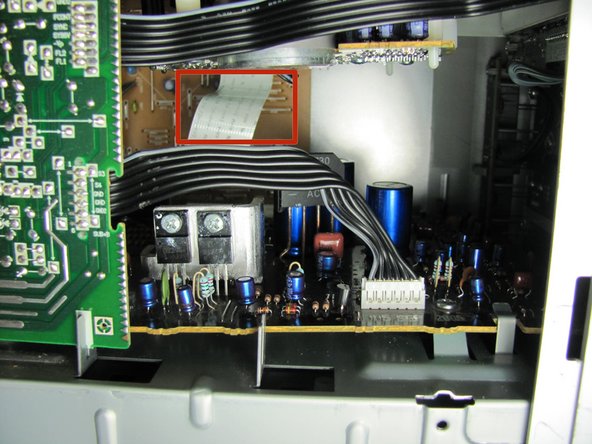
Looking in through the side nearest the power button, use your fingers to pull the white ribbon connection toward you, away from the rear circuit board.
-
-
-
-
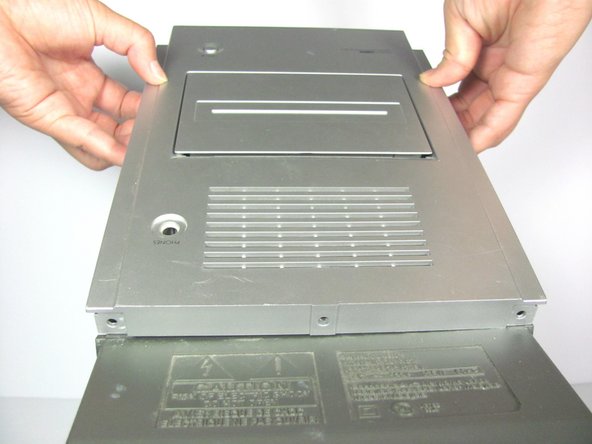
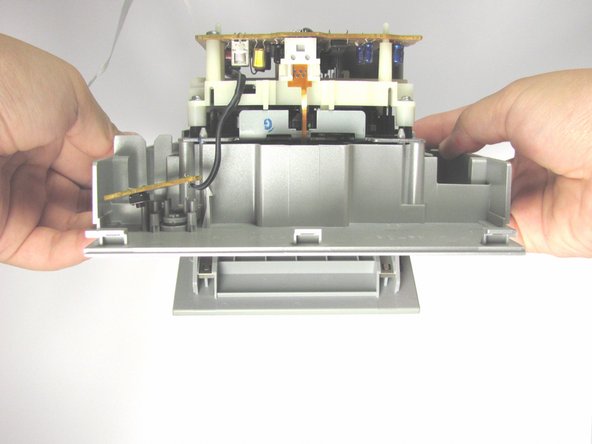
Remove the top panel. You will need to slightly bend the plastic tab outwards, to undo the clasp that is attached to the top.
-
-
-
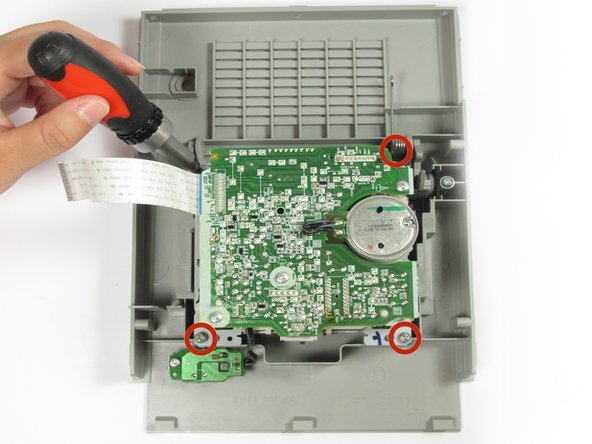
Turn the top panel upside down.
-
Remove the four Phillips #2 dome-headed screws with length 9.5mm holding the cassette assembly to the plastic exterior.
-
-
-
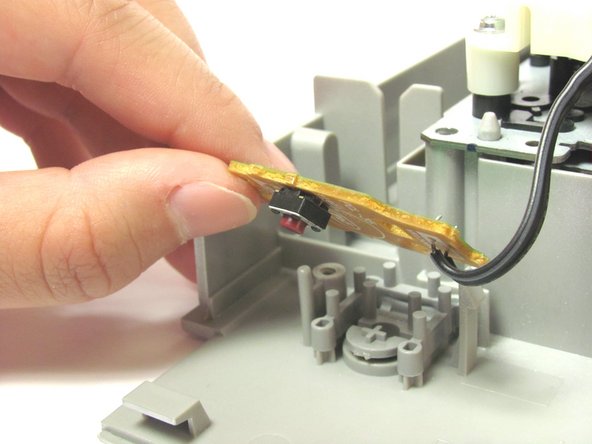
Remove the Phillips #2 screw with length 9.5mm from the small circuit board.
-
Lift the small circuit board from the plastic.
-
-
-
Lift the device up. With your right hand index finger, press the latch towards you to manually move the rear latch to open the cassette door.
-


To reassemble your device, follow these instructions in reverse order.
To reassemble your device, follow these instructions in reverse order.
다른 한 분이 해당 안내서를 완성하였습니다.
팀

Cal Poly, Team 13-7, Forte Fall 2014 Cal Poly, Team 13-7, Forte Fall 2014 회원
CPSU-FORTE-F14S13G7
5 회원들
안내서 7개 작성하였습니다
댓글 한 개
Just discovered that my cassette player SC-PM31 is running at a speed that makes a chipmunk sound. Is there an adjustment to slow the player down?