주요 콘텐츠로 건너뛰기

Panasonic SDR H-100 Zoom Lever Replacement

필요한 것

  1. Panasonic SDR H-100 Zoom Lever Replacement, Remove Bottom Screws: 1 단계, 이미지 1/2 Panasonic SDR H-100 Zoom Lever Replacement, Remove Bottom Screws: 1 단계, 이미지 2/2
    • Remove the four 4-mm screws on the bottom of the camcorder.

    • The screws are two different colors: three blacks and one silver.

  2. Panasonic SDR H-100 Zoom Lever Replacement, Remove Side Screws: 2 단계, 이미지 1/1
    • Remove the three 6-mm screws on the hand-strap side of the camera.

  3. Panasonic SDR H-100 Zoom Lever Replacement, Remove DC Input Terminal Screws: 3 단계, 이미지 1/1
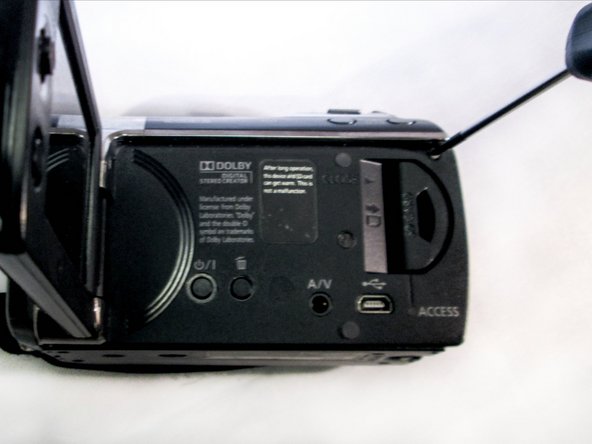
    • Pull out the charging port (DC input terminal) cover and remove the 4-mm screw located next to the input terminal.

  4. Panasonic SDR H-100 Zoom Lever Replacement, Remove LCD Monitor Screws: 4 단계, 이미지 1/2 Panasonic SDR H-100 Zoom Lever Replacement, Remove LCD Monitor Screws: 4 단계, 이미지 2/2
    • Flip out the LCD screen to expose the inner screws. Remove the two black 4-mm screws.

    • One screw is located by the hinge of the LCD screen. The second is close to the upper-right corner of the camcorder body.

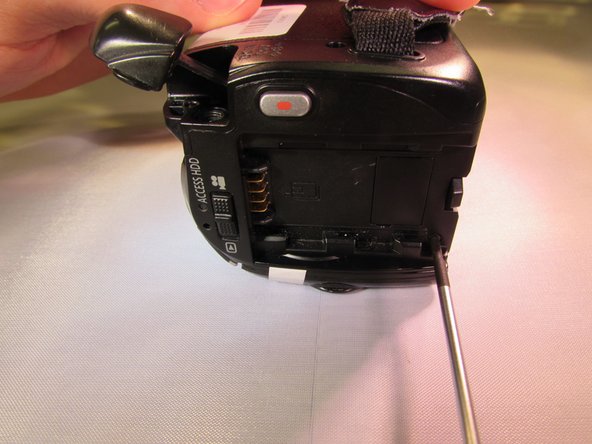
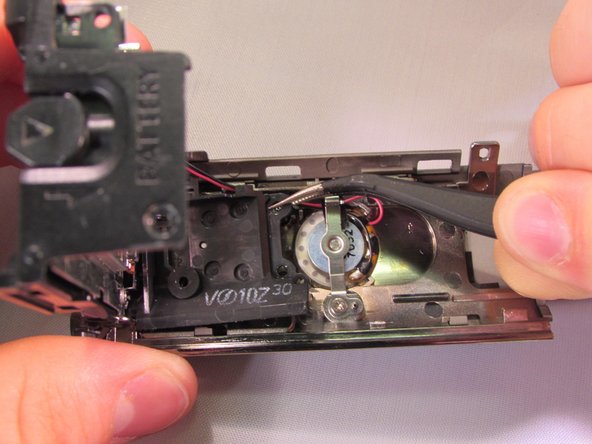
    • Using a firm hold on both sides of the camcorder, gently pull apart the casing under the hand strap.

    • Pressure should be evenly distributed across entire device.

    • Detach gently so the ribbon cable is not damaged!

  5. Panasonic SDR H-100 Zoom Lever Replacement, Detach Ribbon Cable from Body: 6 단계, 이미지 1/1
    이 단계에 사용된 도구:
    Tweezers
    $4.99
    구매
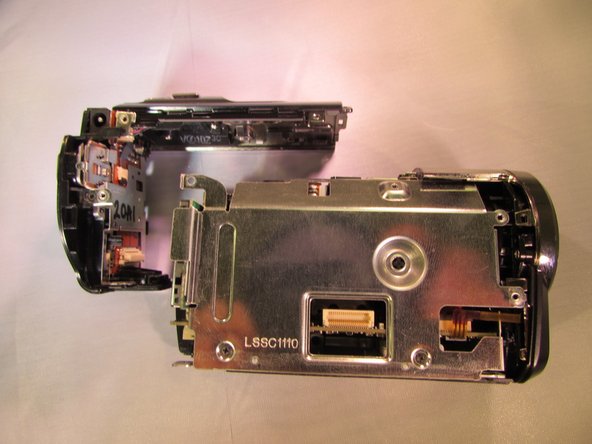
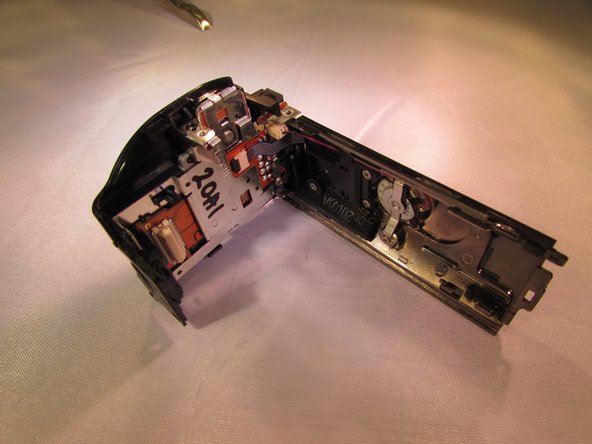
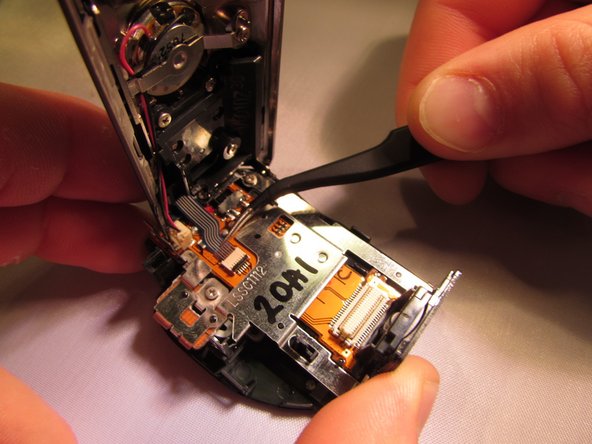
    • Use tweezers to grab the ribbon cable at the connection point and slowly lift it away from the connector.

    • This linkage point connects the HDD directly to the motherboard.

  6. Panasonic SDR H-100 Zoom Lever Replacement, Rear Cover: 7 단계, 이미지 1/1
    • Unscrew the two black 4 mm screws from metal casing around the motherboard.

  7. Panasonic SDR H-100 Zoom Lever Replacement: 8 단계, 이미지 1/2 Panasonic SDR H-100 Zoom Lever Replacement: 8 단계, 이미지 2/2
    • Remove the black 4 mm screw from the back of the camcorder underneath where the battery would have been.

  8. Panasonic SDR H-100 Zoom Lever Replacement: 9 단계, 이미지 1/3 Panasonic SDR H-100 Zoom Lever Replacement: 9 단계, 이미지 2/3 Panasonic SDR H-100 Zoom Lever Replacement: 9 단계, 이미지 3/3
    • Pull the plastic cover on the back out and up slightly until the back feels like it’s free, then pull back on the plastic (The top cover piece and back will be detached).

  9. Panasonic SDR H-100 Zoom Lever Replacement, Zoom Lever: 10 단계, 이미지 1/1
    • Grab the plastic piece that covers the back of the camcorder.

  10. Panasonic SDR H-100 Zoom Lever Replacement: 11 단계, 이미지 1/2 Panasonic SDR H-100 Zoom Lever Replacement: 11 단계, 이미지 2/2
    이 단계에 사용된 도구:
    Tweezers
    $4.99
    구매
    • Unlock the copper ribbon cable using the blue pry tool.

    • Gently detach the ribbon cable using the tweezers.

  11. Panasonic SDR H-100 Zoom Lever Replacement: 12 단계, 이미지 1/2 Panasonic SDR H-100 Zoom Lever Replacement: 12 단계, 이미지 2/2
    • Unscrew the four silver 4 mm screws underneath the outer plastic cover.

    • This gives you access to the bottom of the zoom lever.

  12. Panasonic SDR H-100 Zoom Lever Replacement: 13 단계, 이미지 1/2 Panasonic SDR H-100 Zoom Lever Replacement: 13 단계, 이미지 2/2
    • Using tweezers, pull on the black piece that is connected to the underside of the zoom lever while also pushing the back piece at an angle.

    • Do not disconnect the red and black wires while you are doing this.

    • Replace with new zoom lever.

결론

To reassemble your device, follow these instructions in reverse order.

Caleb Osborne

회원 가입일: 04/08/15

816 평판

안내서 8개 작성하였습니다

댓글 0개

댓글 쓰기

조회 통계:

24 시간 전: 0

7일 전: 3

30일 전: 12

전체 시간: 316