이 버전에는 잘못된 편집 사항이 있을 수 있습니다. 최신 확인된 스냅샷으로 전환하십시오.
필요한 것
-
이 단계는 번역되지 않았습니다. 번역을 도와주십시오
-
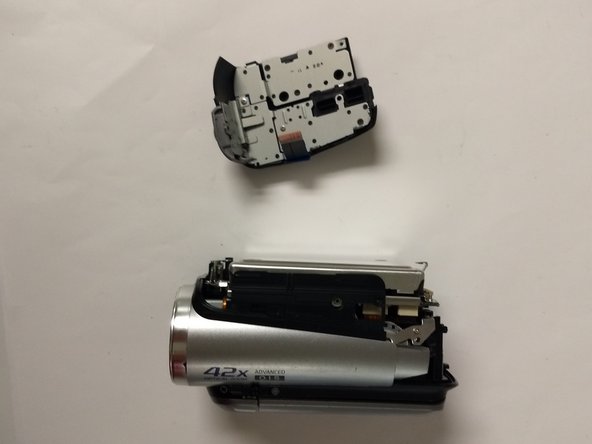
Remove right side shell. There are two screws that are right behind the strap that also need to be removed.
-
-
-
이 단계는 번역되지 않았습니다. 번역을 도와주십시오
-
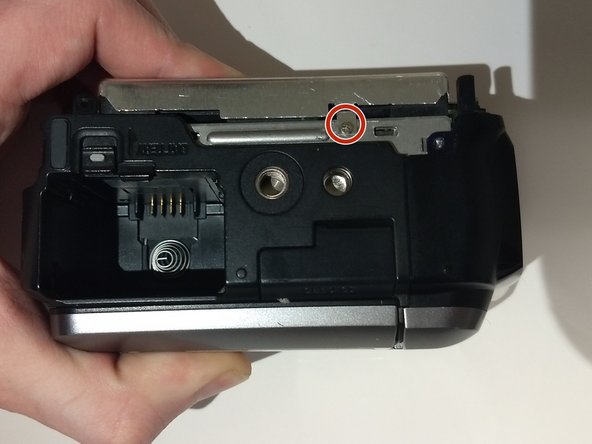
Remove the three screws highlighted in the pictures shown.
-
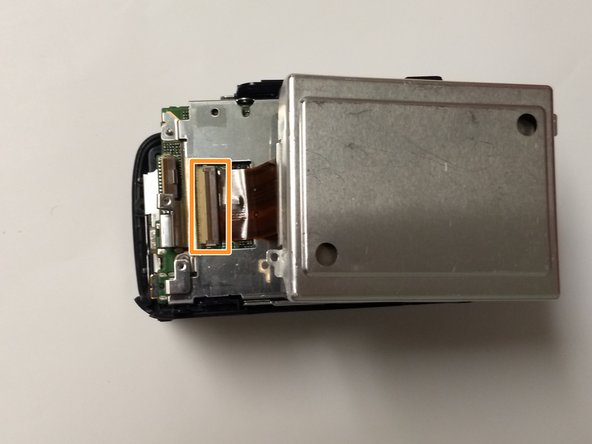
To avoid damaging the device, slowly pick up the hard drive to reveal an orange ribbon cable attached to the motherboard pull back on the dark brown tab and carefully pull out the ribbon cable . Then you may proceed with removing the hard drive.
-
-
이 단계는 번역되지 않았습니다. 번역을 도와주십시오
-
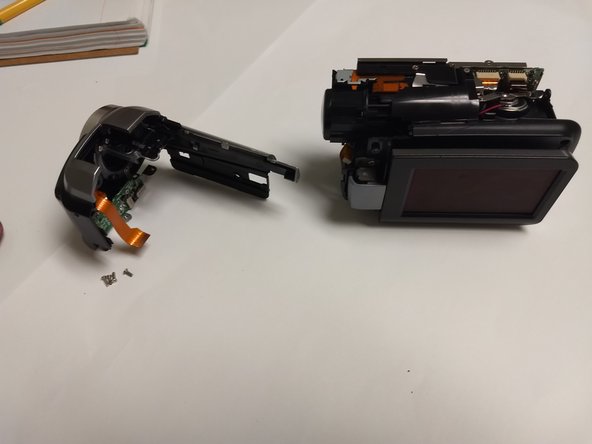
Remove the screws circled.
-
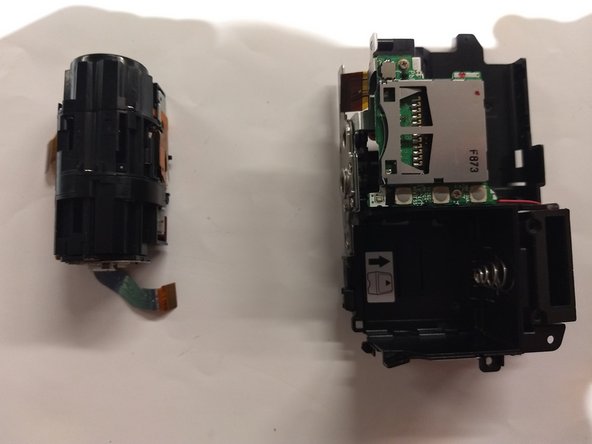
Pull front section away from the rest of the camera to remove it.
-
-
이 단계는 번역되지 않았습니다. 번역을 도와주십시오
-
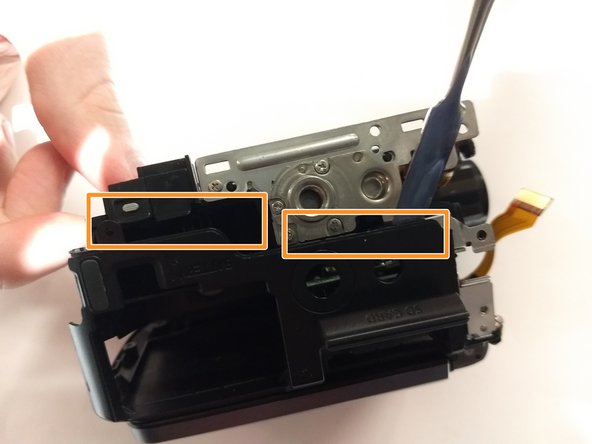
Remove the screws circled.
-
Carefully pull the motherboard away from the the rest of the camera.
-
Detach the ribbon cables from the motherboard.
-
-
이 단계는 번역되지 않았습니다. 번역을 도와주십시오
-
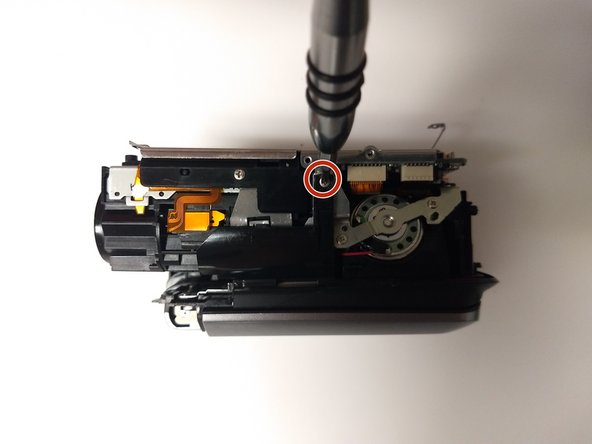
Remove screw circled.
-
Use a spatula to pull up the black shell and pull it away from the rest of the camera
-
-
이 단계는 번역되지 않았습니다. 번역을 도와주십시오
-
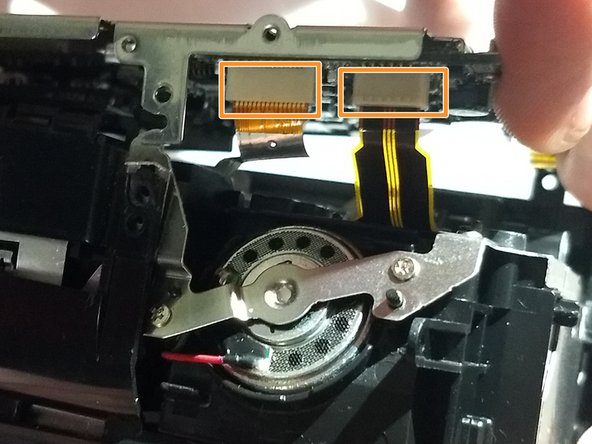
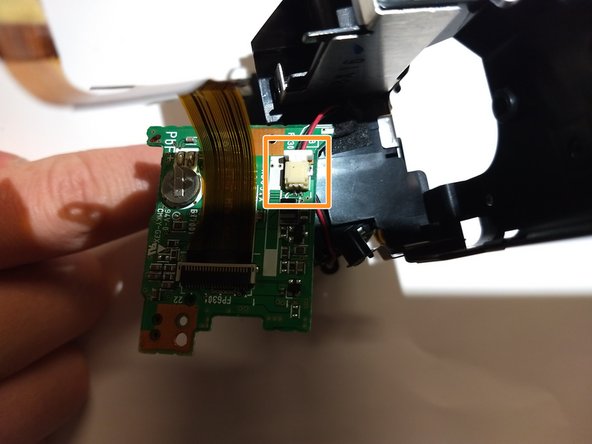
Remove the two screws using a Phillips #00 screwdriver.
-
Use tweezers to slowly pull out the cable.
-


팀

University of North Texas, Team S6-G6, Thompson Fall 2018 University of North Texas, Team S6-G6, Thompson Fall 2018 회원
UNT-THOMPSON-F18S6G6
4 회원들
안내서 10개 작성하였습니다