소개
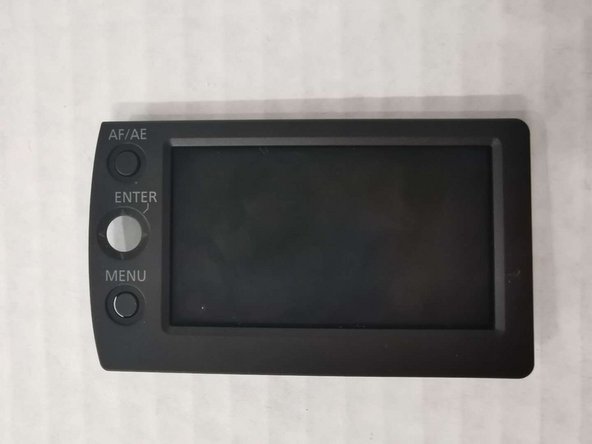
If your Panasonic SDR-H85 camcorder has abnormal color on the display screen or cannot display pictures at all, you may have LCD damage.
Before using this guide, make sure to review the troubleshooting page. Determine if you need to replace the LCD and if your problem can be solved through the settings.
Make sure you remove the battery and disconnect the power before you start.
필요한 것
-
-
Gently slide the battery ejection button which is located underneath the battery and slide the battery out.
-
-
-
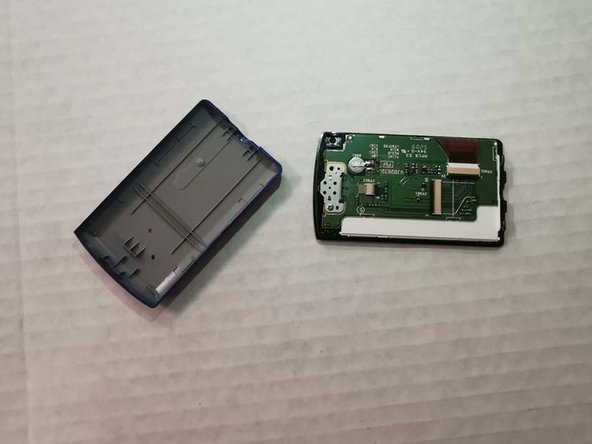
Use a Phillips #00 screwdriver to remove two screws from behind the corners of the display screen.
-
-


To reassemble your device, follow these instructions in reverse order.
To reassemble your device, follow these instructions in reverse order.
팀

York University, Team S1-G8, Woodhouse Winter 2020 York University, Team S1-G8, Woodhouse Winter 2020 회원
YORK-WOODHOUSE-W20S1G8
3 회원들
안내서 6개 작성하였습니다