소개
A common point of failure in many computers is the spinning mechanical hard drive. This drive may become corrupted, scratched, or otherwise broken if your computer suffers a serious fall or catastrophic drive failure. This guide shows how to operate the quick-swap drive caddy on the Panasonic Toughbook CF-53 and replace the physical hard drive in your device.
Any replacement drives must use the same 2.5" size standard to fit in the drive case.
필요한 것
-
-
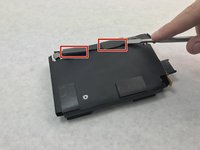
Locate the hard drive enclosure release latch in the top left corner. While pulling it down, lift the enclosure up and out of the laptop.
-
-
-
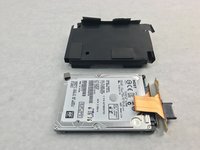
Flip the drive black side down.
-
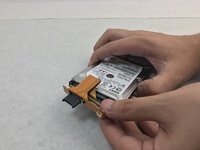
Place six opening picks between the black outer casing and metallic inner casing to disengage the five metal clips connecting the inner and outer casings.
-
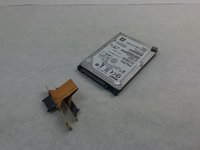
Once all the clips have been freed from their holes, you can now lift the inner casing up and out of the outer casing.
-
-


To reassemble your device, follow these instructions in reverse order.
다른 7명이 해당 안내서를 완성하였습니다.

팀

Embry-Riddle Aeronautical University, Team S6-G4, Salas Fall 2019 Embry-Riddle Aeronautical University, Team S6-G4, Salas Fall 2019 회원
ERAU-SALAS-F19S6G4
3 회원들
안내서 8개를 작성함