소개
Faulty RAM is a common cause of many computers being unable to boot and is therefore easily replaceable. While performing this repair, ensure that your laptop is completely turned off. As with any time you open a computer, it is important to wait a few minutes after shutting down and unplugging the machine to ensure that all capacitors have properly discharged. You should also be careful when doing any work inside the device as any scratches or dents to the motherboard may result in further damages.
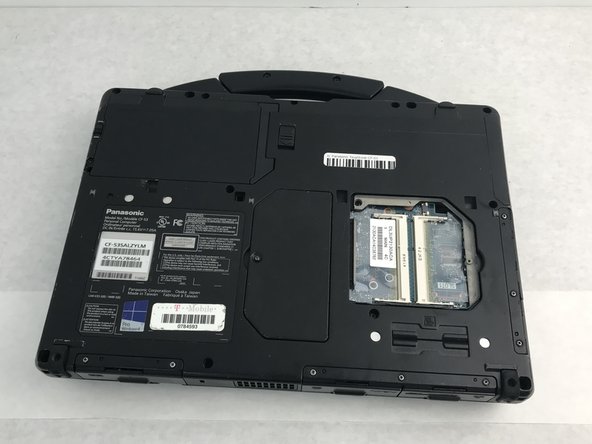
It is important to ensure that both RAM sticks are the exact same model. There is a sticker on each stick identifying its basic specs, manufacturer, and exact model. The best way to ensure that two sticks are identical is to buy them in a pack of two.
필요한 것
-
-
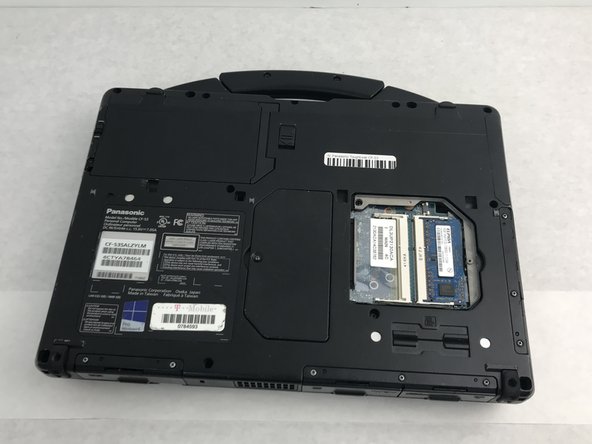
Ensure your laptop is fully turned off. Flip it over so the bottom is facing up and the carry handle is facing away from you.
-
Remove the single 4 mm Phillips #00 screw holding the RAM access cover in place.
-
Gently rotate the cover upwards and pull it out. This will reveal the Toughbook’s RAM slots.
-
-


To reassemble your device, follow these instructions in reverse order.
To reassemble your device, follow these instructions in reverse order.
다른 한 분이 해당 안내서를 완성하였습니다.

팀

Embry-Riddle Aeronautical University, Team S6-G4, Salas Fall 2019 Embry-Riddle Aeronautical University, Team S6-G4, Salas Fall 2019 회원
ERAU-SALAS-F19S6G4
3 회원들
안내서 7개 작성하였습니다