필요한 것
-
-
-
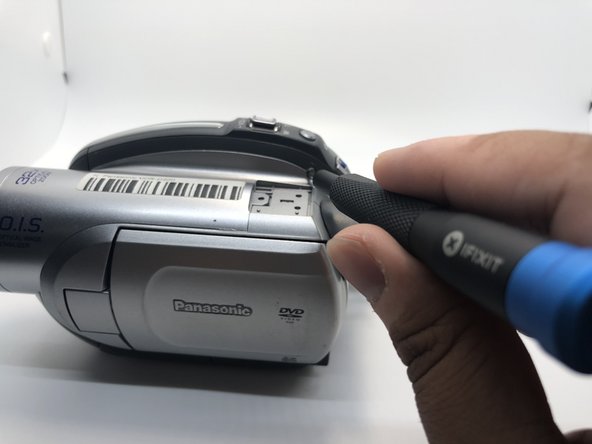
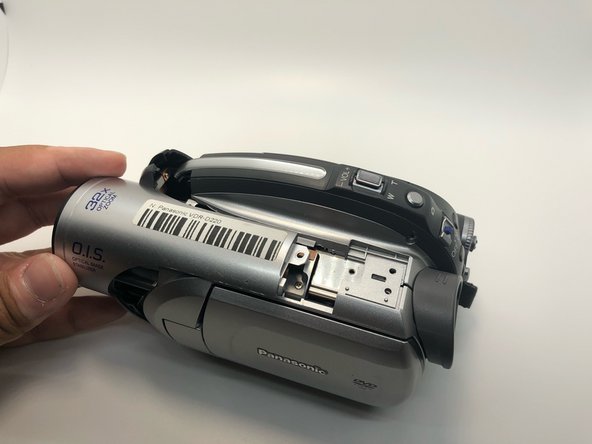
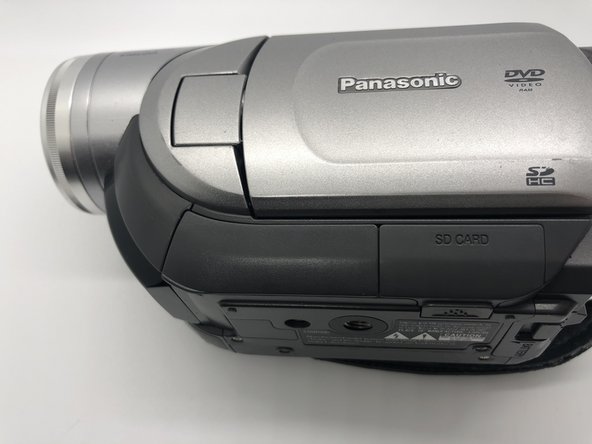
Rotate the camera to the battery side.
-
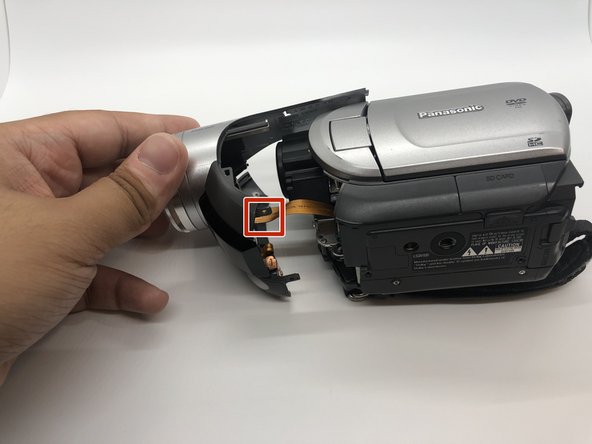
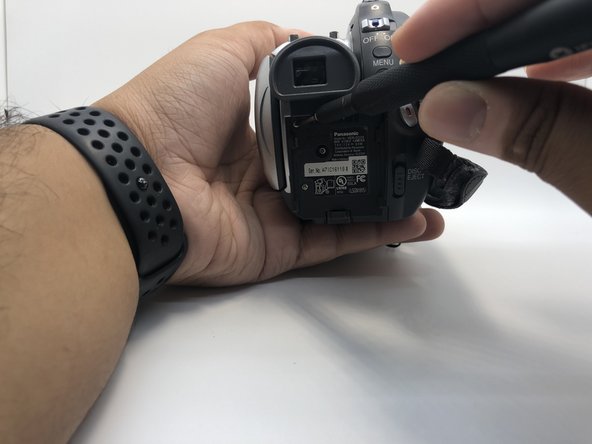
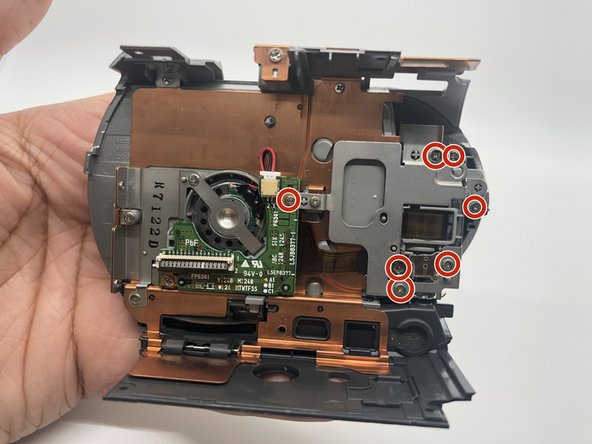
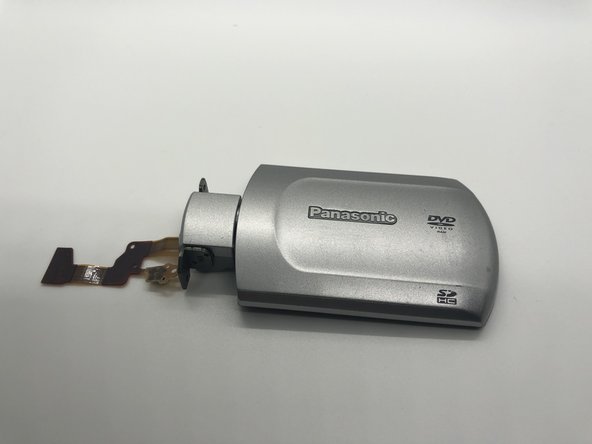
Gently pull the side of the camera apart with only your hands.
-
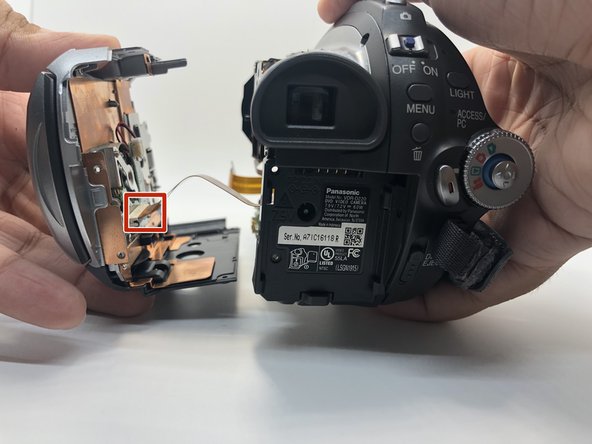
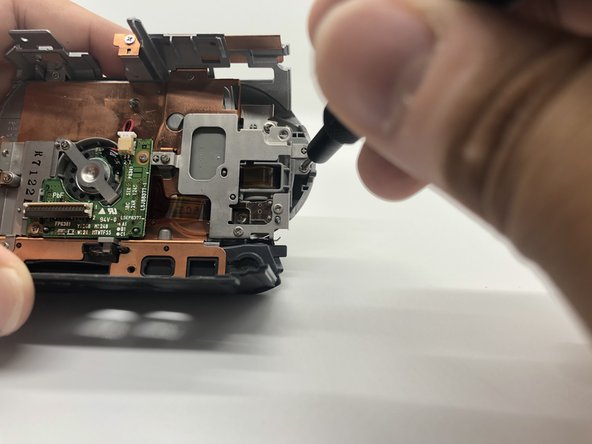
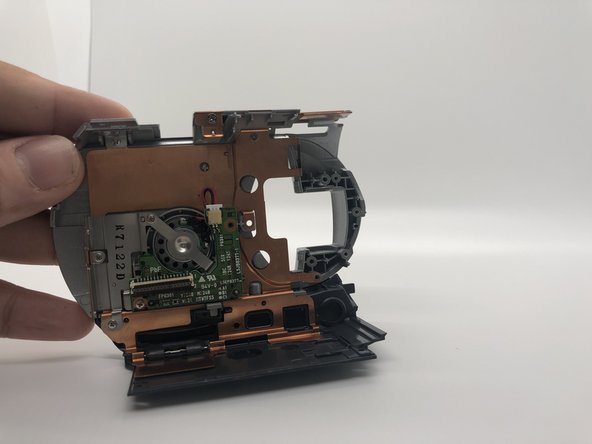
Disconnect the ribbon cable with your plastic opening tool, so that the left side of the camera can be removed.
-
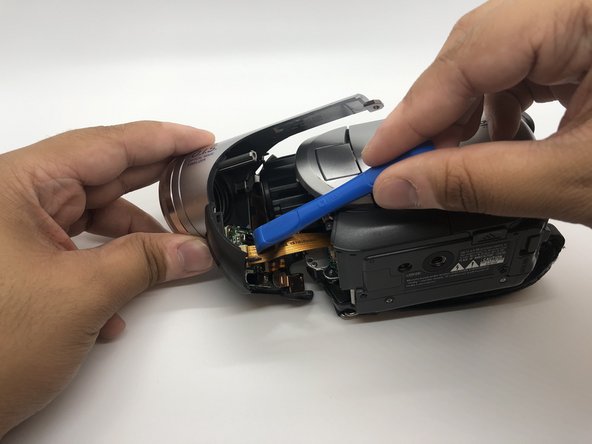
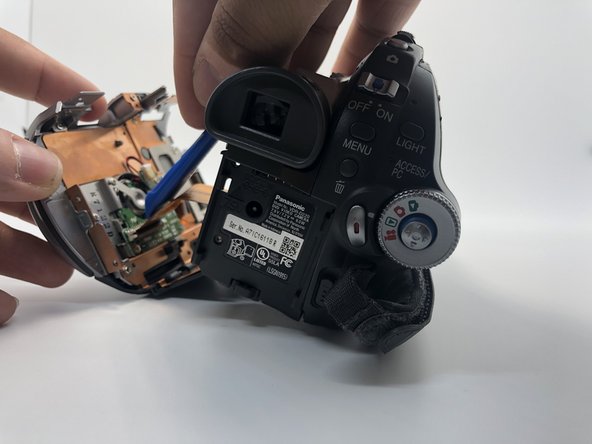
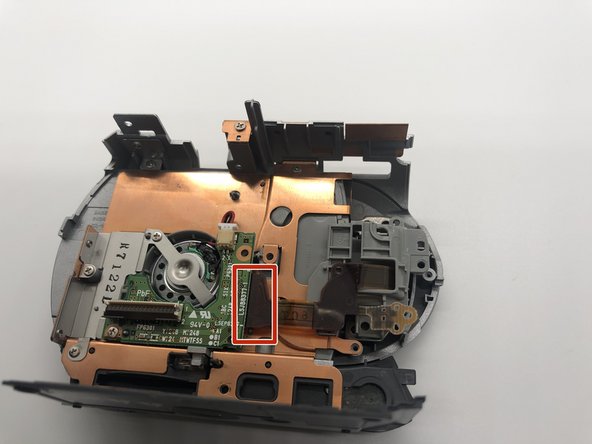
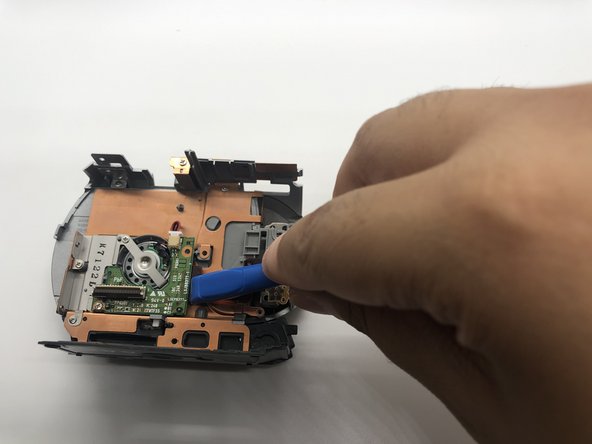
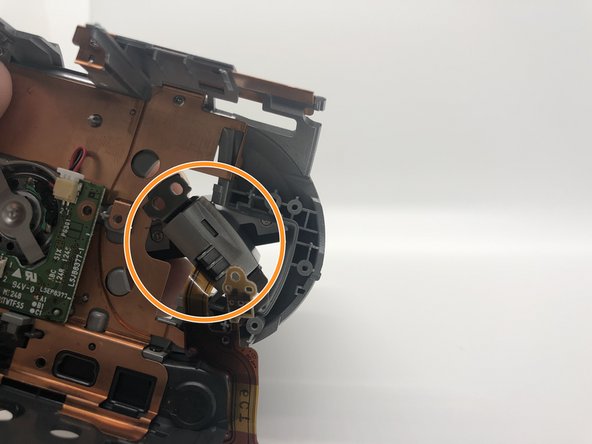
Press the tab with plastic opening tool and then pull the ZIF connector to detach.
-


거의 끝나갑니다!
To reassemble your device, follow these instructions in reverse order.
결론
To reassemble your device, follow these instructions in reverse order.
팀

Embry-Riddle Aeronautical University, Team S1-G3, Watkins Fall 2019 Embry-Riddle Aeronautical University, Team S1-G3, Watkins Fall 2019 회원
ERAU-WATKINS-F19S1G3
4 회원들
안내서 14개 작성하였습니다