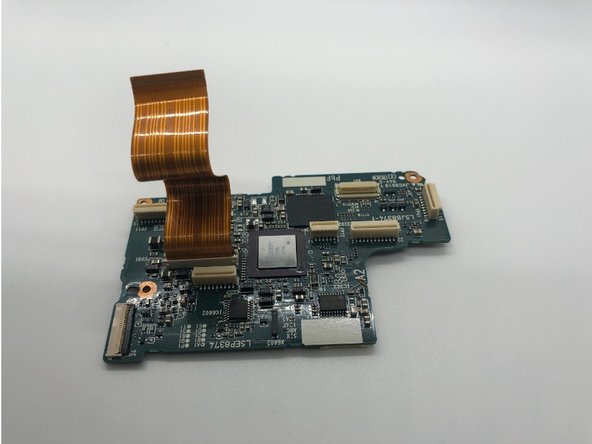
주요 콘텐츠로 건너뛰기

Panasonic VDR-D220 DVD Motherboard Replacement

필요한 것

  1. Panasonic VDR-D220 DVD Motherboard Replacement, Motherboard: 1 단계, 이미지 1/3 Panasonic VDR-D220 DVD Motherboard Replacement, Motherboard: 1 단계, 이미지 2/3 Panasonic VDR-D220 DVD Motherboard Replacement, Motherboard: 1 단계, 이미지 3/3
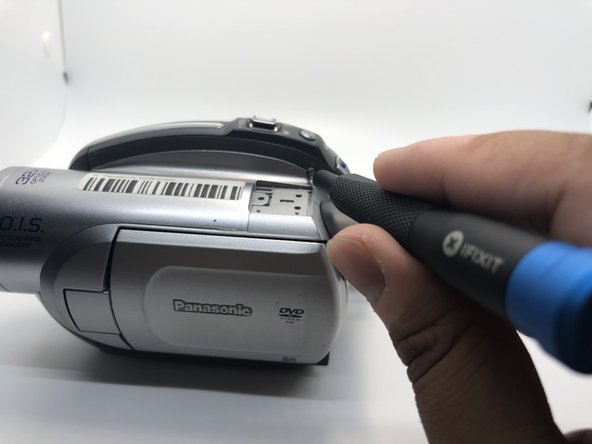
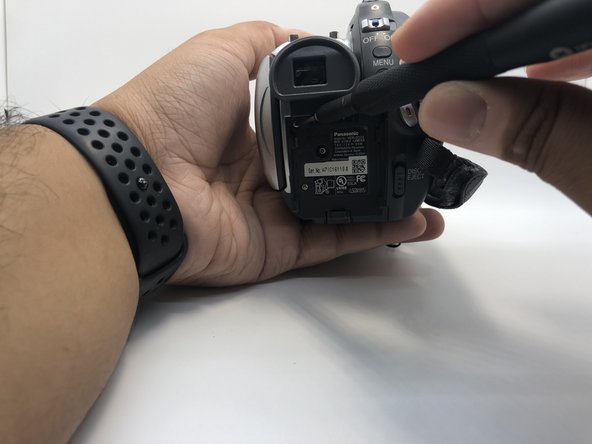
    • Use your Phillips #0 screwdriver to remove the three 5mm screws on top of the camera.

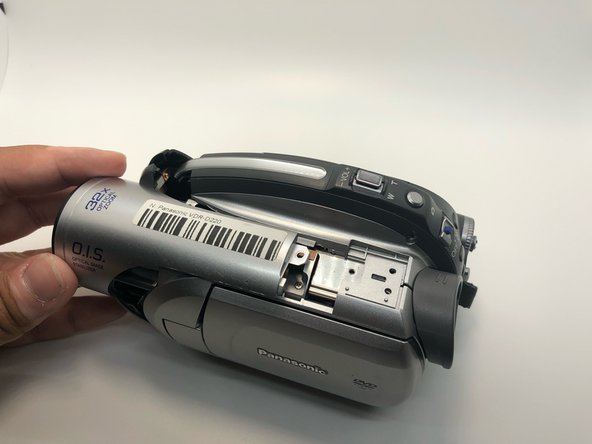
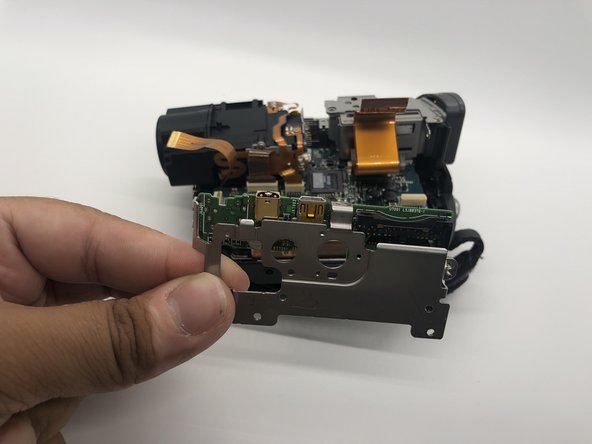
    • Remove the metal bracket.

  2. Panasonic VDR-D220 DVD Motherboard Replacement: 2 단계, 이미지 1/2 Panasonic VDR-D220 DVD Motherboard Replacement: 2 단계, 이미지 2/2
    • Rotate the camera to show the bottom of the camera.

    • Remove the four 5mm screws on the bottom side of the camera with a Phillips #0 driver.

  3. Panasonic VDR-D220 DVD Motherboard Replacement: 3 단계, 이미지 1/2 Panasonic VDR-D220 DVD Motherboard Replacement: 3 단계, 이미지 2/2
    • Remove one 5mm screw with your Phillips #0 screwdriver.

  4. Panasonic VDR-D220 DVD Motherboard Replacement: 4 단계, 이미지 1/2 Panasonic VDR-D220 DVD Motherboard Replacement: 4 단계, 이미지 2/2
    • Using a spudger pry the top-front part of the camera from the main body.

    • Slide the top portion of the camera forward revealing more 5mm screws.

    • Do not completely separate the two sections of the camera as there are still cable connections holding them together.

  5. Panasonic VDR-D220 DVD Motherboard Replacement: 5 단계, 이미지 1/3 Panasonic VDR-D220 DVD Motherboard Replacement: 5 단계, 이미지 2/3 Panasonic VDR-D220 DVD Motherboard Replacement: 5 단계, 이미지 3/3
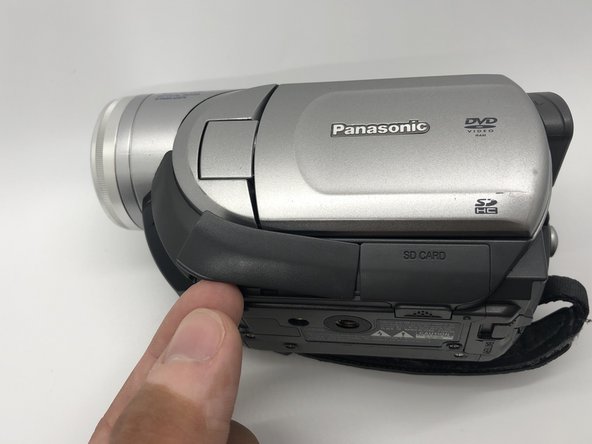
    • Flip the camera on the right side.

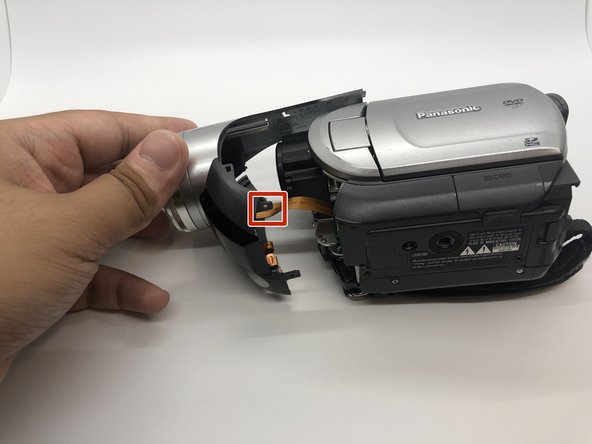
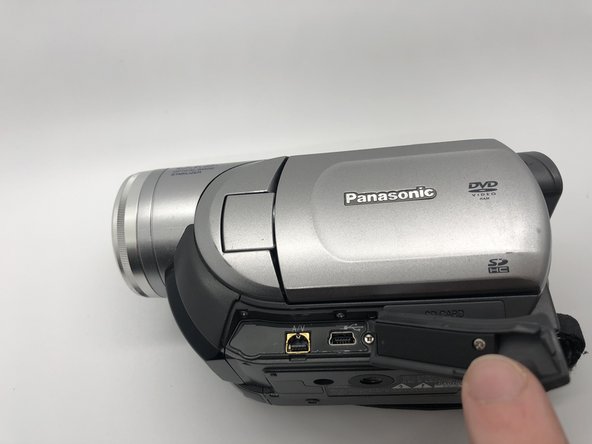
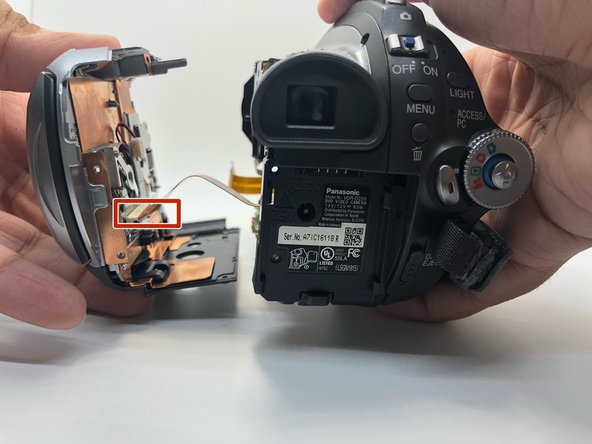
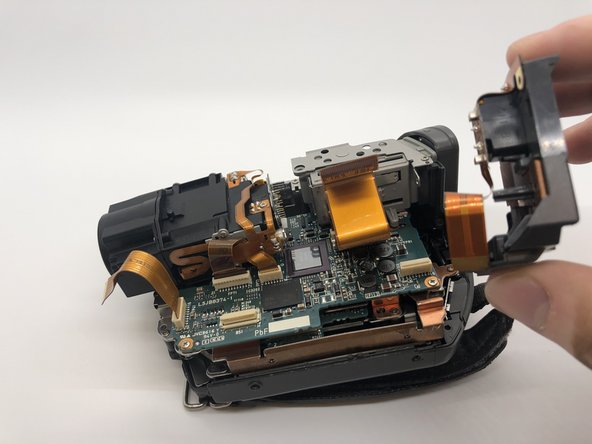
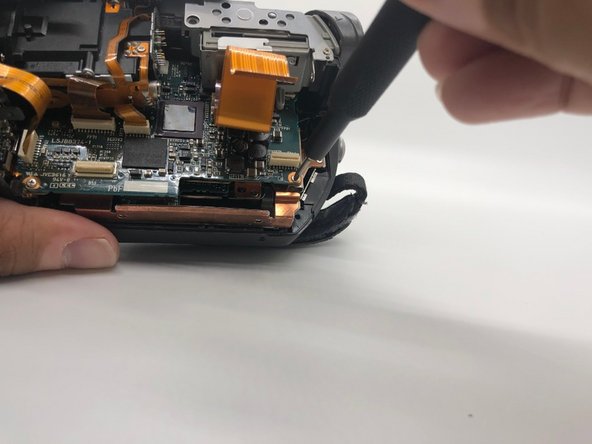
    • Gently pull the front part away from the main body to expose the cable connections holding them together.

    • Do not pull too hard because of the ZIF connector.

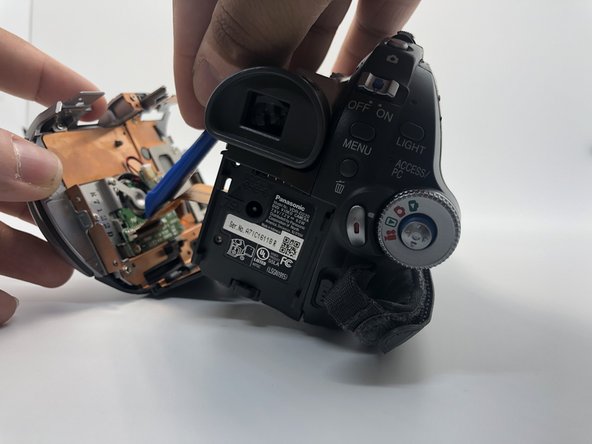
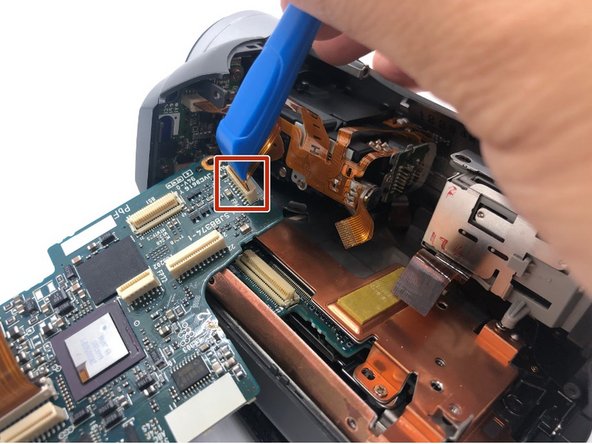
    • Use your plastic opening tool to disconnect the connection point safely.

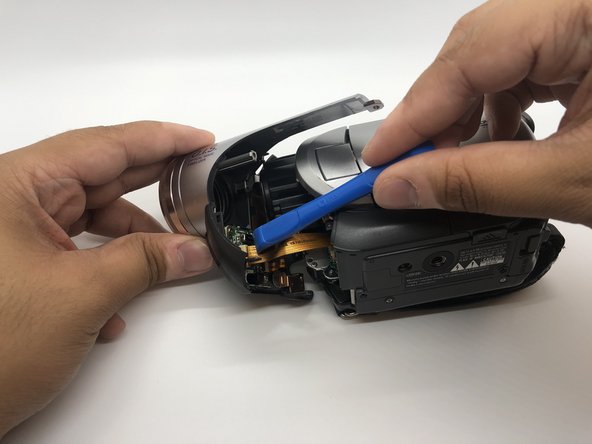
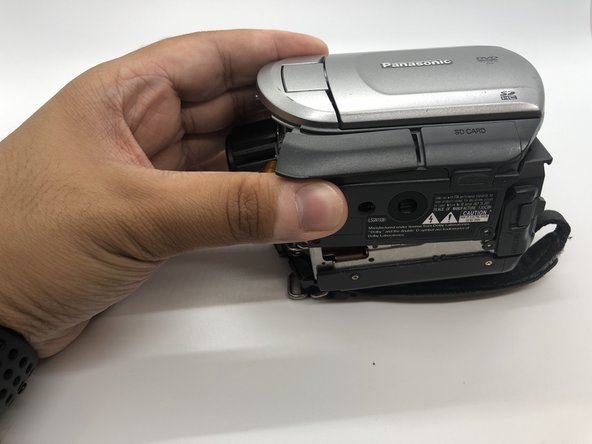
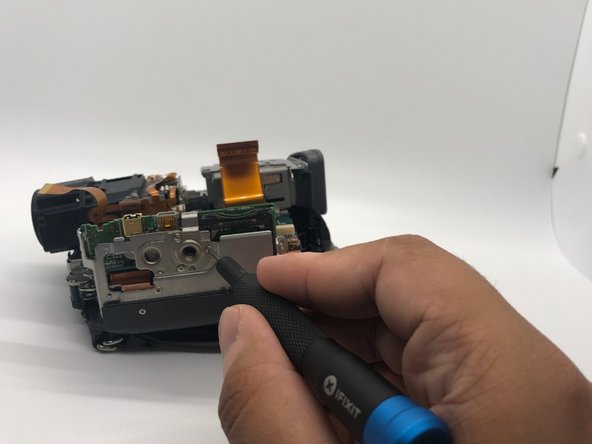
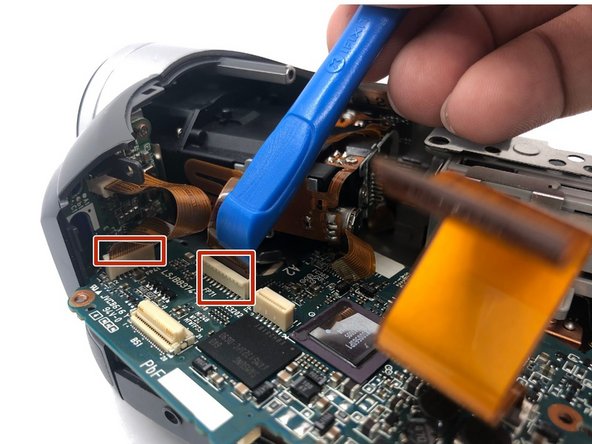
    • Press the tab with plastic opening tool and then pull the ZIF connector to detach.

  6. Panasonic VDR-D220 DVD Motherboard Replacement: 6 단계, 이미지 1/1
    • Remove the 5mm screw with your Phillips #0 screwdriver that was previously covered.

  7. Panasonic VDR-D220 DVD Motherboard Replacement: 7 단계, 이미지 1/2 Panasonic VDR-D220 DVD Motherboard Replacement: 7 단계, 이미지 2/2
    • Use your Phillips #0 screwdriver to remove the two 5mm screws on the battery base of the camera.

  8. Panasonic VDR-D220 DVD Motherboard Replacement: 8 단계, 이미지 1/3 Panasonic VDR-D220 DVD Motherboard Replacement: 8 단계, 이미지 2/3 Panasonic VDR-D220 DVD Motherboard Replacement: 8 단계, 이미지 3/3
    • Rotate the camera to the left side, where the side port is located.

    • Open the side port door.

  9. Panasonic VDR-D220 DVD Motherboard Replacement: 9 단계, 이미지 1/3 Panasonic VDR-D220 DVD Motherboard Replacement: 9 단계, 이미지 2/3 Panasonic VDR-D220 DVD Motherboard Replacement: 9 단계, 이미지 3/3
    • Remove three 5mm screws inside the side port by using Phillips #0 screwdriver.

    • Take off this part of the camera.

  10. Panasonic VDR-D220 DVD Motherboard Replacement: 10 단계, 이미지 1/3 Panasonic VDR-D220 DVD Motherboard Replacement: 10 단계, 이미지 2/3 Panasonic VDR-D220 DVD Motherboard Replacement: 10 단계, 이미지 3/3
    • Rotate the camera to the battery side.

    • Gently pull the side of the camera apart with only your hands.

    • Do not pull too hard because of the ZIF connector cable.

    • Disconnect the ribbon cable with your plastic opening tool, so that the left side of the camera can be removed.

  11. Panasonic VDR-D220 DVD Motherboard Replacement: 11 단계, 이미지 1/2 Panasonic VDR-D220 DVD Motherboard Replacement: 11 단계, 이미지 2/2
    • Rotate the camera to show the left side.

    • Remove one 5mm screw on the side of the battery's base with your Phillips #0 screwdriver.

    • Take off the battery base from the camera.

  12. Panasonic VDR-D220 DVD Motherboard Replacement: 12 단계, 이미지 1/1
    • Disconnect another ribbon cable that runs from the motherboard to the bottom of the viewfinder with a plastic opening tool.

  13. Panasonic VDR-D220 DVD Motherboard Replacement: 13 단계, 이미지 1/2 Panasonic VDR-D220 DVD Motherboard Replacement: 13 단계, 이미지 2/2
    • On the bottom side of the camera, remove six 5mm screws with your Phillips #0 screwdriver and the circuit board holder should be free.

  14. Panasonic VDR-D220 DVD Motherboard Replacement: 14 단계, 이미지 1/2 Panasonic VDR-D220 DVD Motherboard Replacement: 14 단계, 이미지 2/2
    • Insert a Jimmy tool to relieve the pressure between the metal mount and the plastic cover.

    • Take off the port board from the bottom of the camera.

  15. Panasonic VDR-D220 DVD Motherboard Replacement: 15 단계, 이미지 1/2 Panasonic VDR-D220 DVD Motherboard Replacement: 15 단계, 이미지 2/2
    • On the motherboard, remove two 5mm screws from the motherboard with your Phillips #0 screwdriver.

  16. Panasonic VDR-D220 DVD Motherboard Replacement: 16 단계, 이미지 1/3 Panasonic VDR-D220 DVD Motherboard Replacement: 16 단계, 이미지 2/3 Panasonic VDR-D220 DVD Motherboard Replacement: 16 단계, 이미지 3/3
    • Remove the remaining three ribbon connections with your plastic opening tool.

    • Once disconnected you will see that the motherboard now moves freely.

    • Rotate the motherboard out of the camera carefully.

    • Disconnect the ribbon cables smoothly and do not try to disconnect them with your hands.

    • Do not allow the ribbon cables to catch on anything, this will cuase them to rip and be unsusable.

  17. Panasonic VDR-D220 DVD Motherboard Replacement: 17 단계, 이미지 1/2 Panasonic VDR-D220 DVD Motherboard Replacement: 17 단계, 이미지 2/2
    • Slide the motherboard from the camera and it should come out smoothly.

결론

To reassemble your device, follow these instructions in reverse order.

다른 한 분이 해당 안내서를 완성하였습니다.

Brandon Gregoire

회원 가입일: 09/18/19

1,325 평판

안내서 6개 작성하였습니다

댓글 0개

댓글 쓰기

조회 통계:

24 시간 전: 3

7일 전: 4

30일 전: 19

전체 시간: 217