Warning: This replacement guide may require the use of a soldering iron unless your replacement screen has speakers, microphone, etc. already attached.
This guide will show you how to remove the screen from your phone and replace it with a new screen.
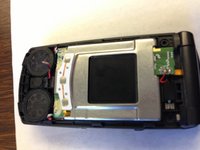
Near the hinge of the phone there is a green circuit board.
On the underside of the board, there is an orange plastic connector that connects the battery to the screen.
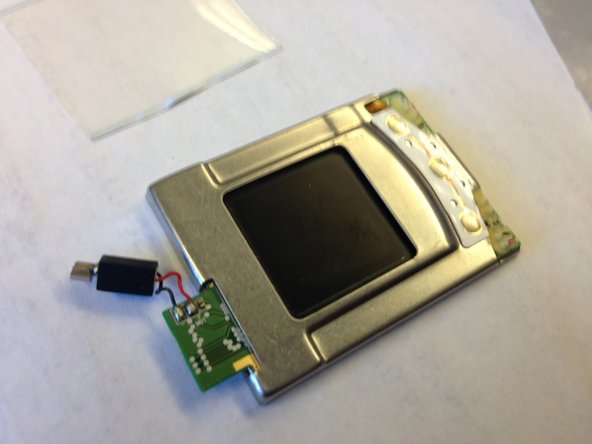
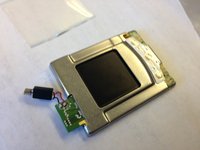
The LCD screen is the metal square with the black LCD screen in the middle (this should not be confused with the clear plastic protective screen on the front of the phone).
Pull the LCD screen out with your fingers and disconnect the circuit board from the orange plastic connector with the spudger.
The original LCD screen will have components (like a microphone, speakers, etc.) attached by wires. If your replacement LCD screen is similar, then take out the original LCD screen (with attachments) and replace it with the new LCD screen. You can skip steps 8-11, since they do not apply to this situation.
Note: If your replacement LCD screen did not come with components (like microphone, speakers, etc.) attached, then continue with the guide as written.
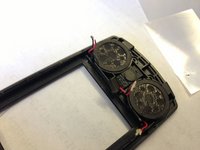
Using wire cutters, disconnect the speaker from the phone.
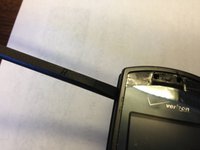
Your phone will look different from these pictures, since the cutting steps have not been performed. Follow the steps in the guide for true instructions - pictures are only to help illustrate locations of steps.
Pull the wires from the screen which connect to the speaker carefully.
Your phone will look different from these pictures, since the cutting steps have not been performed. Follow the steps in the guide for true instructions - pictures are only to help illustrate locations of steps.
Carefully remove the screen. Leave the wires from the speakers exposed (top of the phone).
Your phone will look different from these pictures, since the cutting steps have not been performed. Follow the steps in the guide for true instructions - pictures are only to help illustrate locations of steps.
Make sure all of the wires are out of the way before inserting new screen.
Your phone will look different from these pictures, since the cutting steps have not been performed. Follow the steps in the guide for true instructions - pictures are only to help illustrate locations of steps.
Your phone will look different from these pictures, since the cutting steps have not been performed. Follow the steps in the guide for true instructions - pictures are only to help illustrate locations of steps.
Reattach the backing of the phone with the four screws.
Your phone should now be operational (after reinserting the battery). If it is not, revisit the steps, and make sure everything was reassembled correctly.
If your phone turns on and displays, you are finished!