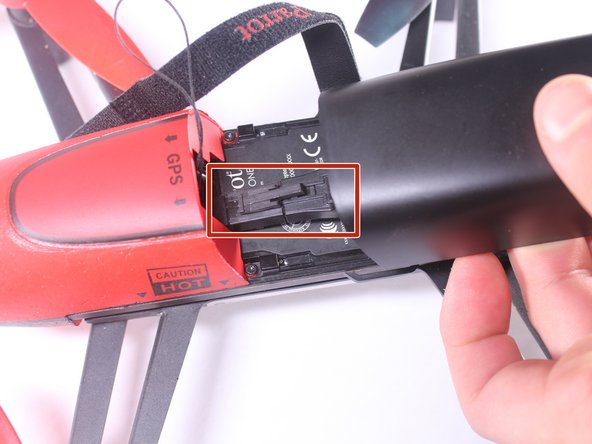
주요 콘텐츠로 건너뛰기

Parrot Bebop Drone Styrofoam Nose Replacement

필요한 것

  1. Parrot Bebop Drone Styrofoam Nose Replacement, Battery: 1 단계, 이미지 1/2 Parrot Bebop Drone Styrofoam Nose Replacement, Battery: 1 단계, 이미지 2/2
    • Begin by removing the velcro strap around the battery.

  2. Parrot Bebop Drone Styrofoam Nose Replacement: 2 단계, 이미지 1/2 Parrot Bebop Drone Styrofoam Nose Replacement: 2 단계, 이미지 2/2
    • While holding onto the nose, gently pull the battery away from the nose.

  3. Parrot Bebop Drone Styrofoam Nose Replacement: 3 단계, 이미지 1/3 Parrot Bebop Drone Styrofoam Nose Replacement: 3 단계, 이미지 2/3 Parrot Bebop Drone Styrofoam Nose Replacement: 3 단계, 이미지 3/3
    • Once the battery is separated from the nose, push down on the connector and pull the battery away from the connector.

  4. Parrot Bebop Drone Styrofoam Nose Replacement, Styrofoam Nose: 4 단계, 이미지 1/2 Parrot Bebop Drone Styrofoam Nose Replacement, Styrofoam Nose: 4 단계, 이미지 2/2
    • Remove the two 7mm T5 torx screws using a screwdriver. There is one located on each side.

  5. Parrot Bebop Drone Styrofoam Nose Replacement: 5 단계, 이미지 1/1
    • Take the metal spudger, to remove the double stick tape from the foam.

  6. Parrot Bebop Drone Styrofoam Nose Replacement: 6 단계, 이미지 1/1
    • Remove the styrofoam nose from over the drone's camera by sliding it towards the front of the drone at an angle.

결론

To reassemble your device, follow these intructions in reverse order

다른 2명이 해당 안내서를 완성하였습니다.

Jamuna Budhathoki

회원 가입일: 02/03/17

137 평판

안내서 1개 작성함

UW Tacoma, Team 1-3, Rose Winter 2017 UW Tacoma, Team 1-3, Rose Winter 2017 회원

UWT-ROSE-W17S1G3

4 회원들

안내서 5개 작성하였습니다

댓글 0개

댓글 쓰기

조회 통계:

24 시간 전: 0

7일 전: 1

30일 전: 2

전체 시간: 899