소개
I've got a Parrot Mambo that flew itself into the ground a little too hard. My friend brought it to me to see if I could remedy a solution. What I found was that the brushed motor had been completely ripped from its contacts; thus leaving no option but to replace it.
필요한 것
-
-
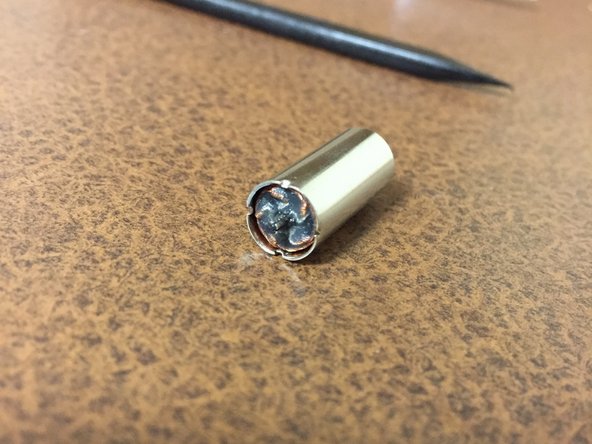
This motor is the defective one. The motor shaft is allowed to move freely up and down. Mine was the front right motor.
-
-
-
Flip quadcopter over to its underside
-
Use spudger or your fingernail to get underneath the rubber foot.
-
Remove rubber foot
-
-
-
-
Use the T4 driver to remove 4 screws.
-
Gently lift up the panel starting from the rear of the quad, and unhooking from the lip on the front.
-
-
-
You will now disconnect the motor wires that correspond to the motor you are replacing. I had to disconnect the rear right in order to correctly rewire the front right motor.
-
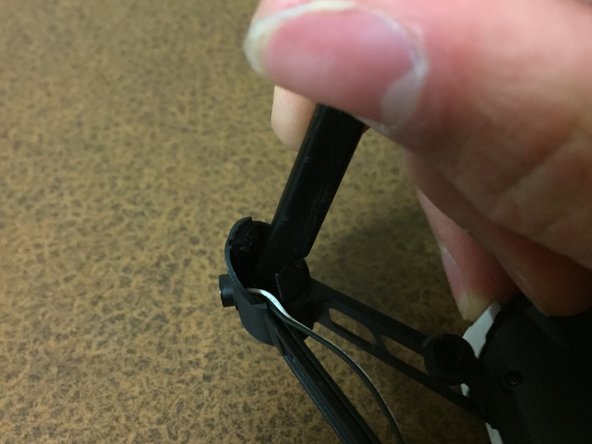
Pull gently on the wire and use the spudger to pop the connector out of its socket
-
Pull wires free from board
-
-
-
Grasp the motor you want to remove in one hand and the frame in the other and pull firmly to pull the motor out.
-
My motor did not work because the contacts were broken in the crash. Thus, the motor separated from its contacts.
-


To reassemble your device, follow these instructions in reverse order.
To reassemble your device, follow these instructions in reverse order.
다른 10명이 해당 안내서를 완성하였습니다.
댓글 6개
Actually, a T3 Torx driver / bit is needed, not a T4.
Yes, that is very small.
Quick Question are the 2 back motors consider motor. “C” ?? Thanks Appericate this
Motor C is front left and rear right