소개
You will be taking the wheel off of your bike, removing the tire from the wheel, and patching the hole.
Notes:
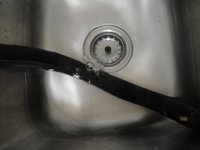
- Make sure that the wheel is fully deflated throughout the process, except for finding the hole.
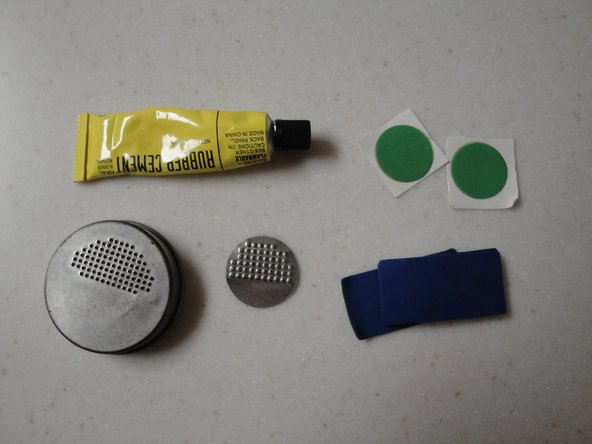
- When applying the rubber cement to the hole, the thinner the layer the better, for faster drying.
필요한 것
-
-
-
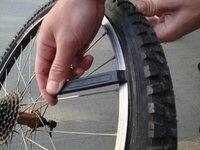
Press the valve core while applying pressure to the tire to deflate the tire.
-


To reassemble your wheel, follow these instructions in reverse order starting at step three.
To reassemble your wheel, follow these instructions in reverse order starting at step three.
다른 6명이 해당 안내서를 완성하였습니다.
팀

Cal Poly, Team 5-13, Maness Fall 2010 Cal Poly, Team 5-13, Maness Fall 2010 회원
CPSU-MANESS-F10S5G13
4 회원들
안내서 17개를 작성함