소개
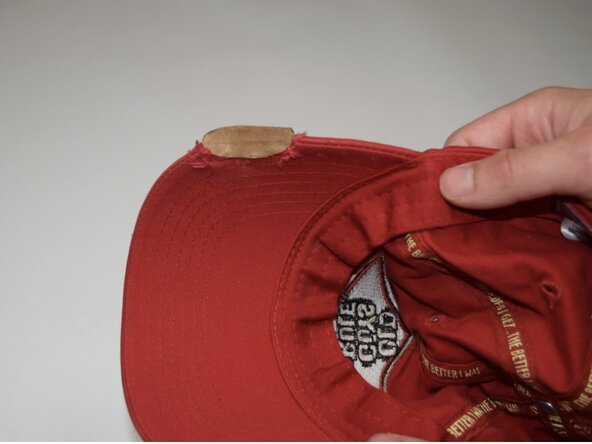
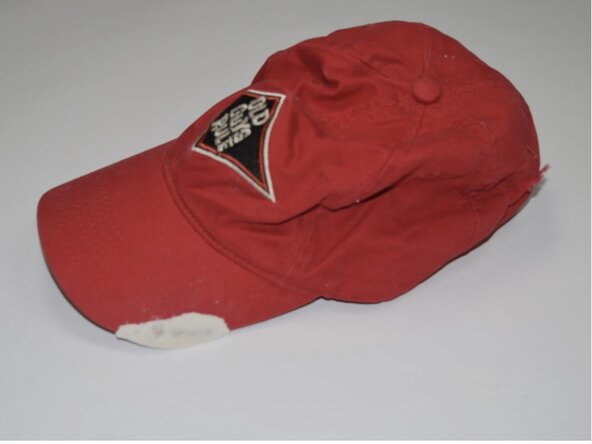
We all love our pets, but sometimes their mischievous personalities lead to damage, including to our favorite hats. This guide provides comprehensive instructions to repair baseball caps that have suffered bites, rips, or everyday wear and tear. This guide focuses specifically on repairing the visor of the hat. In seven easy steps, you will repair your hat even, with no prior repair experience.
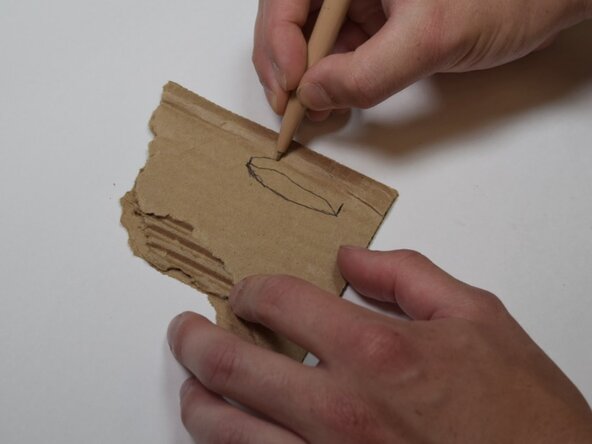
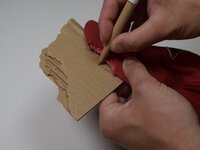
All the materials required for this repair can be found around the house, including cardboard, scrap fabric, glue, and scissors. When using the required tools, be sure to handle X-acto knives with caution and always cut away from your body. Caution must also be exercised with the super glue, as it quickly bonds skin and can cause irritation. Completing the repair using gloves can also reduce risk.
With that said, let's get started!
필요한 것
-
-
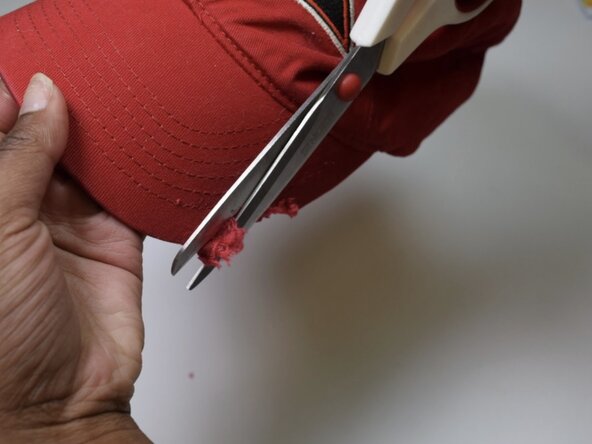
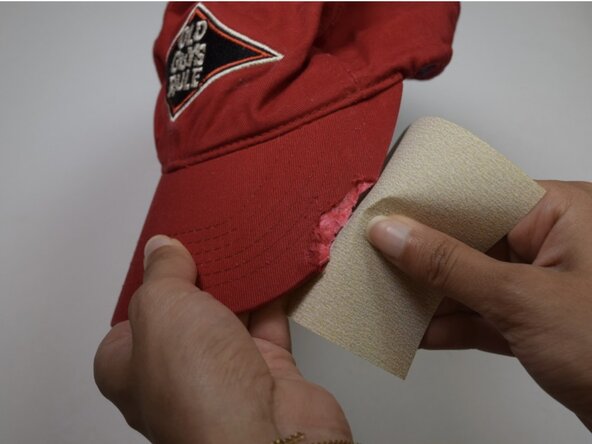
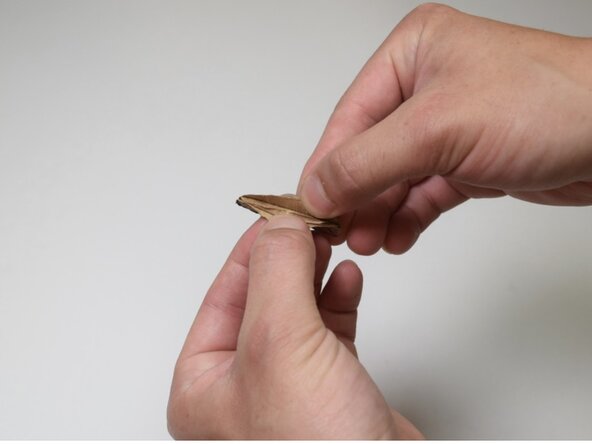
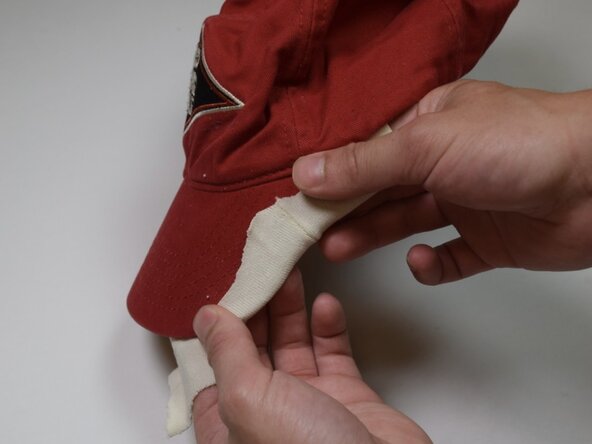
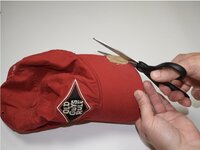
Carefully cut away any torn or damaged sections of the visor using scissors.
-
-
-
-
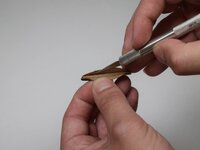
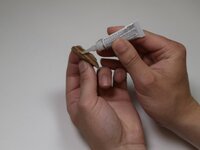
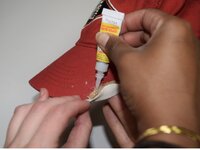
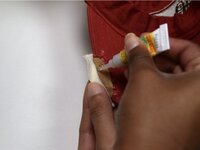
Place superglue into the opened section of the patch.
-
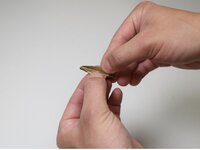
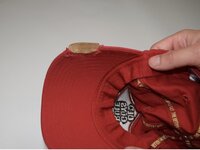
Quickly align the patch with the damaged edge of the visor, with the original visor's material sandwiched between the sides of the cardboard patch.
-
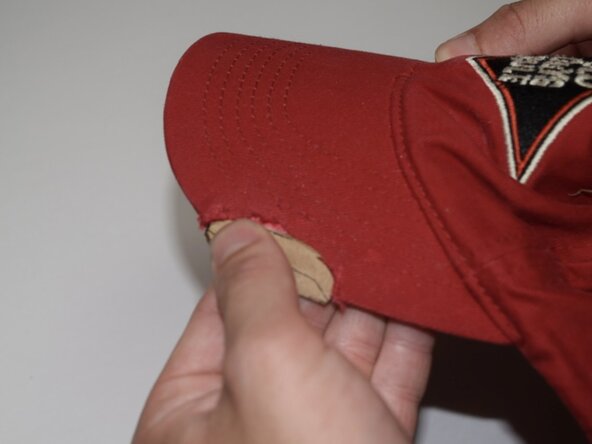
Apply pressure to each side of the patch as it sandwiches the visor. Hold firmly until the glue sets.
-


Now your hat is fully repaired! From here, you may choose to add creative elements such as embroidery or painting to the finished patch.
Thank you for using our repair guide, let us know if this technique worked for you!

팀

UC Davis, Team 2-7, Whithaus Spring 2025 UC Davis, Team 2-7, Whithaus Spring 2025 회원
UCD-WHITHAUS-S25S2G7
3 회원들
안내서 2개를 작성함