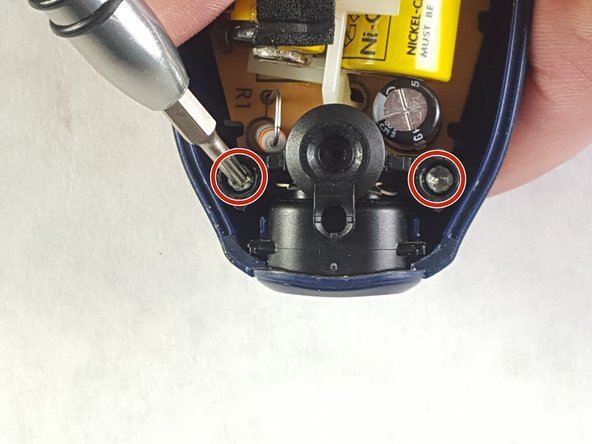
주요 콘텐츠로 건너뛰기

Philips Norelco 5801XL Front and Back Housing Replacement

필요한 것

  1. Philips Norelco 5801XL Front and Back Housing Replacement, Front and/or back housing: 1 단계, 이미지 1/2 Philips Norelco 5801XL Front and Back Housing Replacement, Front and/or back housing: 1 단계, 이미지 2/2
    • Remove the two T8 2 mm Phillips screws on the back housing.

  2. Philips Norelco 5801XL Front and Back Housing Replacement: 2 단계, 이미지 1/2 Philips Norelco 5801XL Front and Back Housing Replacement: 2 단계, 이미지 2/2
    • Separate the back housing and the front housing using the plastic opening tool.

  3. Philips Norelco 5801XL Front and Back Housing Replacement: 3 단계, 이미지 1/3 Philips Norelco 5801XL Front and Back Housing Replacement: 3 단계, 이미지 2/3 Philips Norelco 5801XL Front and Back Housing Replacement: 3 단계, 이미지 3/3
    • Using the plastic opening tool, carefully pry the inside of the middle bracket towards the outside of the housing in order to remove it.

  4. Philips Norelco 5801XL Front and Back Housing Replacement: 4 단계, 이미지 1/1
    • Remove the two T8 2 mm screws near the bottom of the device.

    • Remove the bracket the screws were holding in place.

  5. Philips Norelco 5801XL Front and Back Housing Replacement: 5 단계, 이미지 1/1
    • Insert the plastic opening tool into the charging port and push inwards.

  6. Philips Norelco 5801XL Front and Back Housing Replacement: 6 단계, 이미지 1/1
    • Remove the two T8 2 mm screws near the top of the device shown here.

  7. Philips Norelco 5801XL Front and Back Housing Replacement: 7 단계, 이미지 1/3 Philips Norelco 5801XL Front and Back Housing Replacement: 7 단계, 이미지 2/3 Philips Norelco 5801XL Front and Back Housing Replacement: 7 단계, 이미지 3/3
    • Cautiously lift and twist the circuit board, then begin sliding the inside assembly forward.

    • After sliding it forward, the whole assembly will separate from the rear housing.

  8. Philips Norelco 5801XL Front and Back Housing Replacement: 8 단계, 이미지 1/1
    • The housing and the inside assembly should be completely separated.

결론

Now, you can put the new housing on. To reassemble your device, follow these instructions in reverse order.

Ben Gibbs

회원 가입일: 02/16/16

361 평판

안내서 3개 작성하였습니다

IUPUI, Team 3-2, Harley Spring 2016 IUPUI, Team 3-2, Harley Spring 2016 회원

IUPUI-HARLEY-S16S3G2

4 회원들

안내서 3개 작성하였습니다

댓글 0개

댓글 쓰기

조회 통계:

24 시간 전: 0

7일 전: 2

30일 전: 5

전체 시간: 575