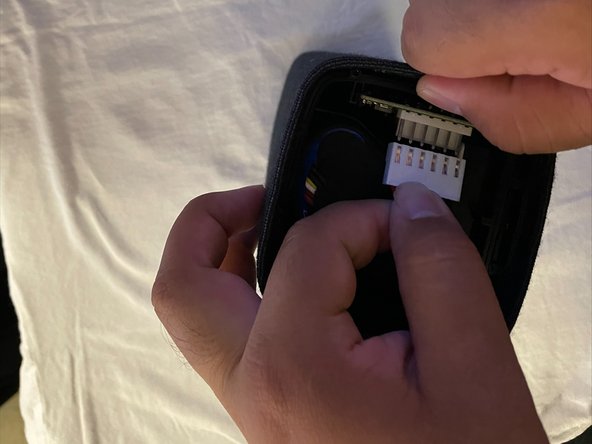
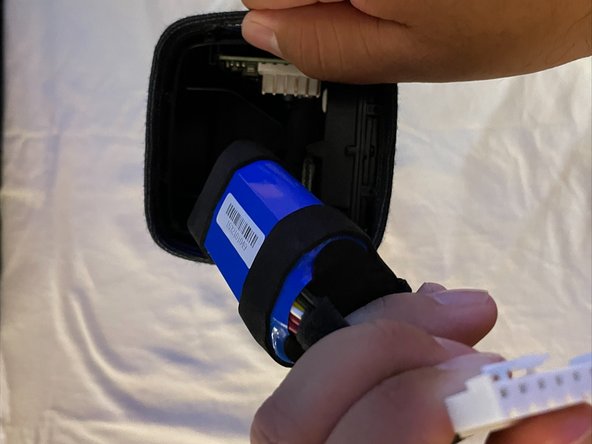
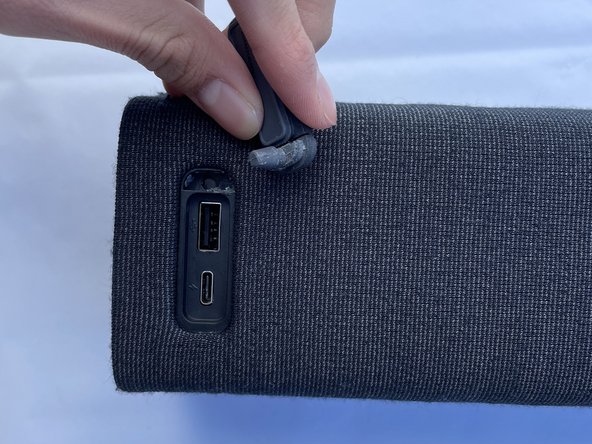
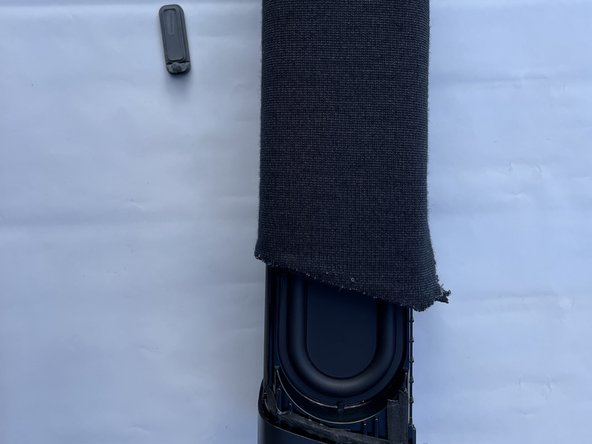
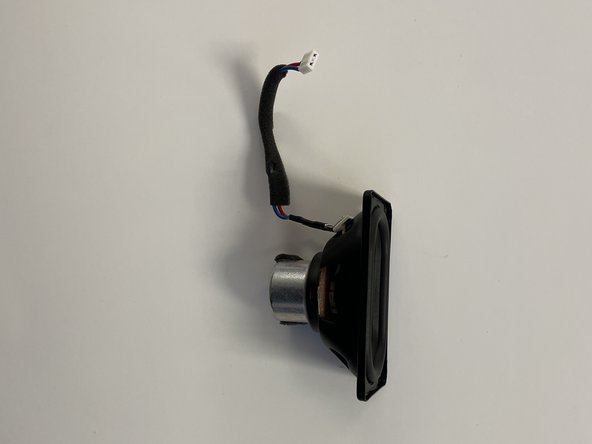
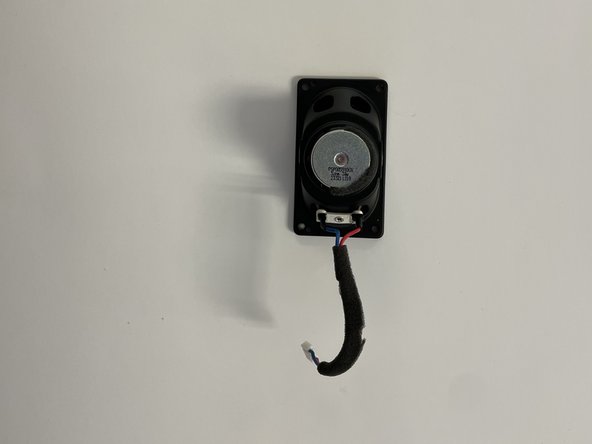
주요 콘텐츠로 건너뛰기

Philips TAS7505 Speaker Replacement

필요한 것

  1. Philips TAS7505 Speaker Replacement, Speaker: 1 단계, 이미지 1/3 Philips TAS7505 Speaker Replacement, Speaker: 1 단계, 이미지 2/3 Philips TAS7505 Speaker Replacement, Speaker: 1 단계, 이미지 3/3
    • Using the opening tool, remove the rubber padding from the bottom of the speaker.

    • The rubber padding is glued on and may require reapplying adhesive to re-assemble.

  2. Philips TAS7505 Speaker Replacement: 2 단계, 이미지 1/3 Philips TAS7505 Speaker Replacement: 2 단계, 이미지 2/3 Philips TAS7505 Speaker Replacement: 2 단계, 이미지 3/3
    • Using the Philips screwdriver head #0, remove all four screws holding the plastic plate in place.

    • Use the same opening tool from the previous step to remove the plastic plate.

  3. Philips TAS7505 Speaker Replacement: 3 단계, 이미지 1/3 Philips TAS7505 Speaker Replacement: 3 단계, 이미지 2/3 Philips TAS7505 Speaker Replacement: 3 단계, 이미지 3/3
    • Now that you have removed this cover, there is another cover. This cover has a total of 9 screws that can be removed with the Philips 0-bit screwdriver bit.

    • Once all these screws are removed, you can take off the cover

  4. Philips TAS7505 Speaker Replacement: 4 단계, 이미지 1/3 Philips TAS7505 Speaker Replacement: 4 단계, 이미지 2/3 Philips TAS7505 Speaker Replacement: 4 단계, 이미지 3/3
    • Squeeze the white connector on the bottom to release a clip that is hidden from sight. This will allow it to be wiggled free.

    • Remove the battery from the speaker by disconnecting the white connector from the motherboard.

  5. Philips TAS7505 Speaker Replacement: 5 단계, 이미지 1/3 Philips TAS7505 Speaker Replacement: 5 단계, 이미지 2/3 Philips TAS7505 Speaker Replacement: 5 단계, 이미지 3/3
    • Find the rubber flap that covers the USB-A and USB-C port

    • Pull on the rubber flap, it should come out whole as shown in the second image

    • Once taken out the rubber flap, pull the interior of the speaker

  6. Philips TAS7505 Speaker Replacement: 6 단계, 이미지 1/2 Philips TAS7505 Speaker Replacement: 6 단계, 이미지 2/2
    • Once you have the speaker body out, unscrew the four screws holding the speaker down

    • Use Philips screwdriver head #0

  7. Philips TAS7505 Speaker Replacement: 7 단계, 이미지 1/1
    • Pull the motherboard out then disconnect the white connector of the speaker by wiggling it back and forth.

    • See the motherboard repair guide for more in-depth instructions on this part

  8. Philips TAS7505 Speaker Replacement: 8 단계, 이미지 1/3 Philips TAS7505 Speaker Replacement: 8 단계, 이미지 2/3 Philips TAS7505 Speaker Replacement: 8 단계, 이미지 3/3
    • The speaker will look like this if you have followed the steps correctly

결론

To reassemble your device, follow these instructions in reverse order.

Frederick Jimenez

회원 가입일: 09/26/22

277 평판

안내서 2개 작성하였습니다

CSU Los Angeles, Team 5-2, Adachi Fall 2022 CSU Los Angeles, Team 5-2, Adachi Fall 2022 회원

CSULA-ADACHI-F22S5G2

5 회원들

안내서 5개 작성하였습니다

댓글 0개

댓글 쓰기

조회 통계:

24 시간 전: 0

7일 전: 6

30일 전: 28

전체 시간: 603