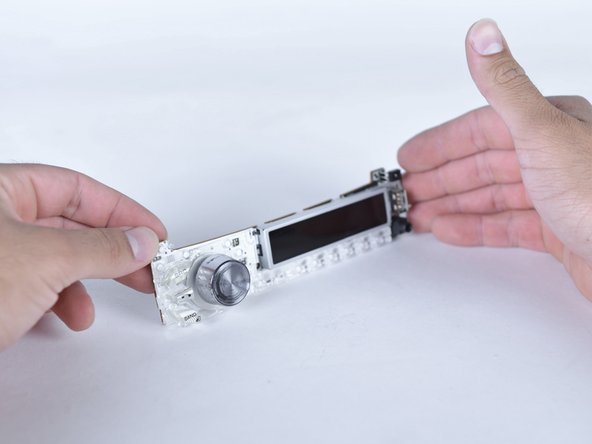
주요 콘텐츠로 건너뛰기

Pioneer MXT-X366BT Knob Replacement

필요한 것

  1. Pioneer MXT-X366BT Knob Replacement, Volume Knob: 1 단계, 이미지 1/1
    • Push the eject button to release the faceplate.

  2. Pioneer MXT-X366BT Knob Replacement: 2 단계, 이미지 1/2 Pioneer MXT-X366BT Knob Replacement: 2 단계, 이미지 2/2
    • Carefully separate the faceplate from the radio.

  3. Pioneer MXT-X366BT Knob Replacement: 3 단계, 이미지 1/1
    • Remove three 3mm Phillips-head screws with a Phillips #1 screwdriver.

  4. Pioneer MXT-X366BT Knob Replacement: 4 단계, 이미지 1/3 Pioneer MXT-X366BT Knob Replacement: 4 단계, 이미지 2/3 Pioneer MXT-X366BT Knob Replacement: 4 단계, 이미지 3/3
    • Remove the back of the face plate.

    • Separate the motherboard from the casing.

    • Handle the motherboard with care.

  5. Pioneer MXT-X366BT Knob Replacement: 5 단계, 이미지 1/2 Pioneer MXT-X366BT Knob Replacement: 5 단계, 이미지 2/2
    • Firmly pull the volume knob.

    • Carefully handle the motherboard to not break it.

    • Some force may be required to remove the knob.

    • Buttons are attached by a ring behind the volume knob.

결론

To reassemble your device, follow these instructions in reverse order.

martin esquivel

회원 가입일: 03/22/18

323 평판

안내서 2개 작성하였습니다

Sam Houston State, Team S17-G7, Blackburne Spring 2018 Sam Houston State, Team S17-G7, Blackburne Spring 2018 회원

SHSU-BLACKBURNE-S18S17G7

4 회원들

안내서 5개 작성하였습니다

댓글 0개

댓글 쓰기

조회 통계:

24 시간 전: 0

7일 전: 3

30일 전: 10

전체 시간: 343