주요 콘텐츠로 건너뛰기

Pioneer R1 Touch Screen Replacement

필요한 것

  1. Pioneer R1 Touch Screen Replacement, Touch Screen: 1 단계, 이미지 1/1
    • Insert your plastic spudger in the opening near the HDMI port.

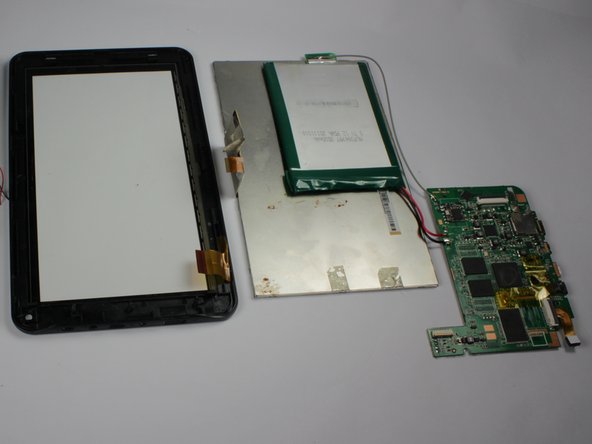
    • Gently pry the back cover of the R1 from the the front by using the spudger along the edges.

    • Do not pull the back cover straight off the R1 as components of the speakers will be attached to both sides.

  2. Pioneer R1 Touch Screen Replacement: 2 단계, 이미지 1/1
    • Lay the R1 flat like an open book.

    • This will prevent the speakers from becoming disconnected from the motherboard.

  3. Pioneer R1 Touch Screen Replacement: 3 단계, 이미지 1/1
    • Remove the tape that is holding the motherboard to the display and covering the cable attachments.

    • Peel back just the end of this tape to free the front facing camera.

  4. Pioneer R1 Touch Screen Replacement: 4 단계, 이미지 1/1
    • Remove the three 4 mm screws along the base of the motherboard with a Phillips #00 Screwdriver.

  5. Pioneer R1 Touch Screen Replacement: 5 단계, 이미지 1/1
    • Disengage the two cable locks using your spudger or your finger nail.

    • Slide the cable free from the disengaged lock.

    • Do not pull across the cables as this may tear and permanently damage it.

  6. Pioneer R1 Touch Screen Replacement: 6 단계, 이미지 1/2 Pioneer R1 Touch Screen Replacement: 6 단계, 이미지 2/2
    • Insert your spudger between the LCD display and the touch screen.

    • Gently pry the LCD display from the the touchscreen by using the spudger along the edges.

  7. Pioneer R1 Touch Screen Replacement: 7 단계, 이미지 1/1
    • Once disengaged, remove the LCD display from the touchscreen.

결론

To reassemble your device, follow these instructions in reverse order.

Christopher Rosario

회원 가입일: 02/17/15

411 평판

안내서 4개 작성하였습니다

San Diego State, Team 1-1, Sheppard Winter 2015 San Diego State, Team 1-1, Sheppard Winter 2015 회원

SDSU-SHEPPARD-W15S1G1

3 회원들

안내서 7개 작성하였습니다

댓글 0개

댓글 쓰기

조회 통계:

24 시간 전: 1

7일 전: 3

30일 전: 9

전체 시간: 2,582