소개
The solenoid valve is critical to operation and if it breaks or becomes unreliable, the marker will not function. This guide shows how to replace the solenoid in the event of failure.
필요한 것
-
-
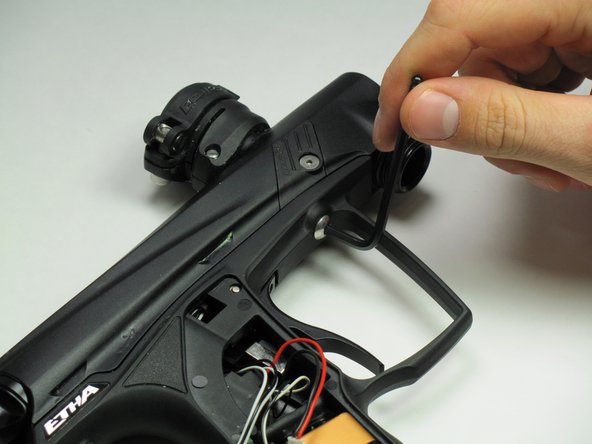
Firmly grasp hold of the ring on the bottom of the 90 degree silver fitting on the front of the gun.
-
Pull hard, but slowly, on the macroline where it comes out of silver piece until it comes out.
-
-
-
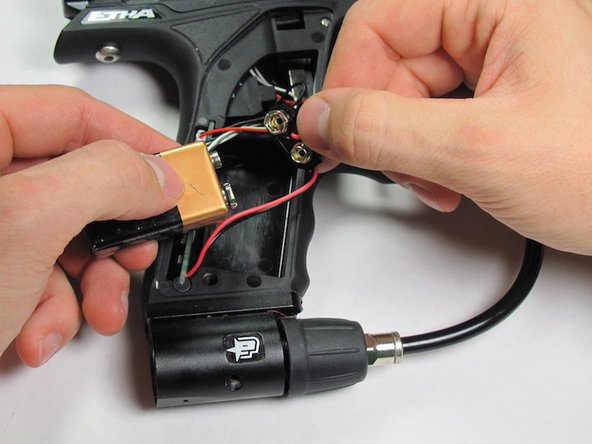
Use the 5/64" hex key to remove the screw shown.
-
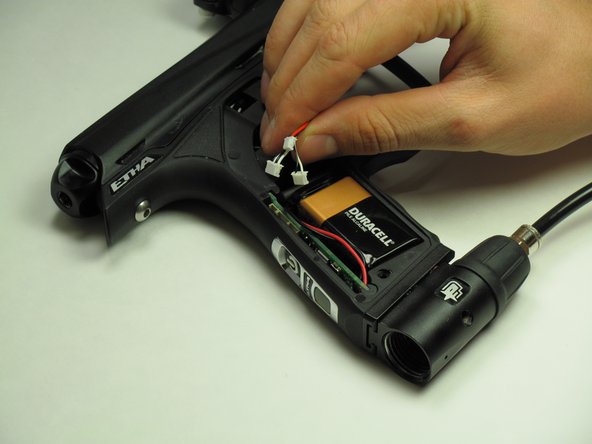
Remove the grip panel by gently holding the bottom of the panel and lifting the panel off.
-
-
-
-
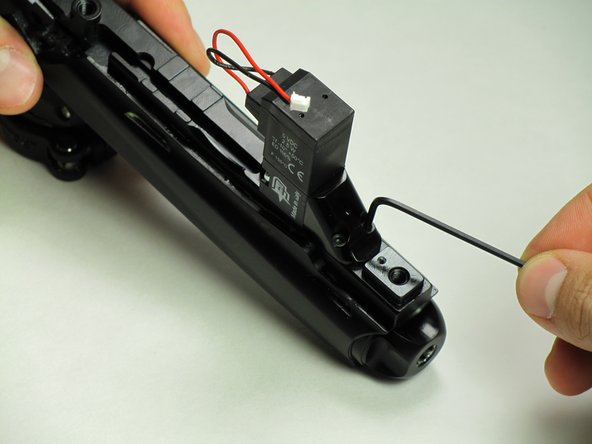
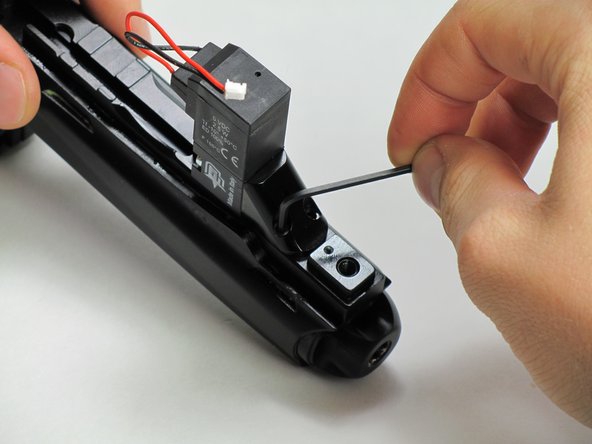
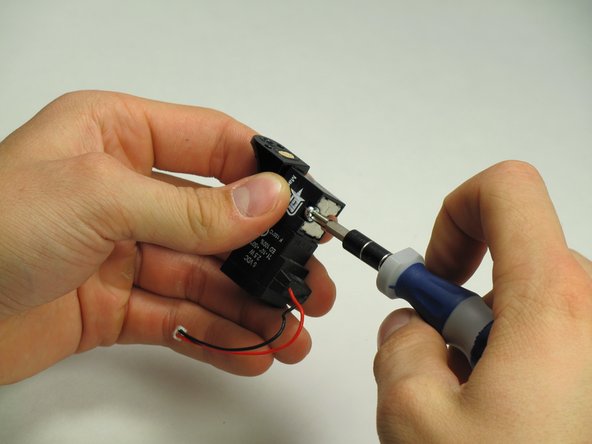
Remove the two black hex bolts that connect the solenoid mount to the body.
-
Use the 5/64" Allen Key to rotate each screw counter clockwise.
-


To reassemble your device, follow these instructions in reverse order.
To reassemble your device, follow these instructions in reverse order.
팀

Cal Poly, Team 10-42, Amido Fall 2014 Cal Poly, Team 10-42, Amido Fall 2014 회원
CPSU-AMIDO-F14S10G42
5 회원들
안내서 7개 작성하였습니다
댓글 3개
Watis the price on etha solenoid, where can i get one , l ma staying in SA, myne is leaking ear,email ratgonefishing @gmail. Com
Hi my etha solenoid leaks ear,where do l get one,wats the price,i m staying in SA
Hello if it’s leaking try to lubricate your O-rings and switch out the filter, these can be very expensive from $55-$99 they don’t Make this model anymore so it’s very hard to find
Eddie -