소개
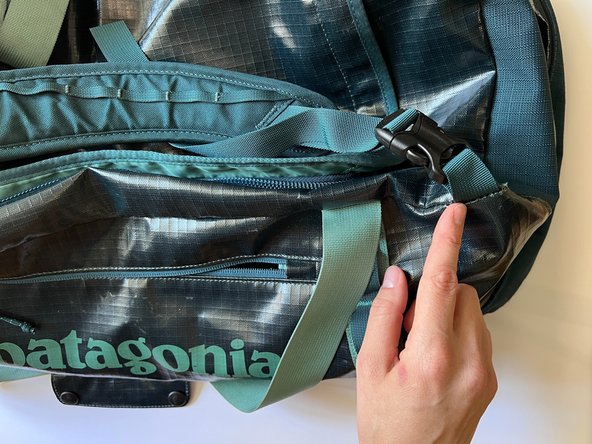
Plastic buckles are common on many Patagonia items, particularly packs, where they are used to fasten and secure straps. The most common reason for failure is when the plastic cracks or breaks.
This guide will demonstrate how to replace a plastic buckle without the need for sewing. To ensure this solution is applicable, confirm that the damaged buckle can be threaded off the item without undoing any stitches.
Read through the entire guide before starting the repair, and gather the necessary tools and materials. While Patagonia-specific materials are ideal, they are not required. Patagonia replacement parts can be obtained by calling or messaging Patagonia Customer Service.
Alternatively, Patagonia products can be taken to a local retail store for repair evaluation or sent in to Patagonia through their mail-in repair service.
Let's get fixing!
WARNING! Small Parts. Patagonia does not recommend conducting these repairs on garments intended for children age 3 or under. Instead, we recommend return of the product for professional repair services.
필요한 것
-
-
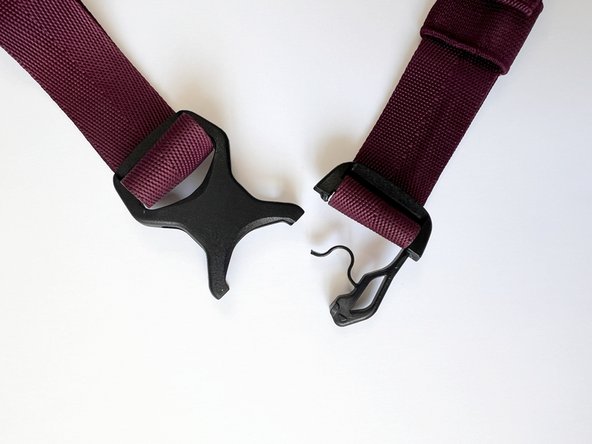
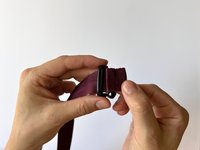
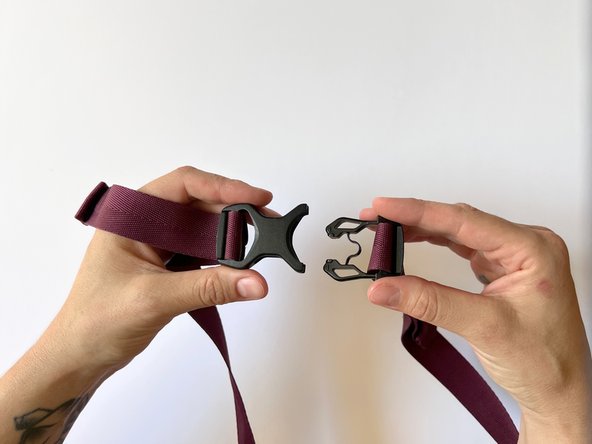
Identify which piece of the buckle is damaged or missing.
-
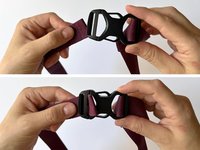
Take note of how both sides of the buckle are attached and how the webbing is oriented.
-
If the buckle is missing entirely, see Step 5 for tips.
-
-
-
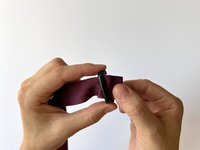
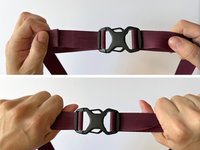
Ensure the replacement piece fits the original piece by clipping the pieces together.
-
-
-
-
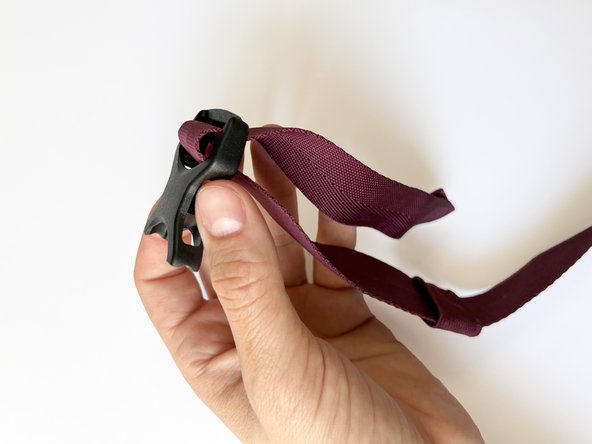
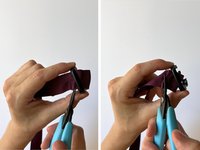
Slide the damaged buckle piece to the end of the webbing.
-
Maneuver one edge of the folded webbing into the buckle piece slot.
-
Use needle nose pliers to grip this edge and pull the rest of the folded end through the buckle piece slot.
-
Discard the damaged buckle piece responsibly.
-
-
-
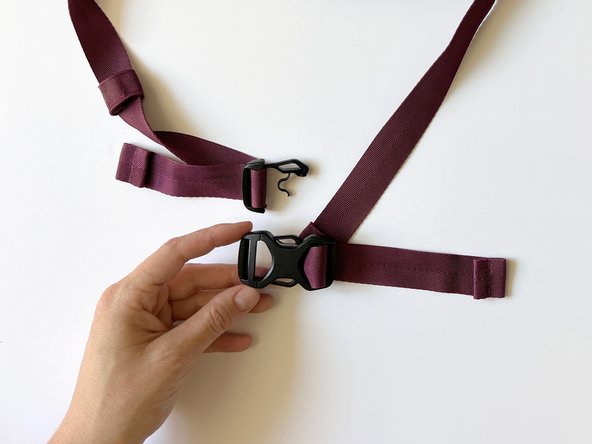
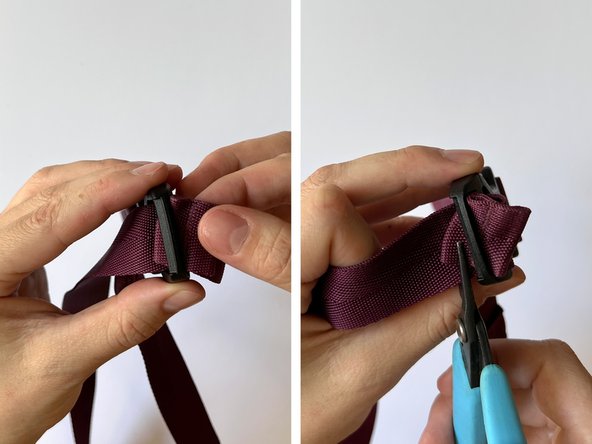
Repeat the technique used in Step 3 in reverse by feeding one corner of the folded webbing end into the buckle piece slot first, then using pliers to pull it all the way through.
-
Pull the webbing on each side of the buckle to ensure that it holds tension on the new piece. If the webbing slides, it may be threaded incorrectly.
-
-
-
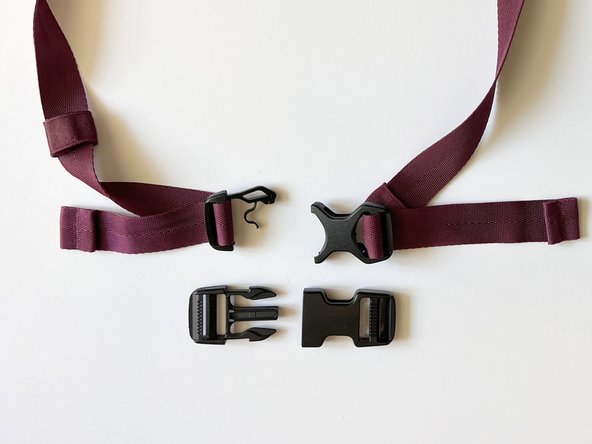
MISSING BUCKLE: If the entire buckle is missing and it's not clear how it was originally oriented on the webbing, follow these guidelines:
-
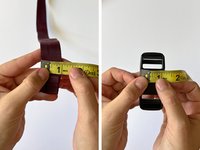
A replacement buckle is sized by the width of the webbing it will be attached to.
-
As a general rule, when fastening a buckle while wearing an item, the release piece (insert) is held in the right hand while the lock piece (receiver) is held in the left hand.
-
VARIATIONS: Sometimes only one side of the buckle will be replaceable, like when one side is sewn onto a backpack.
-


다른 한 분이 해당 안내서를 완성하였습니다.
