이 버전에는 잘못된 편집 사항이 있을 수 있습니다. 최신 확인된 스냅샷으로 전환하십시오.
필요한 것
-
이 단계는 번역되지 않았습니다. 번역을 도와주십시오
-
Using a Phillips #0 screwdriver, remove the four 10mm screws located on the back of the device.
-
-
이 단계는 번역되지 않았습니다. 번역을 도와주십시오
-
Insert the plastic opening tool at the indent.
-
Gently use a forward and backward motion to safely pop open the cover.
-
Using your hands to further pull it apart.
-
-
이 단계는 번역되지 않았습니다. 번역을 도와주십시오
-
Once the device is opened, lift the battery out of the black plastic holder.
-
-
이 단계는 번역되지 않았습니다. 번역을 도와주십시오
-
Using a Phillips head screwdriver, remove the 9mm screw located to the right of the battery, which is connected to the inner plastic frame.
-
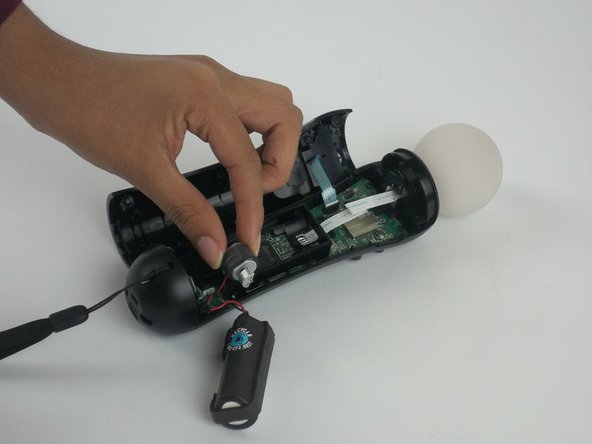
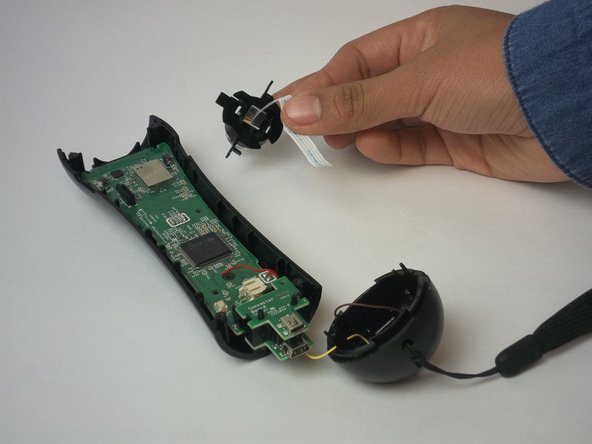
Using the plastic opening tool carefully take out the grey cylindrical piece (vibrator) that is also attached to a wire.
-
-
-
이 단계는 번역되지 않았습니다. 번역을 도와주십시오
-
Using tweezers, remove the small piece with a cylindrical top that is located to the left of the inner plastic frame.
-
-
이 단계는 번역되지 않았습니다. 번역을 도와주십시오
-
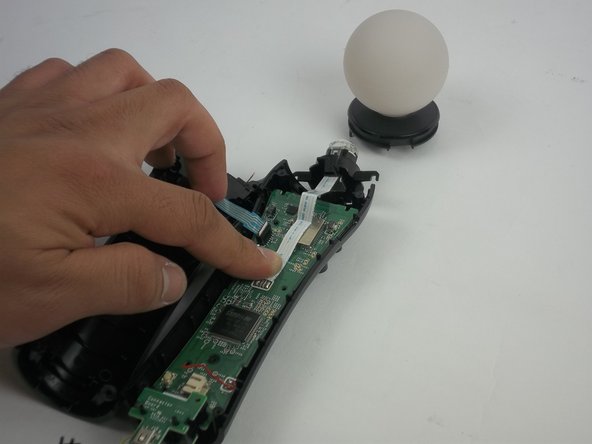
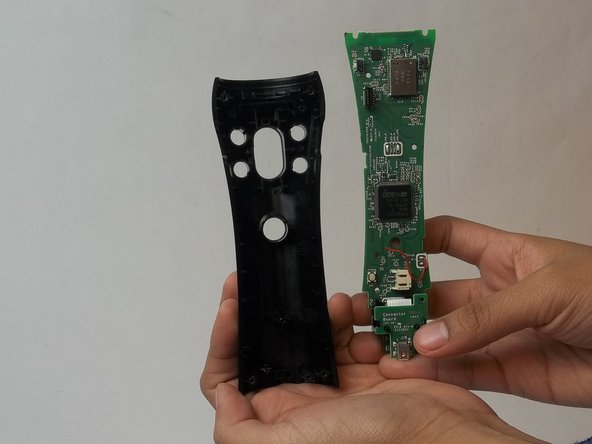
Using one hand to hold the device, and the other hand to squeeze the inner plastic frame.
-
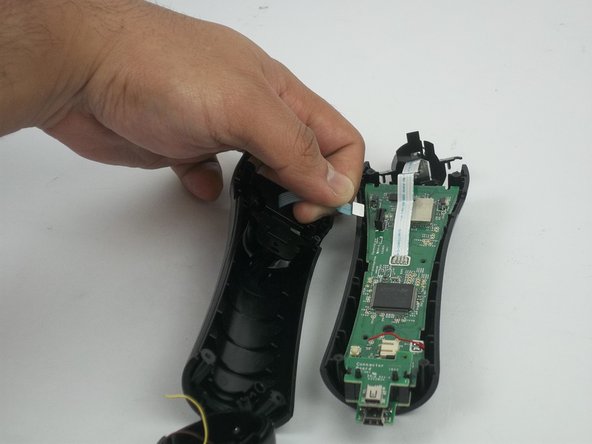
Remove by squeezing the inner plastic frame, lift and pull it towards you.
-
-
이 단계는 번역되지 않았습니다. 번역을 도와주십시오
-
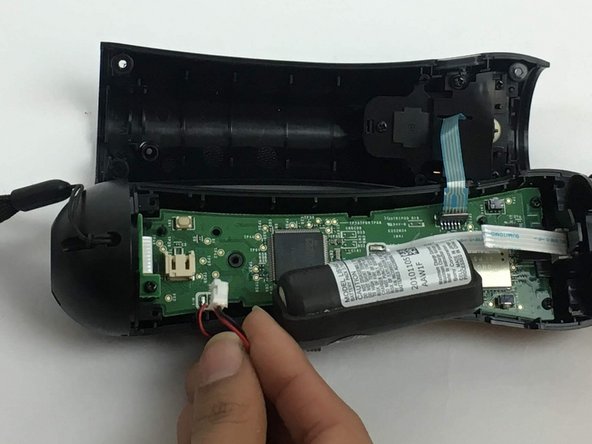
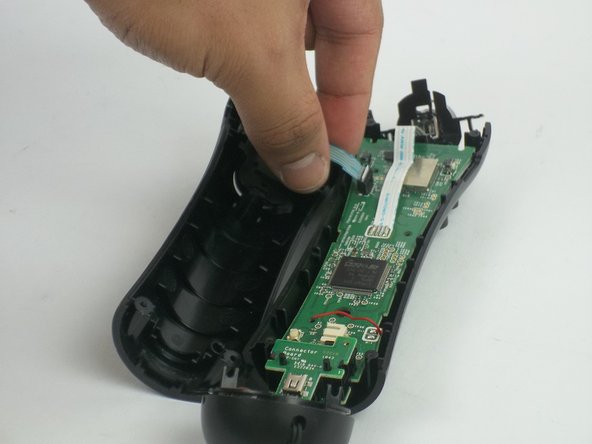
Gently pull on the white piece connecting the battery and the connector.
-
-
이 단계는 번역되지 않았습니다. 번역을 도와주십시오
-
Cautiously remove the circular white piece at the top without removing the LED inside.
-
-
이 단계는 번역되지 않았습니다. 번역을 도와주십시오
-
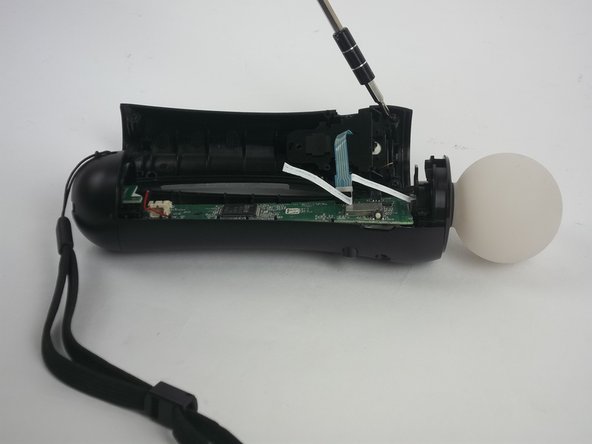
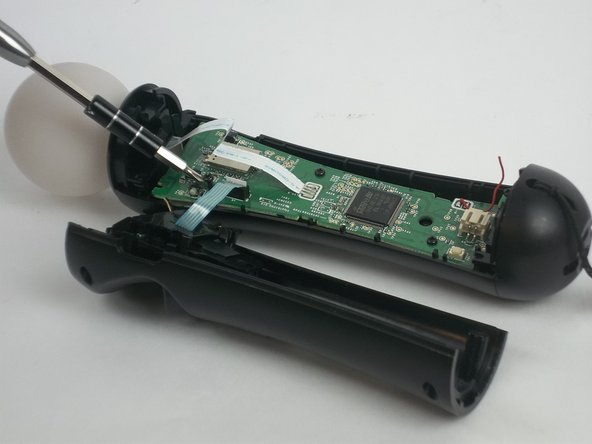
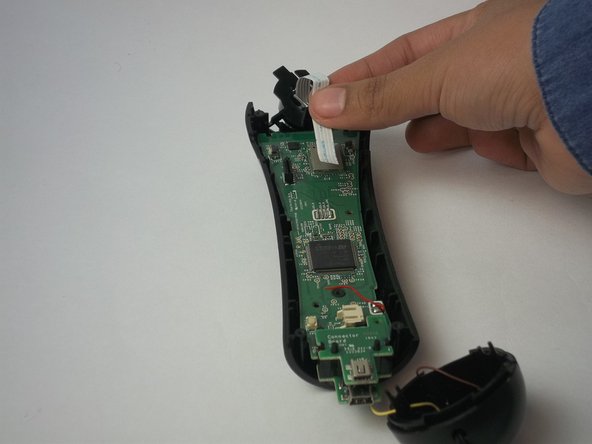
Remove the blue strip that is connected to the trigger button from the motherboard.
-


팀

USF Tampa, Team 3-3, Passmore Fall 2016 USF Tampa, Team 3-3, Passmore Fall 2016 회원
USFT-PASSMORE-F16S3G3
4 회원들
안내서 8개 작성하였습니다
댓글 한 개
This disassembly is destructive (namely to the LED connector as it is soldered to the main board) and has many unnecessary steps for simply replacing the trigger button assembly. It also says no parts are required but you would clearly need replacement trigger parts.