주요 콘텐츠로 건너뛰기

PlayStation Optical Drive Replacement from a SCPH-7501 or SCPH-9001

보관된 가이드
해당 안내서는 단지 역사적인 목적으로 보관됩니다. 최신 버전 안내서를 사용하여 수리 하십시오.

필요한 것

  1. PlayStation Optical Drive Replacement from a SCPH-7501 or SCPH-9001, Optical Drive from a SCPH-7501: 1 단계, 이미지 1/1
    • Remove the parallel port cover on the back of the PlayStation

  2. PlayStation Optical Drive Replacement from a SCPH-7501 or SCPH-9001: 2 단계, 이미지 1/1
    • Flip over the PlayStation and remove the six screws from the bottom.

  3. PlayStation Optical Drive Replacement from a SCPH-7501 or SCPH-9001: 3 단계, 이미지 1/1
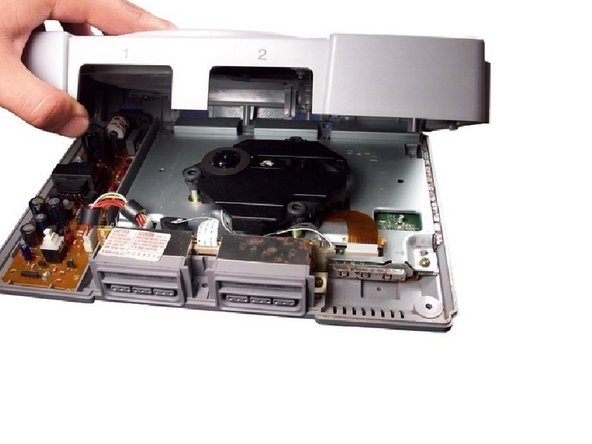
    • Turn the PlayStation upright. Remove the cover by lifting it up.

  4. PlayStation Optical Drive Replacement from a SCPH-7501 or SCPH-9001: 4 단계, 이미지 1/1
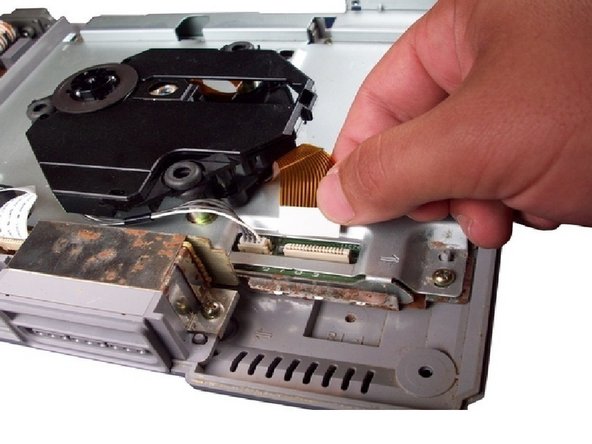
    • Carefully disconnect the gold-colored ribbon cable from it's connector.

    • To avoid damaging the cable, pull it by the white, reinforced tab.

  5. PlayStation Optical Drive Replacement from a SCPH-7501 or SCPH-9001: 5 단계, 이미지 1/1
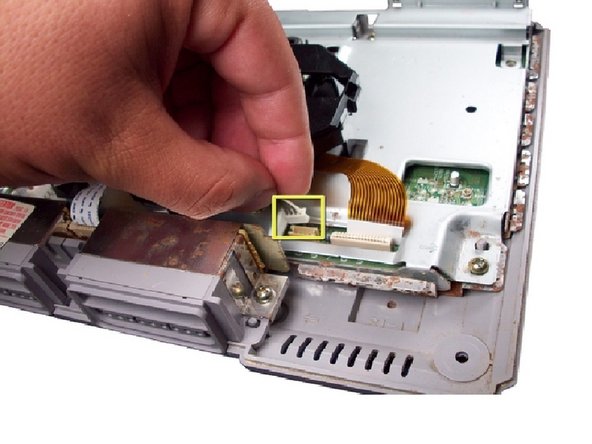
    • Disconnect the second cable by pulling up on the plastic connector at the end.

  6. PlayStation Optical Drive Replacement from a SCPH-7501 or SCPH-9001: 6 단계, 이미지 1/1
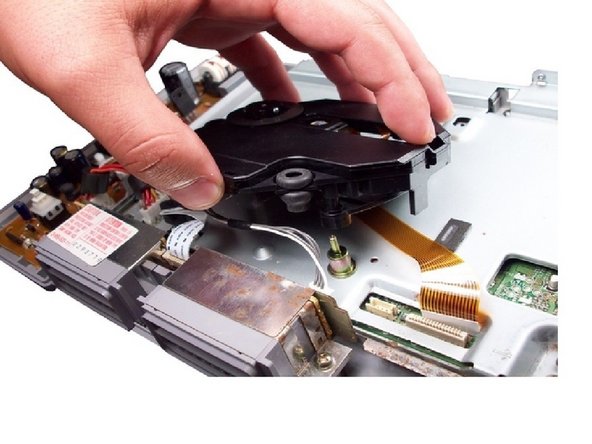
    • Lift the optical drive off of the PlayStation.

  7. PlayStation Optical Drive Replacement from a SCPH-7501 or SCPH-9001: 7 단계, 이미지 1/1
    • Remove the two screws and take off the bottom piece for your new Optical drive from the old one.

  8. PlayStation Optical Drive Replacement from a SCPH-7501 or SCPH-9001: 8 단계, 이미지 1/1
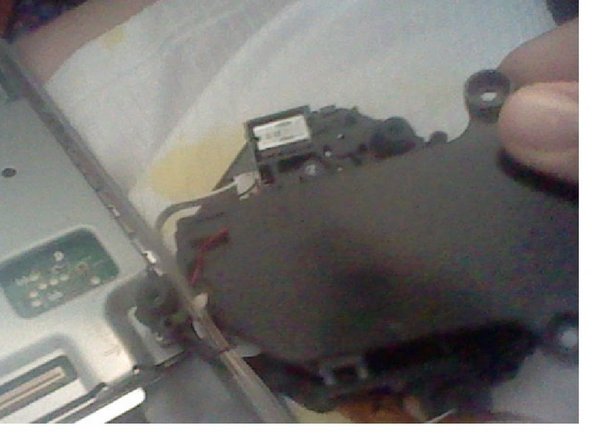
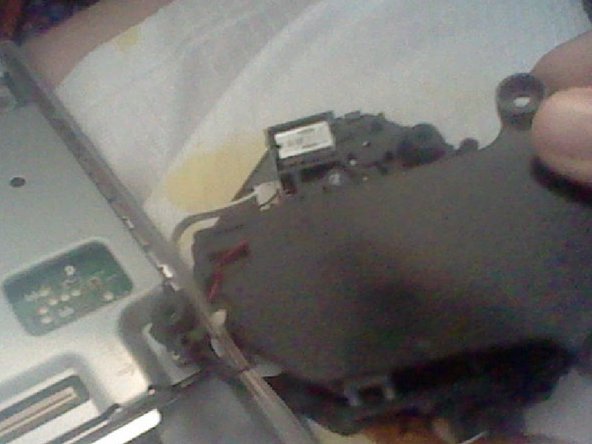
    • Take the new lens either from a SCPH-7501 or SCPH-9001.

    • To avoid damaging the cable, Gently lift on this gold-colored cable that has a pot screw on it and lift it, but not too much.

  9. PlayStation Optical Drive Replacement from a SCPH-7501 or SCPH-9001: 9 단계, 이미지 1/1
    • Take the bottom piece and screw the two screws on the new Optical Drive.

  10. PlayStation Optical Drive Replacement from a SCPH-7501 or SCPH-9001: 10 단계, 이미지 1/1
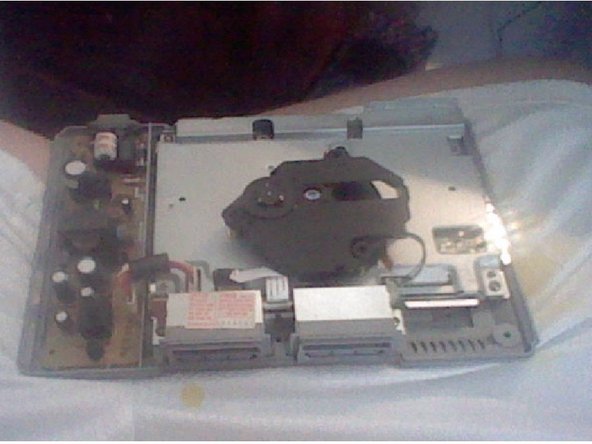
    • Plug the cables back in. Your work should look like this. Put it back together, plug it in, turn it on and see if it works.

결론

To reassemble your device, follow these instructions in reverse order.

Unchi

회원 가입일: 10/27/13

367 평판

안내서 2개 작성하였습니다

댓글 0개

댓글 쓰기

조회 통계:

24 시간 전: 0

7일 전: 0

30일 전: 0

전체 시간: 1,175