주요 콘텐츠로 건너뛰기

PlayStation VR Microphone Replacement

필요한 것

  1. PlayStation VR Microphone Replacement, LED Light Tracker: 1 단계, 이미지 1/3 PlayStation VR Microphone Replacement, LED Light Tracker: 1 단계, 이미지 2/3 PlayStation VR Microphone Replacement, LED Light Tracker: 1 단계, 이미지 3/3
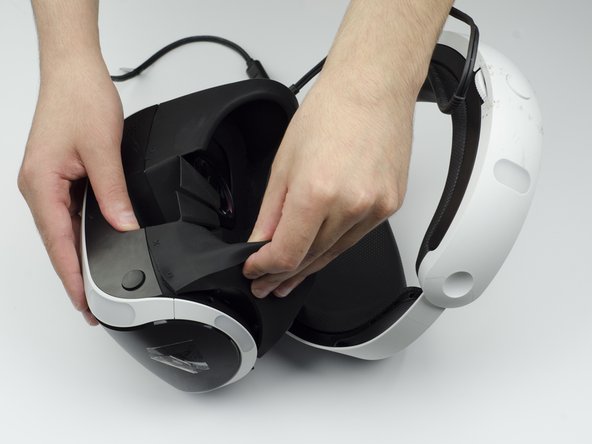
    • Peel back the rubber covering around the lenses to remove the surrounding plastic eyepieces.

  2. PlayStation VR Microphone Replacement: 2 단계, 이미지 1/2 PlayStation VR Microphone Replacement: 2 단계, 이미지 2/2
    • Unscrew four 13 mm screws with a PH #000 screwdriver.

  3. PlayStation VR Microphone Replacement: 3 단계, 이미지 1/2 PlayStation VR Microphone Replacement: 3 단계, 이미지 2/2
    • Using the plastic opening tool, carefully pry the white plastic panel free from the side of the headset. Repeat this action for the opposite side.

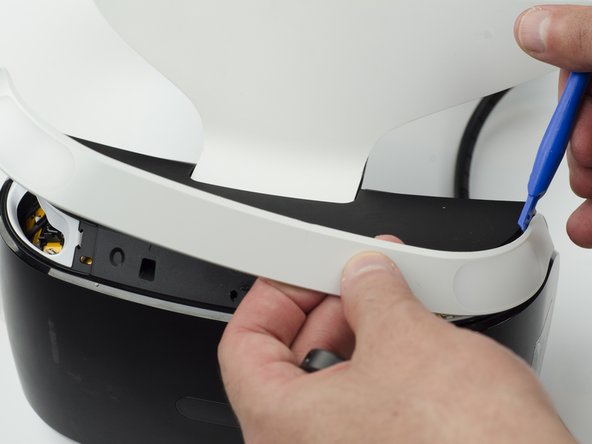
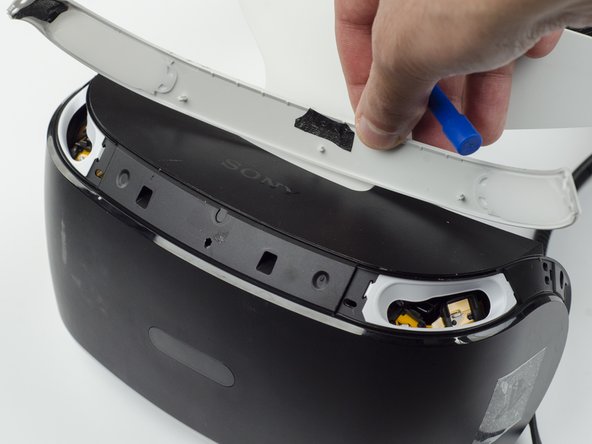
  4. PlayStation VR Microphone Replacement: 4 단계, 이미지 1/3 PlayStation VR Microphone Replacement: 4 단계, 이미지 2/3 PlayStation VR Microphone Replacement: 4 단계, 이미지 3/3
    • Use the plastic opening tool to pry the top white plastic panel free from the headset.

    • Do not try to remove the bottom plastic panel. There is a screw attaching it that must be removed first.

    • There may be a small amount of adhesive attaching the top panel to the headset, in which case you may need to use a bit more force to remove the panel.

  5. PlayStation VR Microphone Replacement: 5 단계, 이미지 1/1
    • Flip the headset over.

    • Using a PH #000, unscrew the 7 mm screw found on the bottom of the headset.

  6. PlayStation VR Microphone Replacement: 6 단계, 이미지 1/3 PlayStation VR Microphone Replacement: 6 단계, 이미지 2/3 PlayStation VR Microphone Replacement: 6 단계, 이미지 3/3
    • Using the plastic opening tool, pry the bottom white plastic panel loose and remove it from the headset.

    • There is adhesive attaching the panel to the headset, in which case it will take more force to remove the panel.

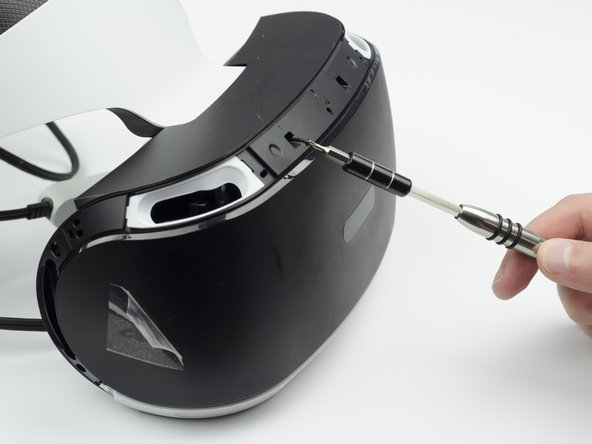
  7. PlayStation VR Microphone Replacement: 7 단계, 이미지 1/3 PlayStation VR Microphone Replacement: 7 단계, 이미지 2/3 PlayStation VR Microphone Replacement: 7 단계, 이미지 3/3
    • Unscrew the two 7 mm screws from the top of the headset.

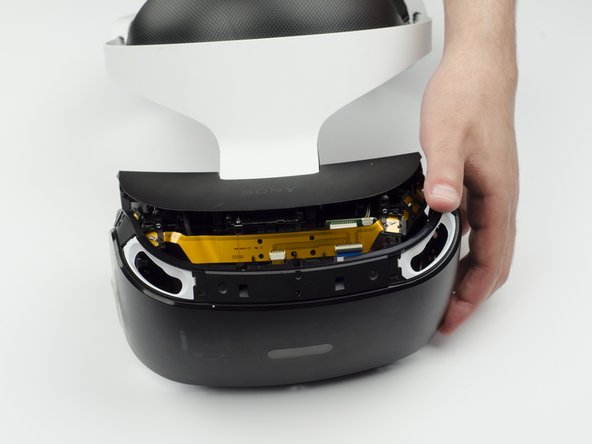
  8. PlayStation VR Microphone Replacement: 8 단계, 이미지 1/3 PlayStation VR Microphone Replacement: 8 단계, 이미지 2/3 PlayStation VR Microphone Replacement: 8 단계, 이미지 3/3
    • Using your fingers, carefully pry the black front panel free from the headset.

    • We recommend that you start the removal from the sides by pulling them forward.

    • There is adhesive holding the front panel in place, which means you will need a bit of extra force to remove it.

  9. PlayStation VR Microphone Replacement: 9 단계, 이미지 1/1
    • Unscrew the four silver 6 mm screws in each corner using a PH #000 screwdriver.

  10. PlayStation VR Microphone Replacement: 10 단계, 이미지 1/3 PlayStation VR Microphone Replacement: 10 단계, 이미지 2/3 PlayStation VR Microphone Replacement: 10 단계, 이미지 3/3
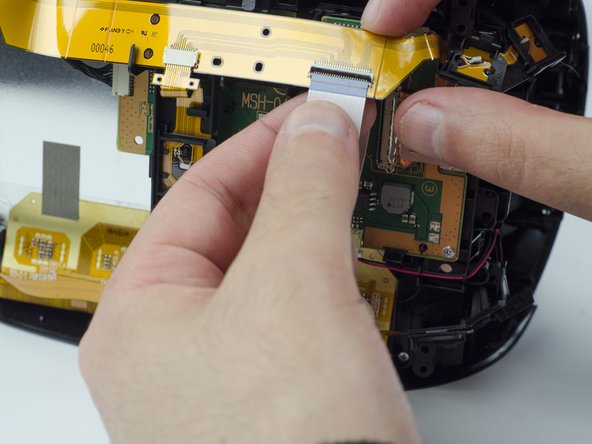
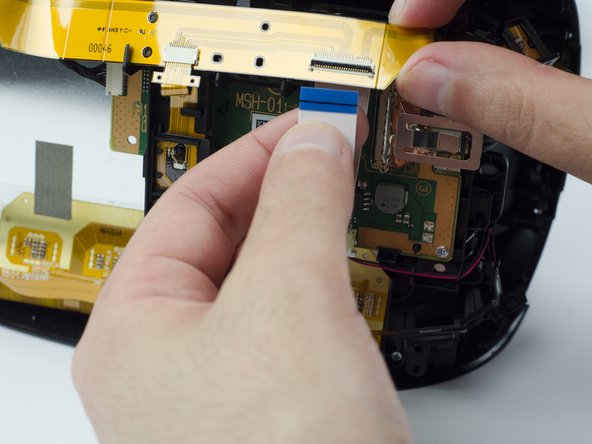
    • Lift the small silver latch attaching the ZIF (zero insertion force) connector to the circuit board.

    • Carefully pull the end of the white ribbon connector from its slot.

    • Be careful not to damage or dirty the ribbon connector.

  11. PlayStation VR Microphone Replacement: 11 단계, 이미지 1/2 PlayStation VR Microphone Replacement: 11 단계, 이미지 2/2
    • Unhitch the yellow led connector ribbon and move it aside.

    • Be careful not to damage or dirty the ribbon connector.

  12. PlayStation VR Microphone Replacement: 12 단계, 이미지 1/3 PlayStation VR Microphone Replacement: 12 단계, 이미지 2/3 PlayStation VR Microphone Replacement: 12 단계, 이미지 3/3
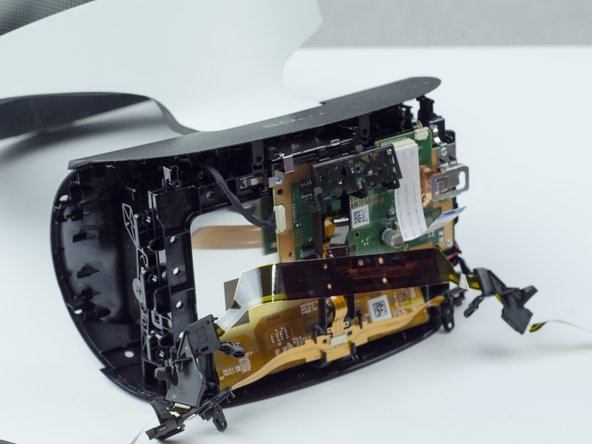
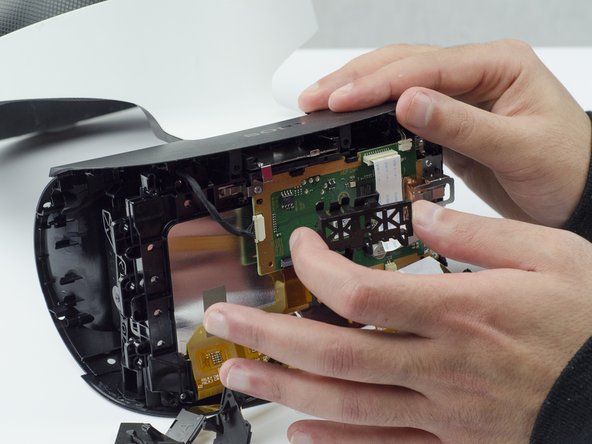
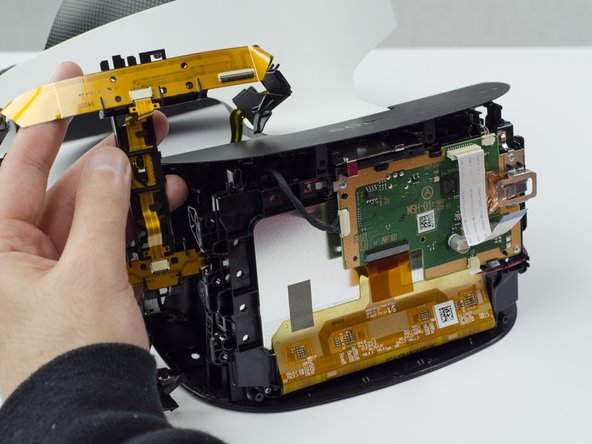
    • Carefully pry the black plastic piece attaching the yellow ribbon to the headset away from the green circuit board.

    • Remove the yellow LED ribbons and black plastic connecting piece from the headset.

  13. PlayStation VR Microphone Replacement, Microphone: 13 단계, 이미지 1/1
    • Pinch the small white cable connector and unplug it from the motherboard.

    • The microphone will be attached to the white cable connector on the bottom right of the motherboard.

결론

To reassemble your device, follow these instructions in reverse order.

다른 한 분이 해당 안내서를 완성하였습니다.
Elliott Ruoff

회원 가입일: 02/15/21

340 평판

안내서 3개 작성하였습니다

댓글 0개

댓글 쓰기

조회 통계:

24 시간 전: 0

7일 전: 2

30일 전: 6

전체 시간: 1,015