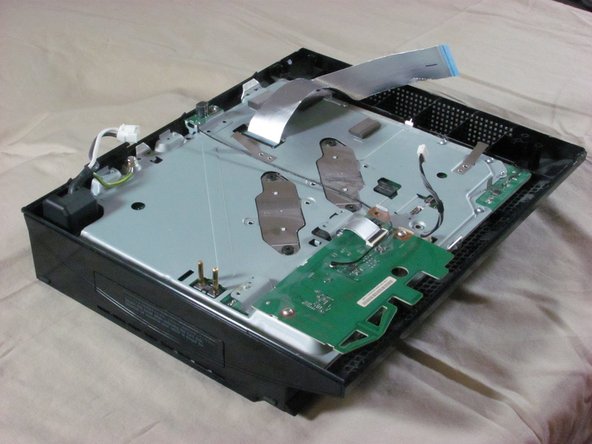
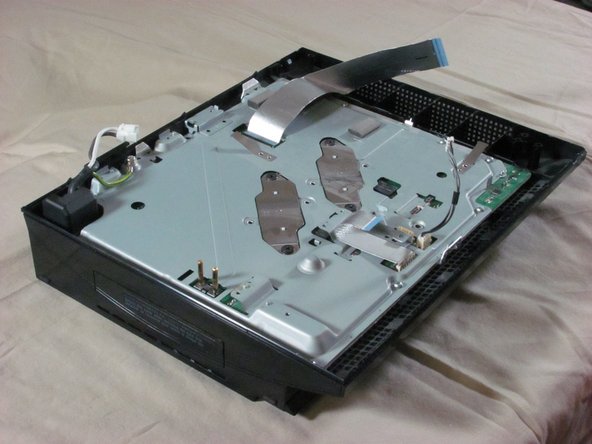
주요 콘텐츠로 건너뛰기

Playstation 3 Motherboard Replacement

보관된 가이드
해당 안내서는 단지 역사적인 목적으로 보관됩니다. 최신 버전 안내서를 사용하여 수리 하십시오.

필요한 것

  1. Playstation 3 Motherboard Replacement, Top Cover: 1 단계, 이미지 1/2 Playstation 3 Motherboard Replacement, Top Cover: 1 단계, 이미지 2/2
    • Remove the rubber screw cover near the hard drive cover with a spudger.

  2. Playstation 3 Motherboard Replacement: 2 단계, 이미지 1/1
    • Remove the screw holding the top cover in place with a Torx T10 screwdriver.

  3. Playstation 3 Motherboard Replacement: 3 단계, 이미지 1/2 Playstation 3 Motherboard Replacement: 3 단계, 이미지 2/2
    • Slide the top cover down about half an inch.

    • Lift the cover off of the PS3.

  4. Playstation 3 Motherboard Replacement: 4 단계, 이미지 1/2 Playstation 3 Motherboard Replacement: 4 단계, 이미지 2/2
    • Remove the seven screws in the top cover with a Phillips #2 screwdriver.

    • One of the screws is shorter than the others. The short screw is marked in yellow.

  5. Playstation 3 Motherboard Replacement: 5 단계, 이미지 1/3 Playstation 3 Motherboard Replacement: 5 단계, 이미지 2/3 Playstation 3 Motherboard Replacement: 5 단계, 이미지 3/3
    • You can now lift off the top cover.

  6. Playstation 3 Motherboard Replacement, Power Supply: 6 단계, 이미지 1/2 Playstation 3 Motherboard Replacement, Power Supply: 6 단계, 이미지 2/2
    • Unplug the white wires connected to the wireless board. There are two sets of wires: one set in the front, one in the back.

    • Push down the tab on the connector to disconnect the wires.

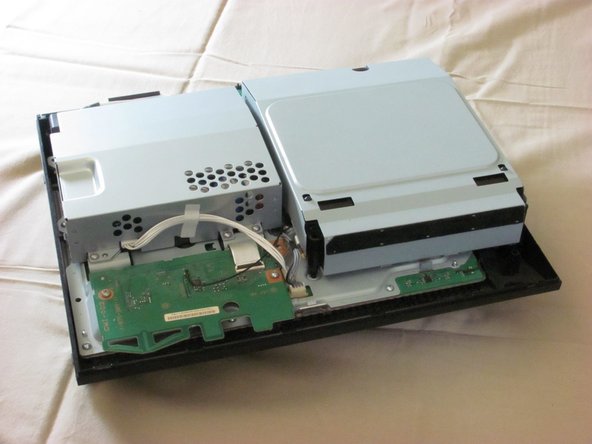
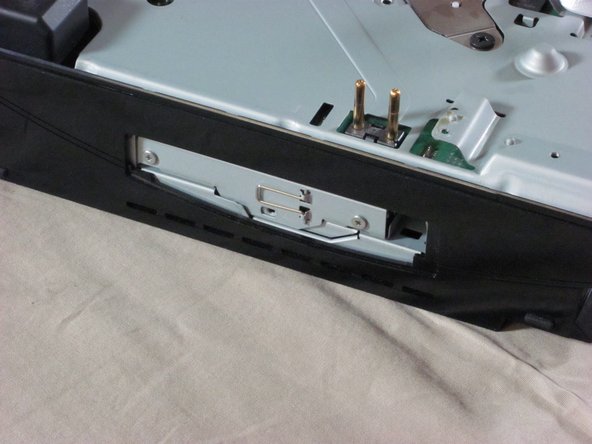
    • Remove the two screws on the front of the power supply.

  7. Playstation 3 Motherboard Replacement: 7 단계, 이미지 1/1
    • Remove the screws on the back of the power supply with a Phillips #2 screwdriver.

  8. Playstation 3 Motherboard Replacement: 8 단계, 이미지 1/2 Playstation 3 Motherboard Replacement: 8 단계, 이미지 2/2
    • Remove the power supply by lifting it straight up.

  9. Playstation 3 Motherboard Replacement, Motherboard Enclosure: 9 단계, 이미지 1/2 Playstation 3 Motherboard Replacement, Motherboard Enclosure: 9 단계, 이미지 2/2
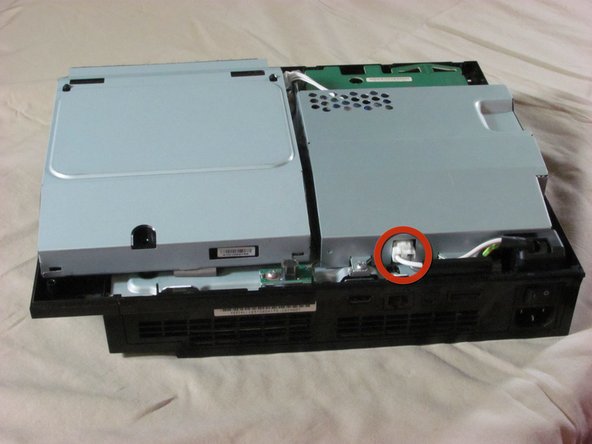
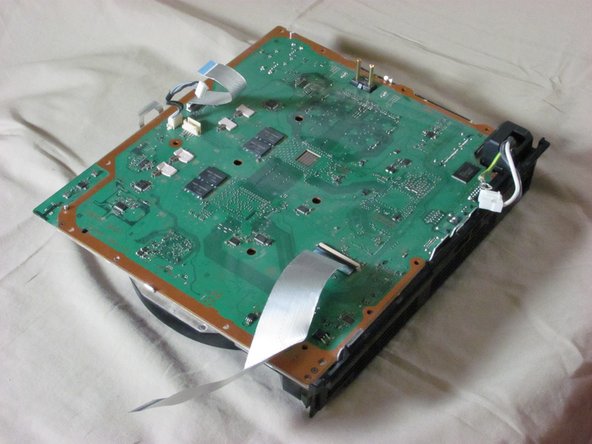
    • Unplug the optical drive power cable.

    • Detach the ribbon cable that connects the optical drive to the motherboard.

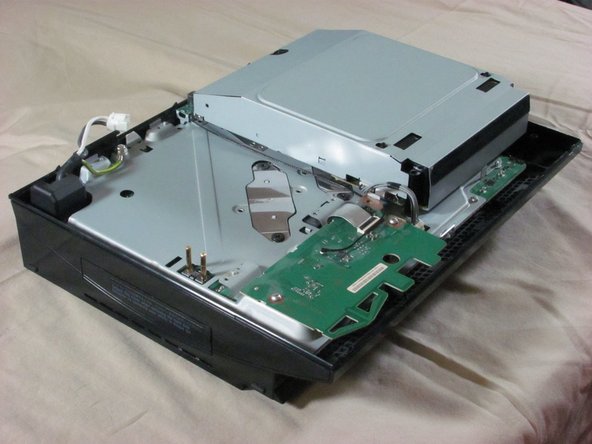
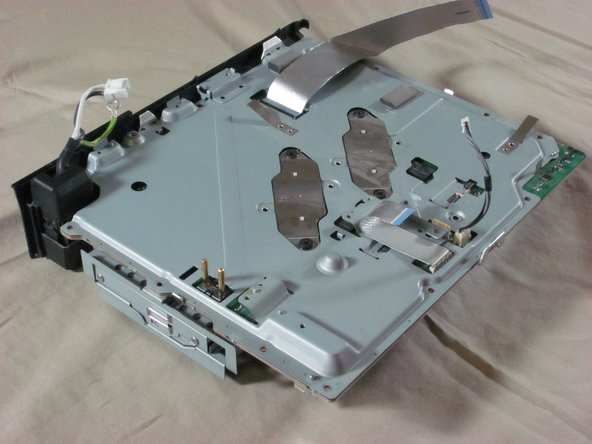
    • Set the optical drive aside.

  10. Playstation 3 Motherboard Replacement: 10 단계, 이미지 1/2 Playstation 3 Motherboard Replacement: 10 단계, 이미지 2/2
    • Remove three screws (Phillips #2) from the wireless board and antenna.

    • Detach the ribbon cable that connects the wireless board to the motherboard.

  11. Playstation 3 Motherboard Replacement: 11 단계, 이미지 1/1
    • Remove nine screws (Phillips #2) from the perimeter of the metal plate covering the motherboard.

  12. Playstation 3 Motherboard Replacement: 12 단계, 이미지 1/3 Playstation 3 Motherboard Replacement: 12 단계, 이미지 2/3 Playstation 3 Motherboard Replacement: 12 단계, 이미지 3/3
    • Remove the hard drive door with a spudger.

    • Lift the metal enclosure out of the plastic bottom case.

  13. Playstation 3 Motherboard Replacement, Motherboard: 13 단계, 이미지 1/2 Playstation 3 Motherboard Replacement, Motherboard: 13 단계, 이미지 2/2
    • Remove four black screws (Phillips #2) from the top plate of the motherboard enclosure.

    • The two, small plates held down by the screws should become loose. Remove these plates.

    • Remove these plates.

  14. Playstation 3 Motherboard Replacement: 14 단계, 이미지 1/1
    • Remove the large, top plate by tilting it back until it comes off.

  15. Playstation 3 Motherboard Replacement: 15 단계, 이미지 1/2 Playstation 3 Motherboard Replacement: 15 단계, 이미지 2/2
    • Slide the back panel out of the enclosure.

  16. Playstation 3 Motherboard Replacement: 16 단계, 이미지 1/3 Playstation 3 Motherboard Replacement: 16 단계, 이미지 2/3 Playstation 3 Motherboard Replacement: 16 단계, 이미지 3/3
    • Lift the motherboard to separate it from the rest of the enclosure.

    • There are two blocks on the bottom of the motherboard that stick to the metal plate with thermal paste. When reattaching the motherboard to its enclosure, make sure to put thermal paste on those blocks.

    • Detach the two ribbon cables from the motherboard.

결론

To reassemble your device, follow these instructions in reverse order.

다른 3명이 해당 안내서를 완성하였습니다.

iDeleted

회원 가입일: 07/07/10

2,101 평판

안내서 39개 작성하였습니다

댓글 0개

댓글 쓰기

조회 통계:

24 시간 전: 0

7일 전: 1

30일 전: 1

전체 시간: 3,140