주요 콘텐츠로 건너뛰기

Polaroid PMID4312 Charging Port Replacement

필요한 것

  1. Polaroid PMID4312 Charging Port Replacement, Battery: 1 단계, 이미지 1/1
    • Pry the seam between the screen and the case and slide it on all four sides with a large plastic opening tool until the plastic case comes off.

  2. Polaroid PMID4312 Charging Port Replacement: 2 단계, 이미지 1/1
    • Lift the device off of the case and flip over the device so that it sits screen side down.

  3. Polaroid PMID4312 Charging Port Replacement: 3 단계, 이미지 1/1
    • The device is now free from the plastic case.

  4. Polaroid PMID4312 Charging Port Replacement: 4 단계, 이미지 1/2 Polaroid PMID4312 Charging Port Replacement: 4 단계, 이미지 2/2
    이 단계에 사용된 도구:
    Plastic Cards
    $2.99
    구매
    • Wedge a plastic card beneath the battery unit and wiggle the card side to side and up and down gently until the glue sealing the battery to the device is broken.

  5. Polaroid PMID4312 Charging Port Replacement: 5 단계, 이미지 1/1
    • Peel back any yellow tape not directly attached to the battery.

    • Using a soldering iron, desolder the two wires that connect the battery to the motherboard.

  6. Polaroid PMID4312 Charging Port Replacement, Speaker: 6 단계, 이미지 1/2 Polaroid PMID4312 Charging Port Replacement, Speaker: 6 단계, 이미지 2/2
    • Remove the two 5mm screws attached to the top right and bottom left corners of the speaker

  7. Polaroid PMID4312 Charging Port Replacement: 7 단계, 이미지 1/2 Polaroid PMID4312 Charging Port Replacement: 7 단계, 이미지 2/2
    • Solder off the wires connecting the speaker to the device

  8. Polaroid PMID4312 Charging Port Replacement: 8 단계, 이미지 1/1
    • Pull the speaker out of the casing to release it.

  9. Polaroid PMID4312 Charging Port Replacement, Motherboard: 9 단계, 이미지 1/2 Polaroid PMID4312 Charging Port Replacement, Motherboard: 9 단계, 이미지 2/2
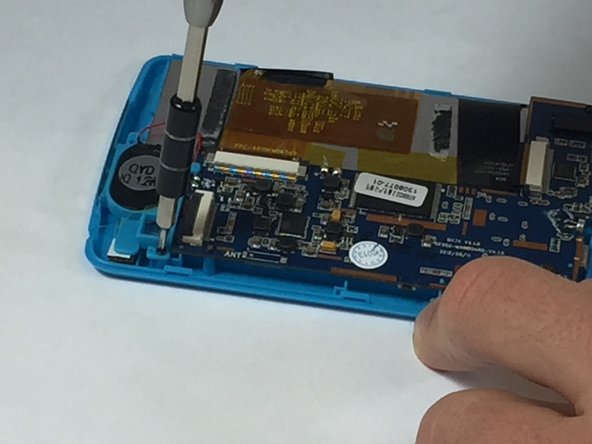
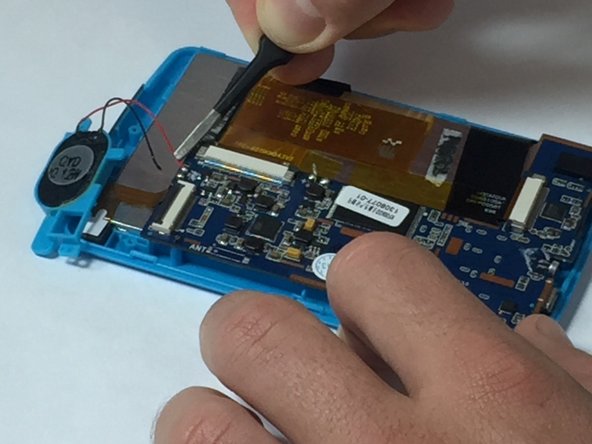
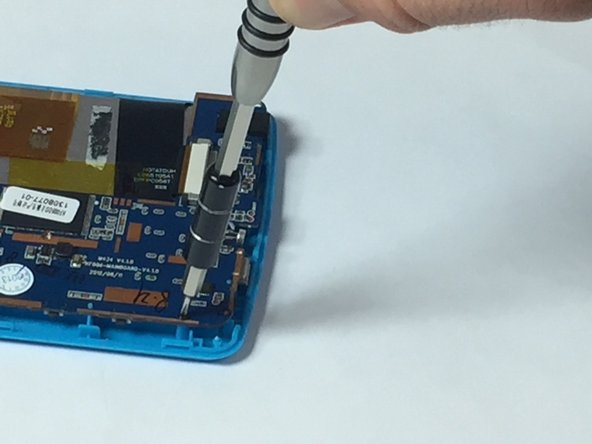
    • Using the ph#00 screwdriver, remove the four 5mm screws connecting the motherboard to the casing.

  10. Polaroid PMID4312 Charging Port Replacement: 10 단계, 이미지 1/3 Polaroid PMID4312 Charging Port Replacement: 10 단계, 이미지 2/3 Polaroid PMID4312 Charging Port Replacement: 10 단계, 이미지 3/3
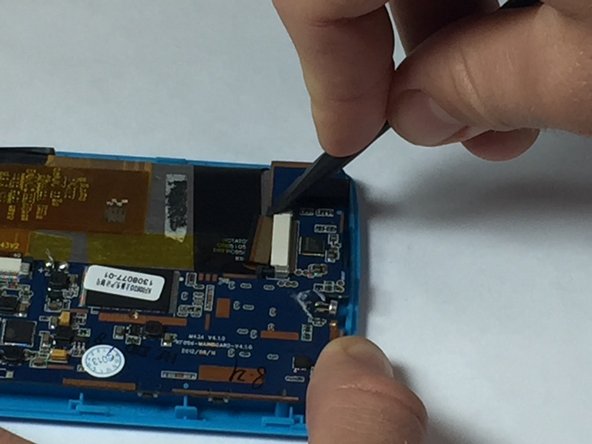
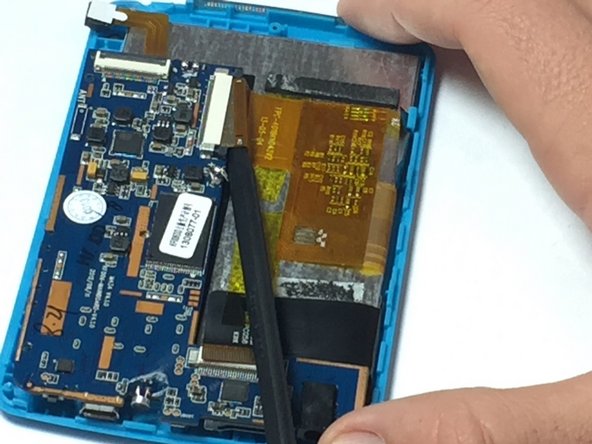
    • Using a spudger or a fingernail, detach the two ribbons from the motherboard by pushing the plastic tab away from the Zero Insertion Force connectors.

    • As the name implies, no force is needed to plug in or remove the cable.

    • Be sure you are prying the plastic tabs connected tab and not the connector itself.

  11. Polaroid PMID4312 Charging Port Replacement: 11 단계, 이미지 1/1
    • Now carefully remove the motherboard.

  12. Polaroid PMID4312 Charging Port Replacement, Charging port: 12 단계, 이미지 1/2 Polaroid PMID4312 Charging Port Replacement, Charging port: 12 단계, 이미지 2/2
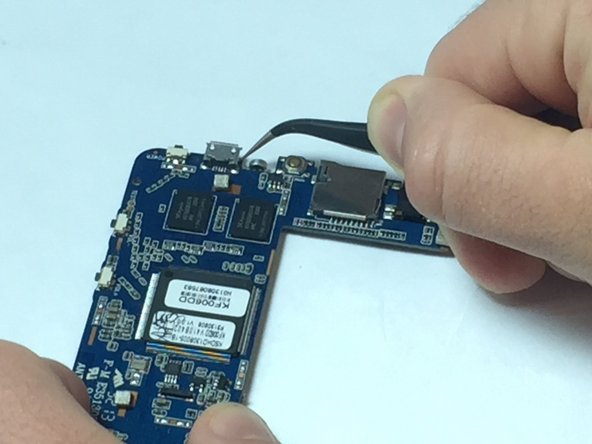
    • Desolder each side of the USB port where it is attached to the motherboard.

    • The USB port will now be loosened from the motherboard.

    • Using tweezers, pull the USB port straight out from the motherboard without wiggling it up, down, or side to side.

    • The USB port is now replaceable.

결론

To reassemble your device, follow these instructions in reverse order.

Christopher Bertan

회원 가입일: 10/06/16

479 평판

안내서 4개 작성하였습니다

USF Tampa, Team 5-4, Lacy Fall 2016 USF Tampa, Team 5-4, Lacy Fall 2016 회원

USFT-LACY-F16S5G4

4 회원들

안내서 10개 작성하였습니다

댓글 0개

댓글 쓰기

조회 통계:

24 시간 전: 0

7일 전: 0

30일 전: 1

전체 시간: 975