주요 콘텐츠로 건너뛰기
수리 커뮤니티 가입 - 계정 만들기
Polygel Nail Replacement

필요한 것

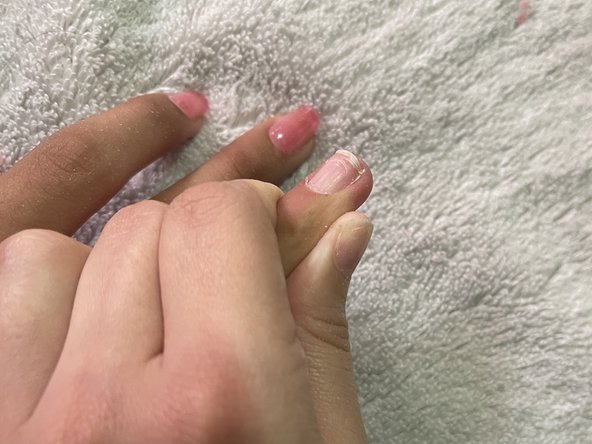
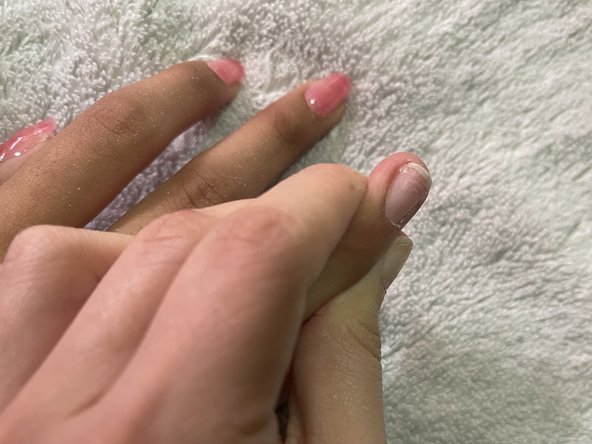
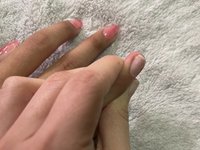
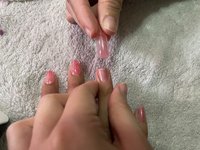
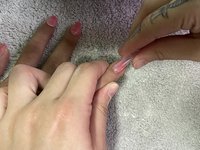
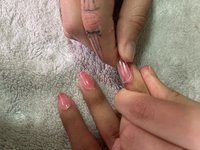
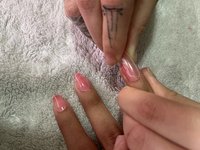
    1. Polygel Nail Replacement, Polygel Nail: 1 단계, 이미지 3개 중 1개 Polygel Nail Replacement, Polygel Nail: 1 단계, 이미지 3개 중 2개 Polygel Nail Replacement, Polygel Nail: 1 단계, 이미지 3개 중 3개
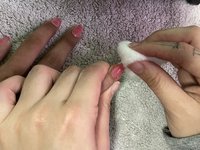
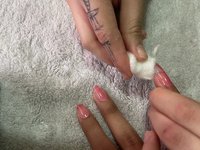
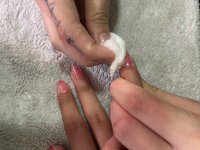
      • Check the extent of the damage.

      • If the damage is minimal, file off any minor nicks around the edge of the nail.

      • If the damage is extensive, the nail needs to be removed and rebuilt.

      댓글 쓰기

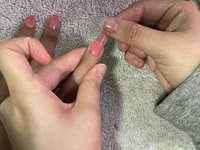
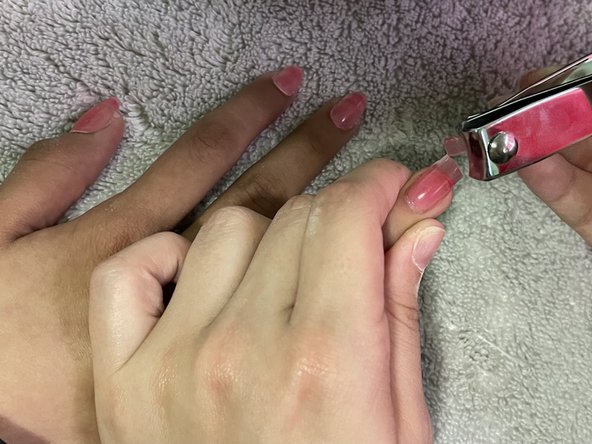
    2. Polygel Nail Replacement: 2 단계, 이미지 3개 중 1개 Polygel Nail Replacement: 2 단계, 이미지 3개 중 2개 Polygel Nail Replacement: 2 단계, 이미지 3개 중 3개
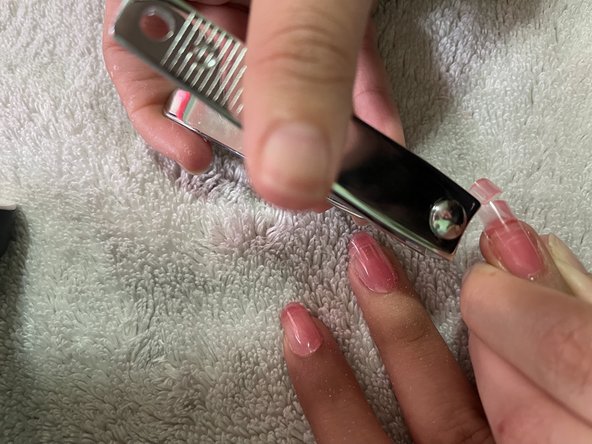
      • Start by cutting from one side of the nail then going to the other side with the nail clippers.

      • Cutting directly from the center will cause pressure on the natural nail, which is something you should avoid.

      댓글 쓰기

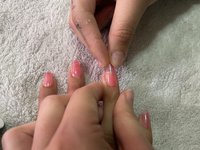
    3. Polygel Nail Replacement: 3 단계, 이미지 3개 중 1개 Polygel Nail Replacement: 3 단계, 이미지 3개 중 2개 Polygel Nail Replacement: 3 단계, 이미지 3개 중 3개
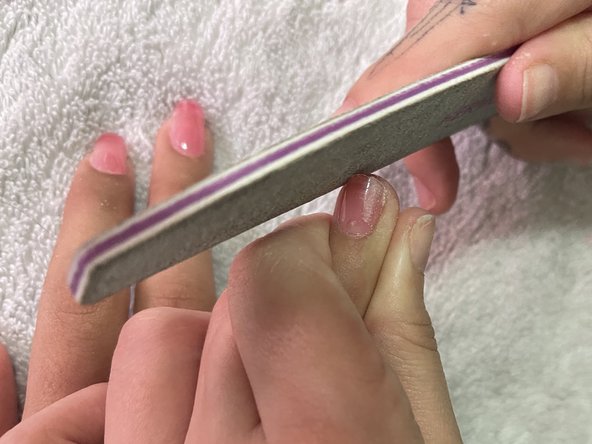
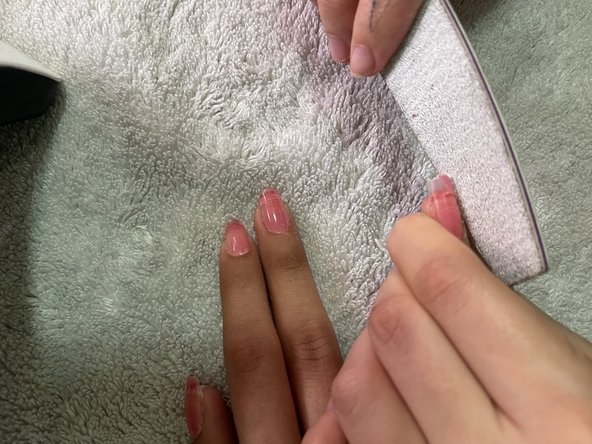
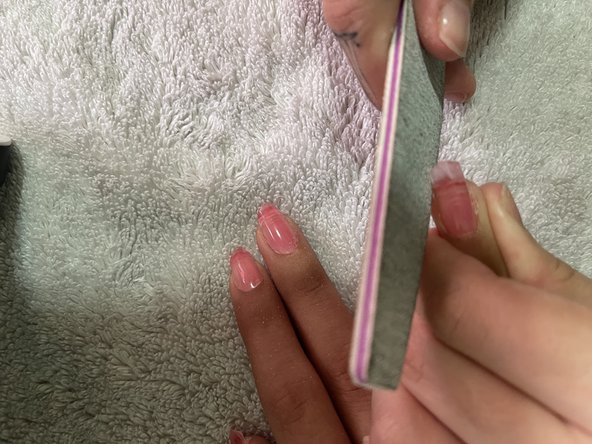
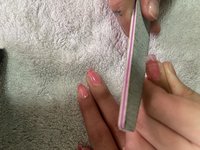
      • Start filing off the remaining gel until you are just left with the natural nail as the base.

      • Hold the finger in place to make sure you have control of where you're filing, making sure not to hit any skin.

      • The grit of the file does not matter; polygel is thin and easy to file.

      • File until you see that all the gel is removed.

      댓글 쓰기

    4. Polygel Nail Replacement: 4 단계, 이미지 3개 중 1개 Polygel Nail Replacement: 4 단계, 이미지 3개 중 2개 Polygel Nail Replacement: 4 단계, 이미지 3개 중 3개
      • Turn the nail and ensure there's no remaining gel.

      댓글 쓰기

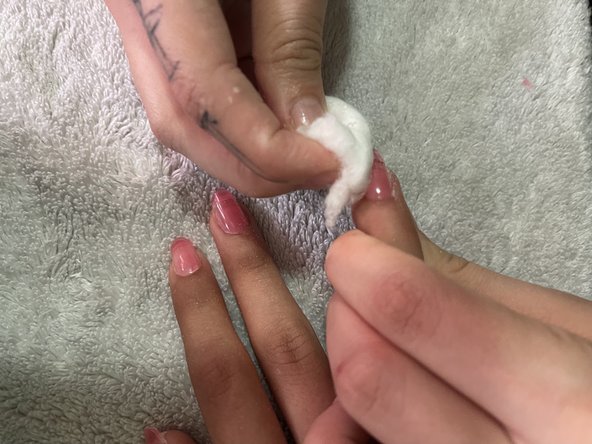
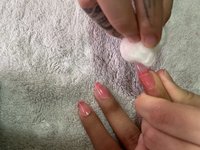
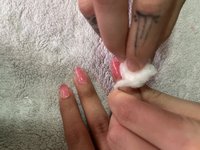
    5. Polygel Nail Replacement: 5 단계, 이미지 3개 중 1개 Polygel Nail Replacement: 5 단계, 이미지 3개 중 2개 Polygel Nail Replacement: 5 단계, 이미지 3개 중 3개
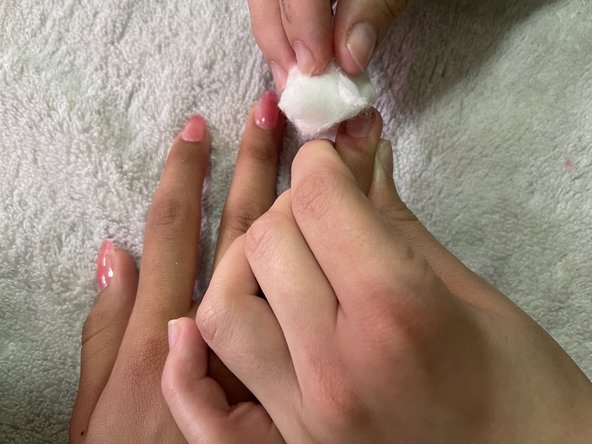
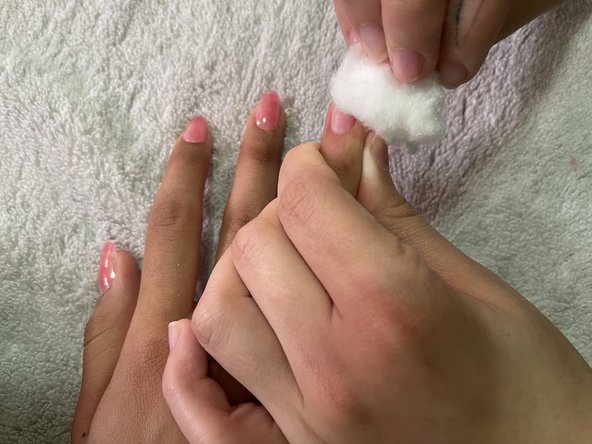
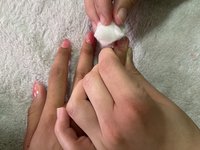
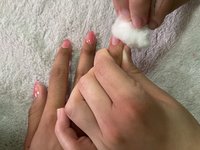
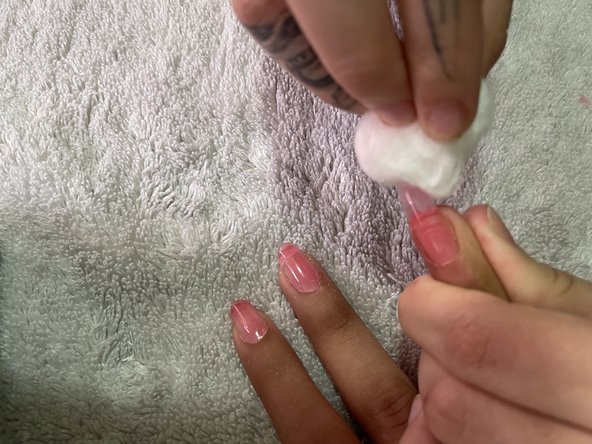
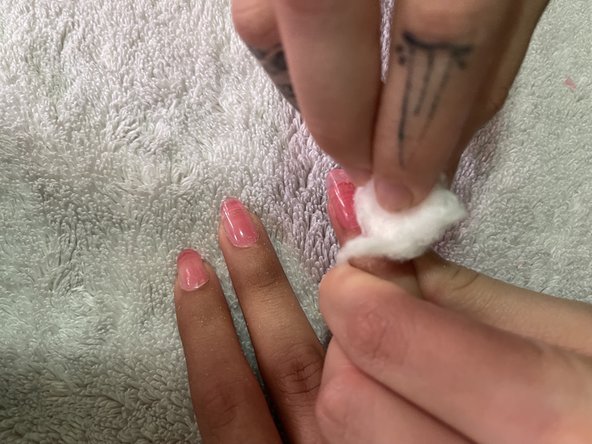
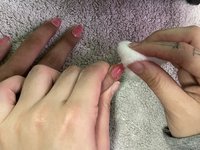
      • Dampen a cotton ball with the alcohol and wipe off any dust residue from the filing.

      • The alcohol will also dehydrate the nail and prep it for the base coat.

      댓글 쓰기

    6. Polygel Nail Replacement: 6 단계, 이미지 3개 중 1개 Polygel Nail Replacement: 6 단계, 이미지 3개 중 2개 Polygel Nail Replacement: 6 단계, 이미지 3개 중 3개
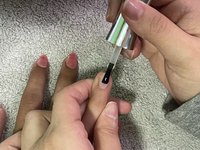
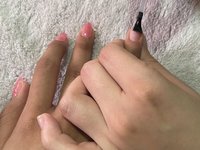
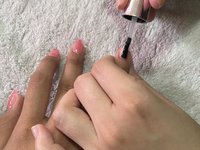
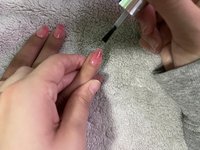
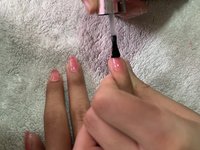
      • Paint a thin, even layer of base coat onto the natural nail.

      • Wipe off any base coat that gets on the skin.

      댓글 쓰기

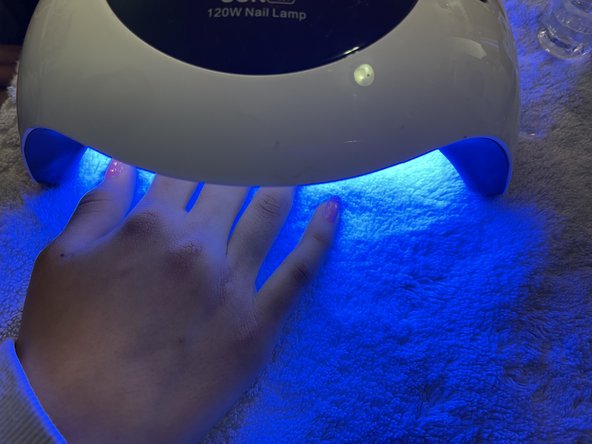
    7. Polygel Nail Replacement: 7 단계, 이미지 3개 중 1개 Polygel Nail Replacement: 7 단계, 이미지 3개 중 2개 Polygel Nail Replacement: 7 단계, 이미지 3개 중 3개
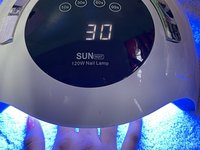
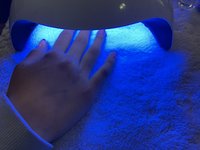
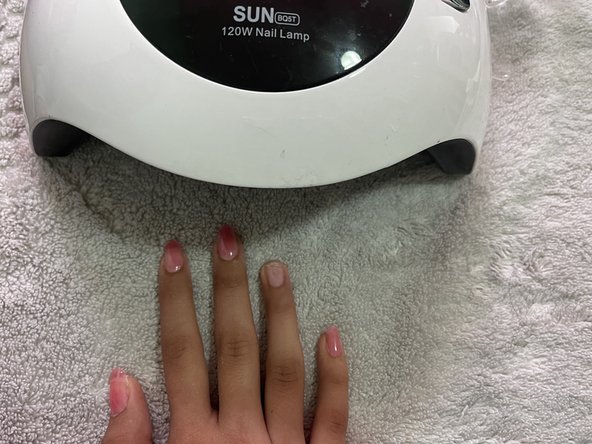
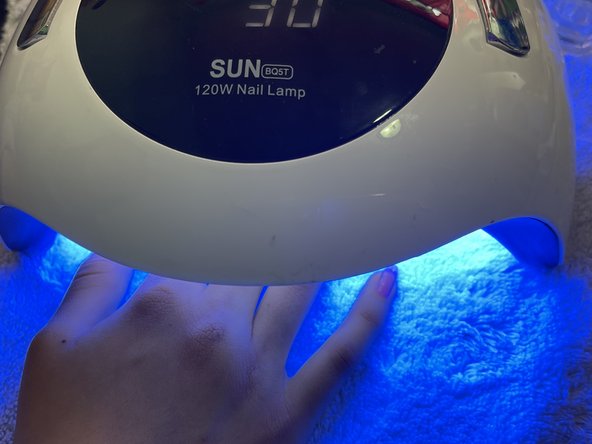
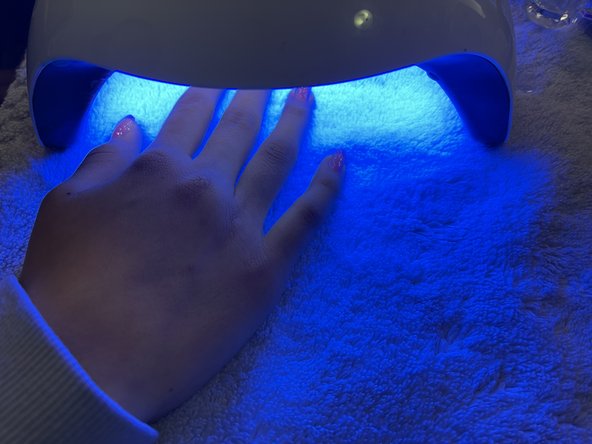
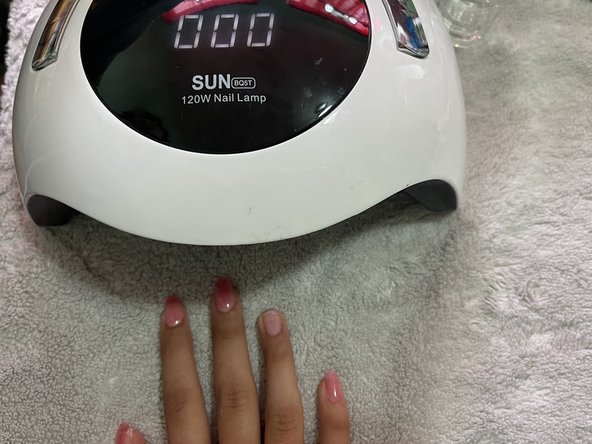
      • Put your hand inside the UV lamp.

      • Press the 30 second button.

      • Once the 30 seconds have passed, remove your hand from the lamp.

      댓글 쓰기

    8. Polygel Nail Replacement: 8 단계, 이미지 3개 중 1개 Polygel Nail Replacement: 8 단계, 이미지 3개 중 2개 Polygel Nail Replacement: 8 단계, 이미지 3개 중 3개
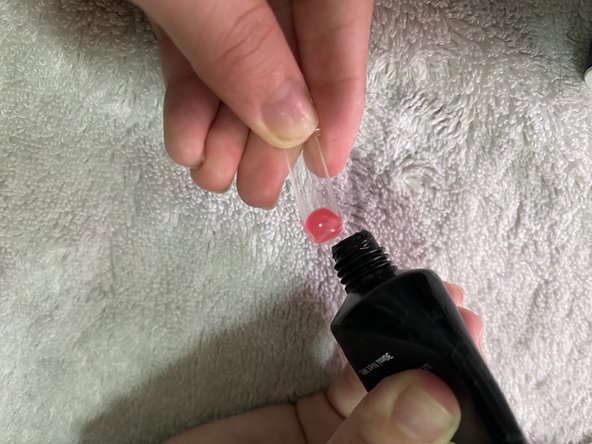
      • Apply a small bead of polygel at the base of the form.

      • Pour alcohol in a dappen dish (or small container) and dip your brush into the alcohol.

      • This prevents the polygel from sticking to the brush.

      • Spread the polygel towards the top of the dual form in an even layer.

      댓글 쓰기

    9. Polygel Nail Replacement: 9 단계, 이미지 3개 중 1개 Polygel Nail Replacement: 9 단계, 이미지 3개 중 2개 Polygel Nail Replacement: 9 단계, 이미지 3개 중 3개
      • Hold the finger steady and place the form on the natural nail.

      • With a small amount of pressure, push the dual form down until it stays in place.

      • Wipe off any gel that spills out onto the sides of the nail.

      댓글 쓰기

    10. Polygel Nail Replacement: 10 단계, 이미지 3개 중 1개 Polygel Nail Replacement: 10 단계, 이미지 3개 중 2개 Polygel Nail Replacement: 10 단계, 이미지 3개 중 3개
      • Put your hand inside the lamp.

      • Press the 60 second button.

      • After the 60 seconds have passed, remove your hand from the lamp.

      댓글 쓰기

    11. Polygel Nail Replacement: 11 단계, 이미지 3개 중 1개 Polygel Nail Replacement: 11 단계, 이미지 3개 중 2개 Polygel Nail Replacement: 11 단계, 이미지 3개 중 3개
      • Grip the dual form from the tip.

      • Pull while moving the form from side to side to pop it off.

      댓글 쓰기

    12. Polygel Nail Replacement: 12 단계, 이미지 3개 중 1개 Polygel Nail Replacement: 12 단계, 이미지 3개 중 2개 Polygel Nail Replacement: 12 단계, 이미지 3개 중 3개
      • Dampen one of the cotton balls with the alcohol and wipe off the nail until all the sticky residue is gone.

      댓글 쓰기

    13. Polygel Nail Replacement: 13 단계, 이미지 3개 중 1개 Polygel Nail Replacement: 13 단계, 이미지 3개 중 2개 Polygel Nail Replacement: 13 단계, 이미지 3개 중 3개
      • Cut off any length you don't want or need using the nail clippers.

      • Start from one side and then move to the other side.

      • You don't want to cause any pressure or unwanted discomfort on the natural nail by cutting from the center.

      댓글 쓰기

    14. Polygel Nail Replacement: 14 단계, 이미지 3개 중 1개 Polygel Nail Replacement: 14 단계, 이미지 3개 중 2개 Polygel Nail Replacement: 14 단계, 이미지 3개 중 3개
      • Start filing and ensure your nail is even all around.

      • File any bumps or unevenness on the surface of the nail.

      댓글 쓰기

    15. Polygel Nail Replacement: 15 단계, 이미지 3개 중 1개 Polygel Nail Replacement: 15 단계, 이미지 3개 중 2개 Polygel Nail Replacement: 15 단계, 이미지 3개 중 3개
      • Dampen one of the cotton balls with the alcohol and wipe the nail until there is no longer dust on it.

      댓글 쓰기

    16. Polygel Nail Replacement: 16 단계, 이미지 3개 중 1개 Polygel Nail Replacement: 16 단계, 이미지 3개 중 2개 Polygel Nail Replacement: 16 단계, 이미지 3개 중 3개
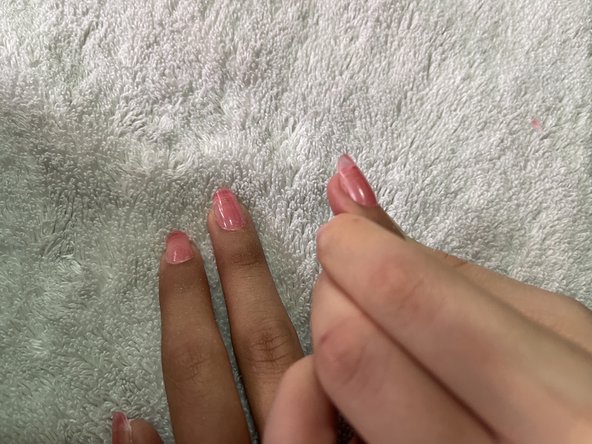
      • Move the finger to make sure you can see that all sides of the nail are even.

      댓글 쓰기

    17. Polygel Nail Replacement: 17 단계, 이미지 3개 중 1개 Polygel Nail Replacement: 17 단계, 이미지 3개 중 2개 Polygel Nail Replacement: 17 단계, 이미지 3개 중 3개
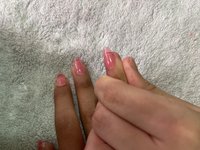
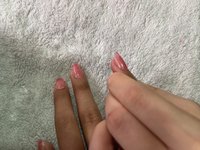
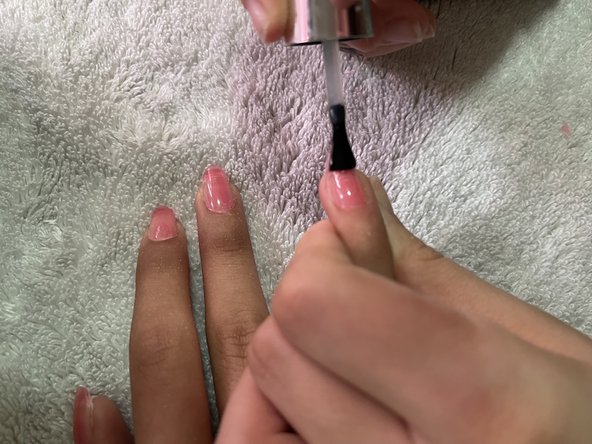
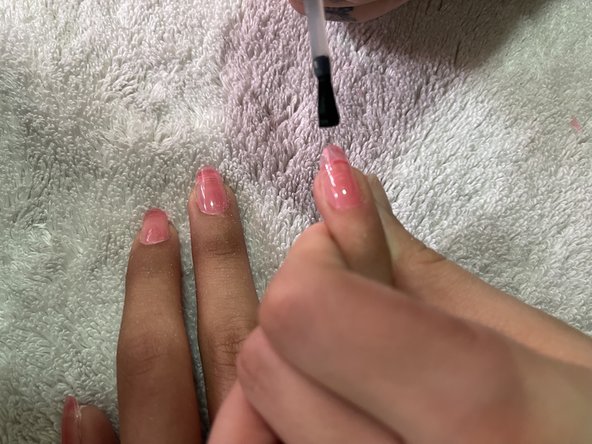
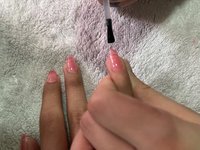
      • Apply a thin layer of top coat onto the gel nail.

      댓글 쓰기

    18. Polygel Nail Replacement: 18 단계, 이미지 3개 중 1개 Polygel Nail Replacement: 18 단계, 이미지 3개 중 2개 Polygel Nail Replacement: 18 단계, 이미지 3개 중 3개
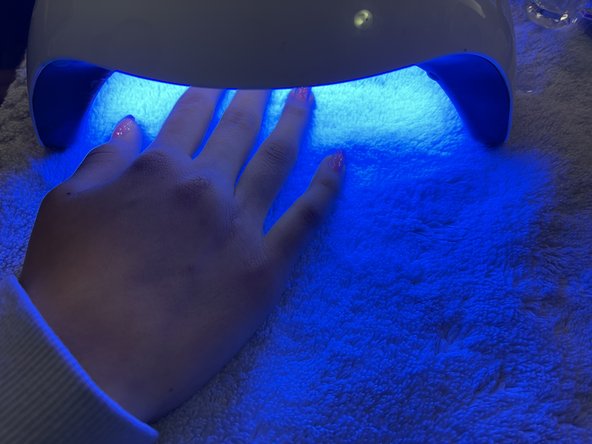
      • Put your hand inside and press the 60 second button.

      • Once the 60 seconds have passed, remove your hand from the lamp.

      댓글 쓰기

    19. Polygel Nail Replacement: 19 단계, 이미지 1개 중 1개
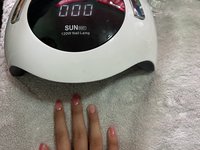
      • After curing your nail, you are done!

      • You can always go back and paint your nails and design them in any desirable manner.

      댓글 쓰기

결승점

취소: 해당 안내서를 완성하지 않았습니다.

작성자

1다른 기여자 명과 함께

Kimberly Gomez

회원 가입일: 04/11/21

298 평판

안내서 1개를 작성함

CSU Los Angeles, Team S1-G30, Harris Spring 2021 CSU Los Angeles, Team S1-G30, Harris Spring 2021 회원

CSULA-HARRIS-S21S1G30

2 회원들

안내서 24개를 작성함

1가이드 댓글

It helps me alot. Few days back i got my nail broke. I was in so much pain and looking for how to replace nails and fortunately i found this i ddn’t even waste a second and read it thoroughly and it helps me alot in replacing my nail. Thank you for helping others. Keep shining!

Angelina - 답글 공유
댓글 쓰기

조회 통계:

지난 24시간: 6

지난 7일: 19

지난 30일: 63

전체 시간: 2,575