이 버전에는 잘못된 편집 사항이 있을 수 있습니다. 최신 확인된 스냅샷으로 전환하십시오.
필요한 것
-
이 단계는 번역되지 않았습니다. 번역을 도와주십시오
-
Flip the laptop over, with screen facing down to reveal bottom panel.
-
Remove thirteen 1.4mm Phillips #0 screws around the border of the frame.
-
-
이 단계는 번역되지 않았습니다. 번역을 도와주십시오
-
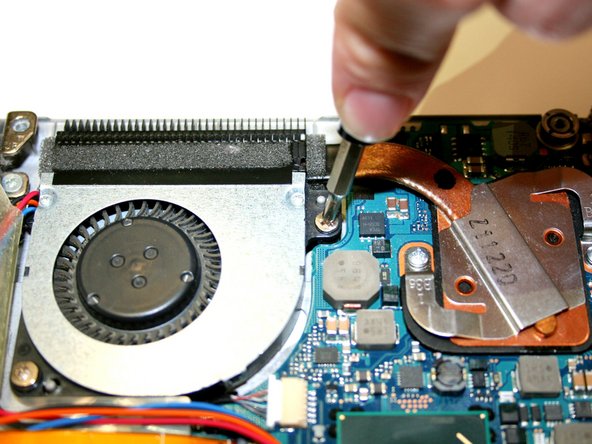
Using the metal spudger, remove the rubber fitting in middle of back panel to reveal hidden screw.
-
Use a Torx T7 bit screwdriver to remove screw.
-
-
이 단계는 번역되지 않았습니다. 번역을 도와주십시오
-
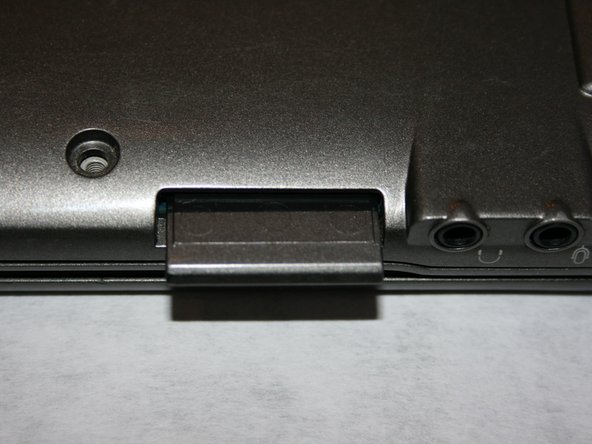
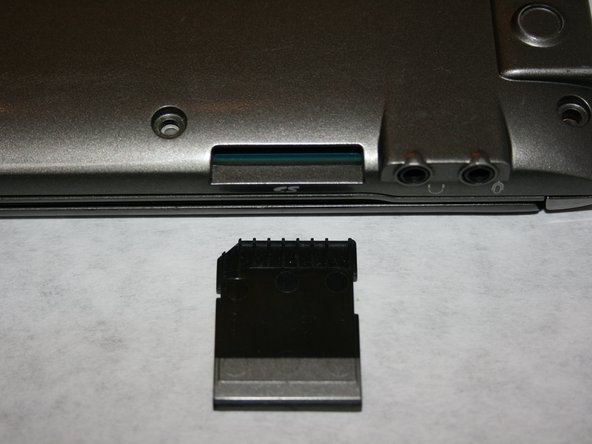
Remove the SD card in top right hand corner of the device, next to the headphone ports.
-
Push in the SD card then pull out completely to remove from slot.
-
-
-
이 단계는 번역되지 않았습니다. 번역을 도와주십시오
-
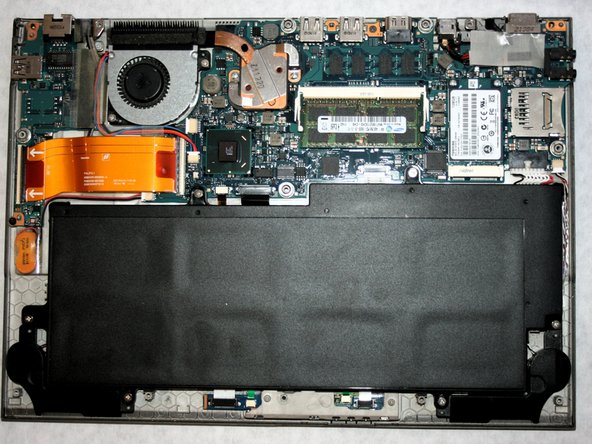
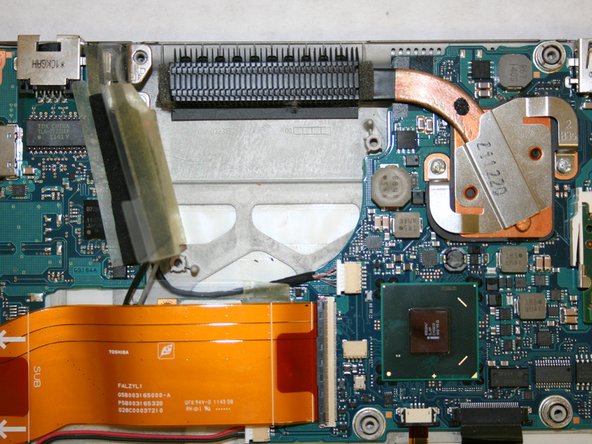
Lift the back plate starting at the opposing edge to the SD card. Lift from left to right and continue lifting this plate at this angle until its free from the laptop.
-
Once the backplate is completely off, this will reveal the inside components of the device.
-
-
이 단계는 번역되지 않았습니다. 번역을 도와주십시오
-
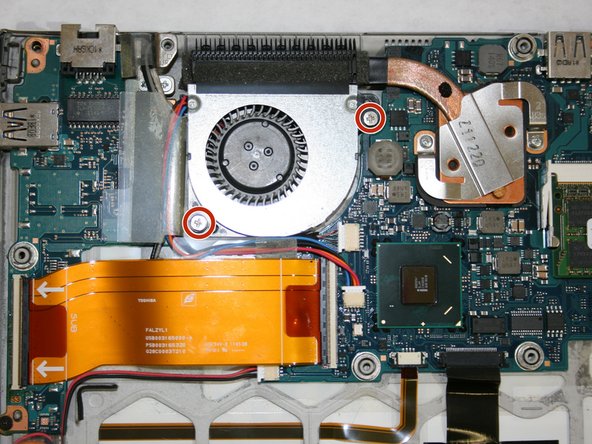
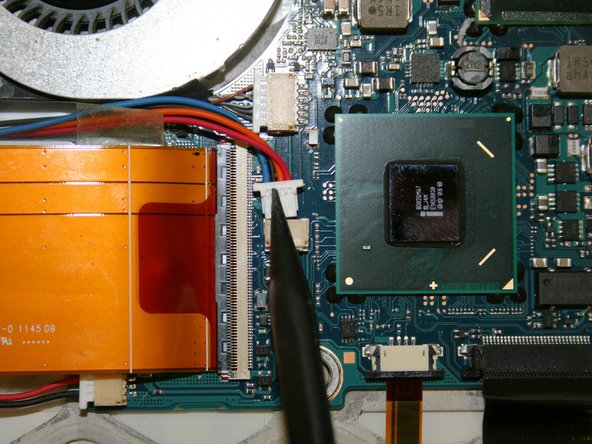
Use the nylon spudger to disconnect the wire (red/blue) plug from the motherboard.
-
-
이 단계는 번역되지 않았습니다. 번역을 도와주십시오
-
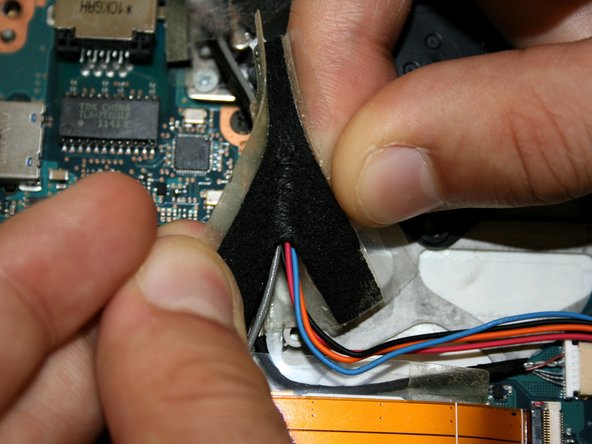
Lift up the wire and peel back the clear protective tape.
-
Split the black protective foam inside the tape in half to uncover the wires.
-


팀

Washington State, Team S2-G7, Hope Fall 2018 Washington State, Team S2-G7, Hope Fall 2018 회원
WSU-HOPE-F18S2G7
3 회원들
안내서 15개 작성하였습니다