이 안내서에는 최근 변경 사항이 더 있습니다. 최신 비검증 버전으로 전환하십시오.
소개
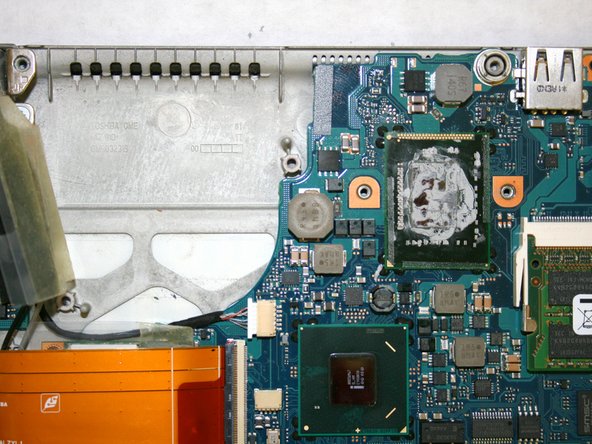
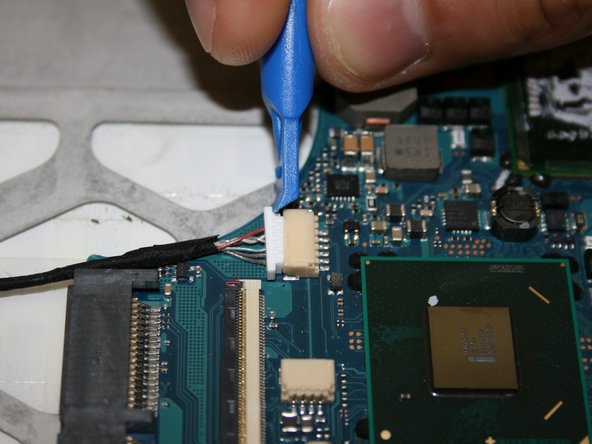
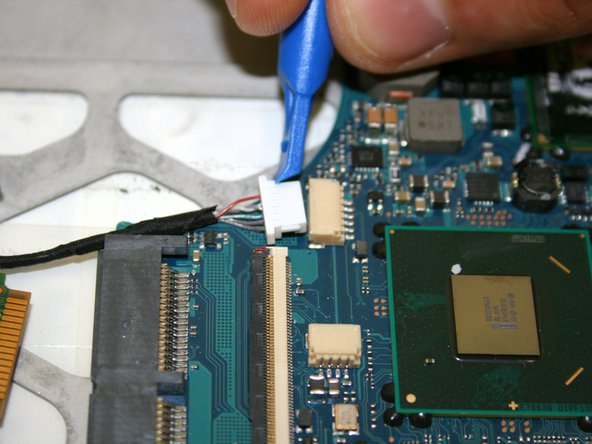
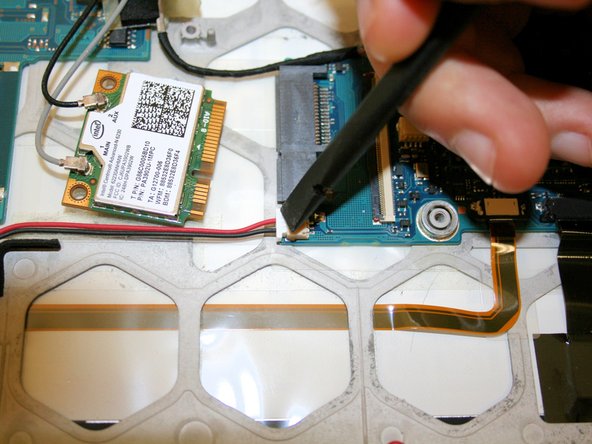
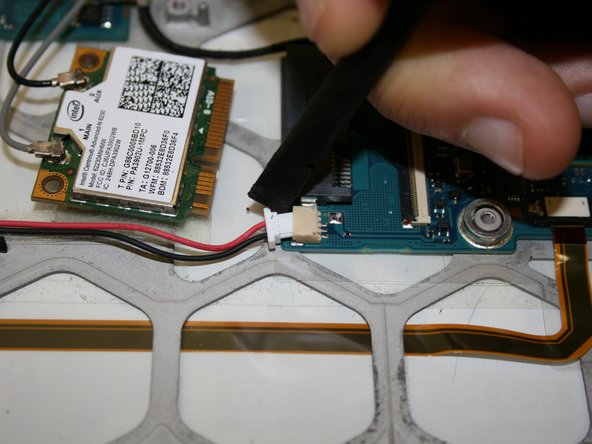
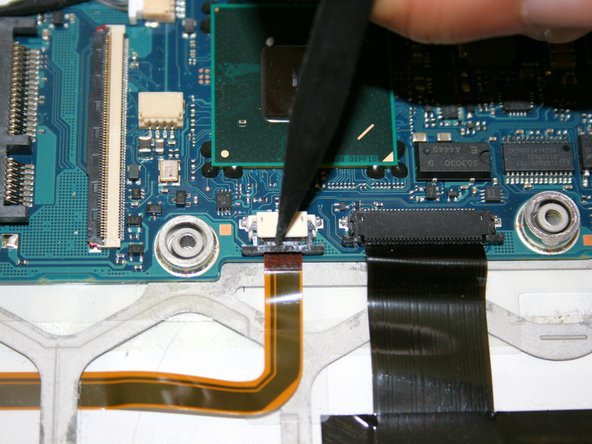
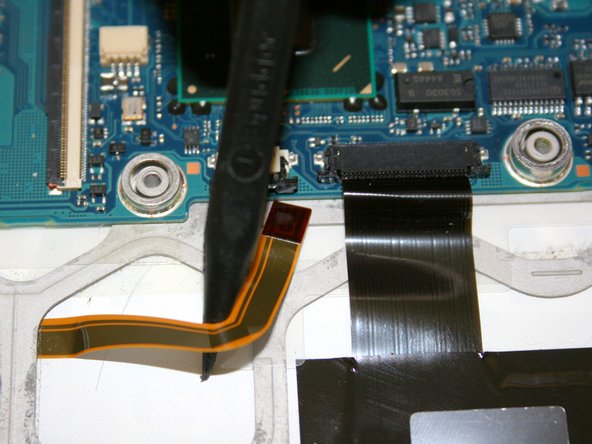
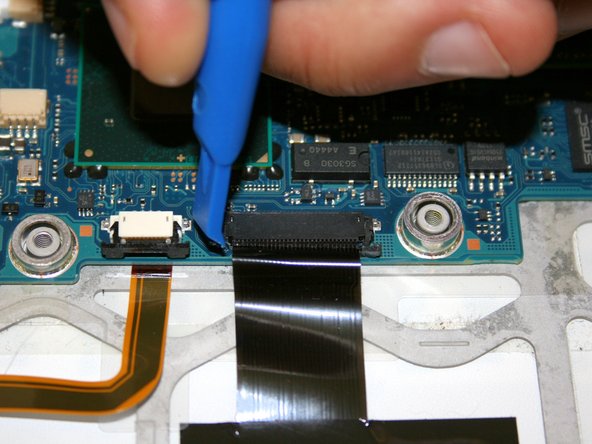
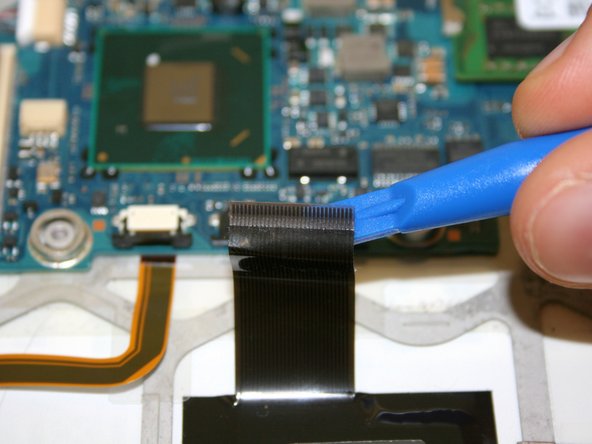
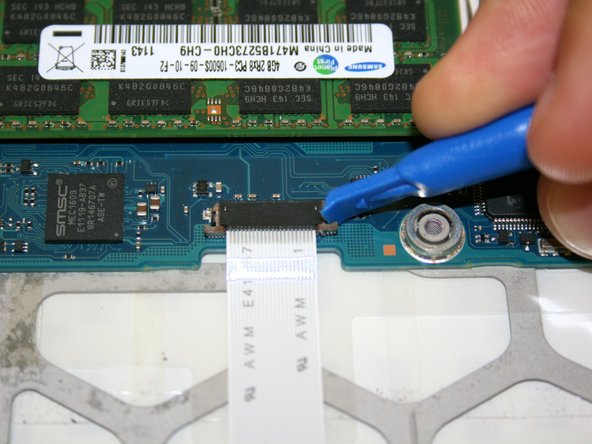
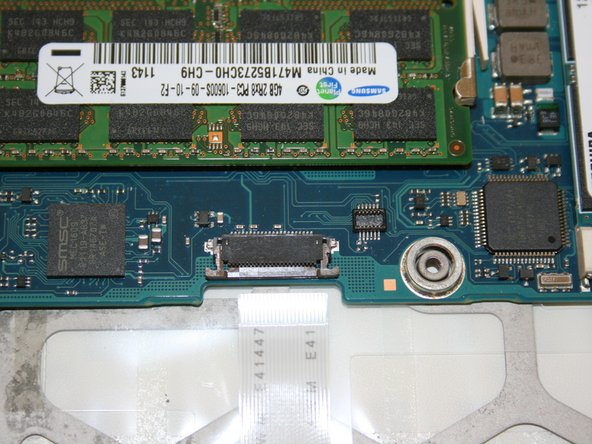
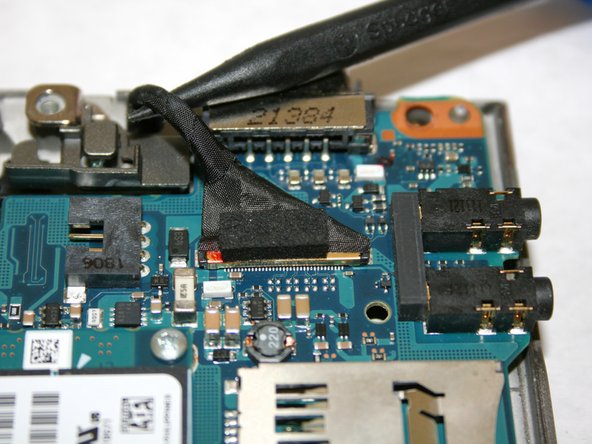
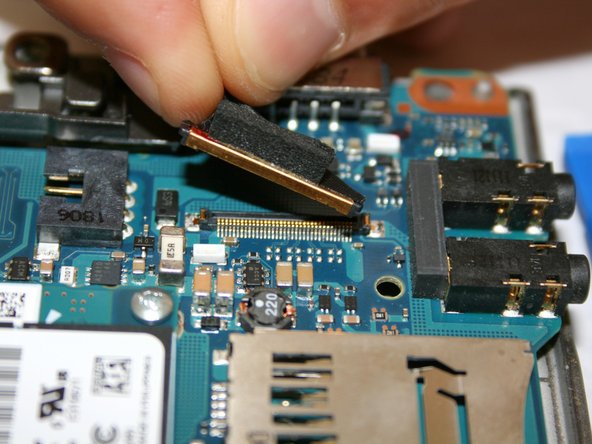
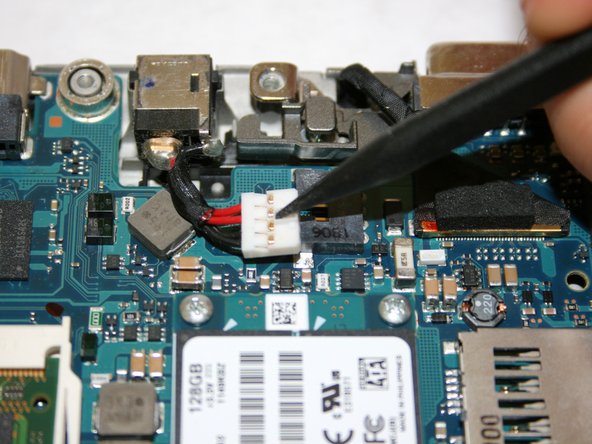
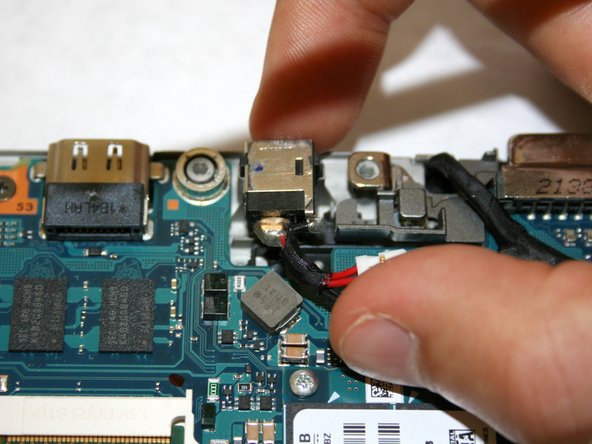
Replacing the motherboard will require time and patients as there are multiple steps in this guide. Make sure laptop is powered off and be cautious when working around the board as its cables and plugs may be fragile.
필요한 것
-
-
Flip the laptop over with the screen facing down to reveal the bottom panel.
-
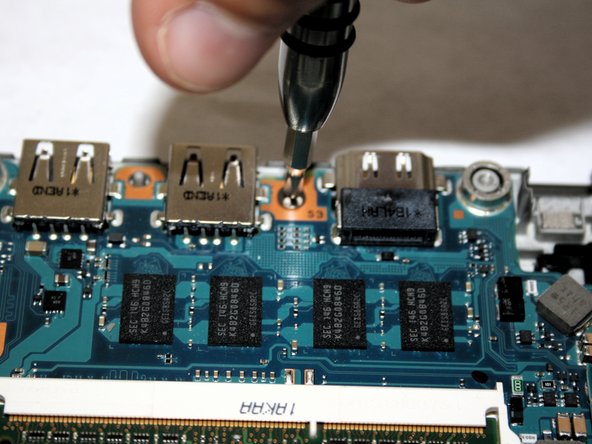
Unscrew each of the highlighted screws with a Phillips #0 screwdriver.
-
-


To reassemble your device, follow these instructions in reverse order.
To reassemble your device, follow these instructions in reverse order.
다른 한 분이 해당 안내서를 완성하였습니다.
팀

Washington State, Team S2-G7, Hope Fall 2018 Washington State, Team S2-G7, Hope Fall 2018 회원
WSU-HOPE-F18S2G7
3 회원들
안내서 15개 작성하였습니다