이 버전에는 잘못된 편집 사항이 있을 수 있습니다. 최신 확인된 스냅샷으로 전환하십시오.
필요한 것
-
이 단계는 번역되지 않았습니다. 번역을 도와주십시오
-
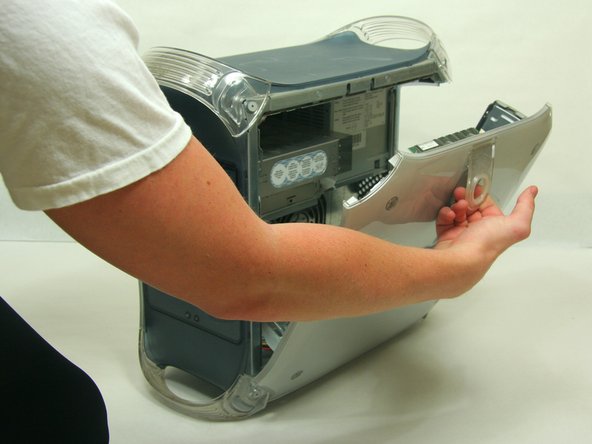
Pull on outer latch.
-
Lower door until it is level with your work surface.
-
-
이 단계는 번역되지 않았습니다. 번역을 도와주십시오
-
Use the spudger to pry the clips horizontally off of the heat sink.
-
Fully remove the clips by lifting upwards.
-
-
-
이 단계는 번역되지 않았습니다. 번역을 도와주십시오
-
Locate the RAM modules.
-
Pull side tabs outward. The RAM will pop out of the housing.
-
-
이 단계는 번역되지 않았습니다. 번역을 도와주십시오
-
Remove the single screw with the Phillips #1 screwdriver.
-
Pull the graphics card up and out.
-
-
이 단계는 번역되지 않았습니다. 번역을 도와주십시오
-
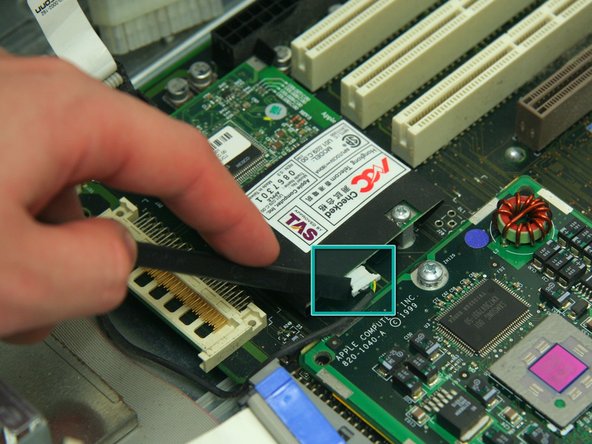
Remove the six indicated cables attached to the logic board.
-
Use the spudger to remove the modem cable as indicated.
-
-
이 단계는 번역되지 않았습니다. 번역을 도와주십시오
-
Unfasten 3 Phillips screws revealed beneath the heat sink on the CPU board.
-
Carefully remove the CPU board from the Mother Board.
-
Remove the barrell nut screws from the Mother Board which held the CPU board.
-
Unfasten 3 Phillips #1 screws on Mother Board as shown in illustration 1.
-
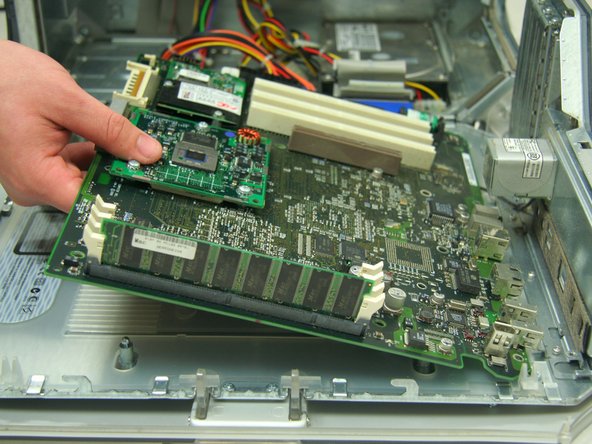
Slide the logic board about a quarter of an inch to free it from the three retaining pins.
-
Pull upwards and outwards to fully remove the logic board.
-
-
이 단계는 번역되지 않았습니다. 번역을 도와주십시오
-
After removing the (3) #2 philips screws, remove the (4) 1/4" hex nuts, then slide as directed and remove board.
-


다른 15명이 해당 안내서를 완성하였습니다.
팀

Cal Poly, Team 13-24, Maness Winter 2010 Cal Poly, Team 13-24, Maness Winter 2010 회원
CPSU-MANESS-W10S13G24
4 회원들
안내서 25개 작성하였습니다