소개
If your PowerA Enhanced wired Controller (Xbox) Joystick is not functioning properly, it might need to be thoroughly cleaned or replaced. In this Guide, you will find step-by-step instructions on how to not only take out your motherboard but also a guide to take off the actual joystick covers themselves. To get to the joystick, consider going through our motherboard guide.
필요한 것
-
-
Lay the controller face down.
-
Use a Phillips screwdriver to remove the eight 9.2 mm screws that secure the rear case.
-
Lift the rear case up and off of the chassis.
-
-
-
-
Remove the two 3.3 mm Phillips screws that secure the motherboard to the front case.
-
Lift the motherboard up and out of the chassis.
-
-
-
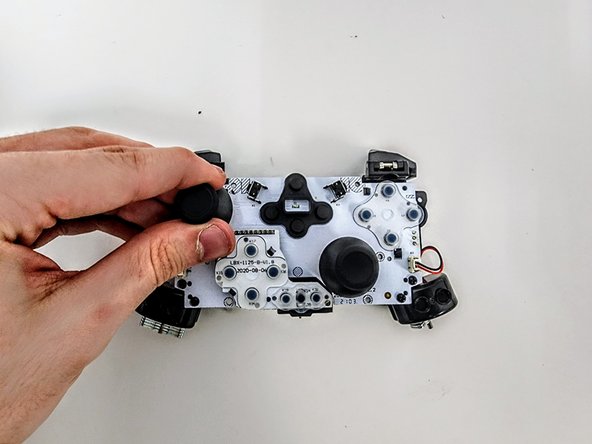
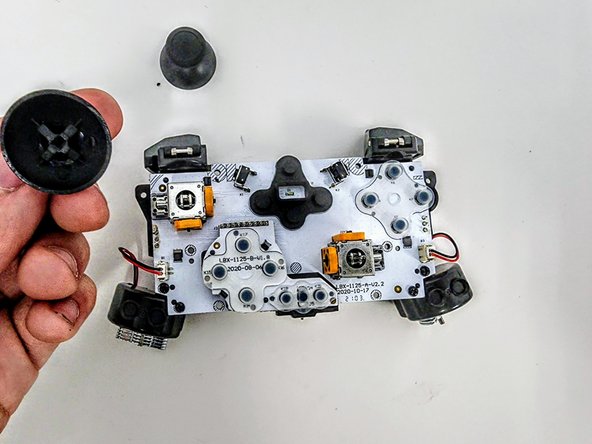
Firmly pinch the left joystick cover and lift it straight up and off.
-
Firmly pinch the right joystick cover and lift it straight up and off.
-


To reassemble your device, follow these instructions in reverse order.
다른 한 분이 해당 안내서를 완성하였습니다.

팀

Austin Community College, Team 9-3, Watkins Spring 2024 Austin Community College, Team 9-3, Watkins Spring 2024 회원
AUSTINCC-WATKINS-S24S9G3
4 회원들
안내서 7개를 작성함