소개
Controller vibration is a feature that makes the player feel the action coming from the gaming console that is felt in the hands of the player. The vibrations can be triggered by various actions in the game, such as gunfire, explosions, or crashes. In this guide we are dissembling the controller to get to the vibration motor.
필요한 것
-
-
Lay the controller face down.
-
Use a Phillips screwdriver to remove the eight 9.2 mm screws that secure the rear case.
-
Lift the rear case up and off of the chassis.
-
-
-
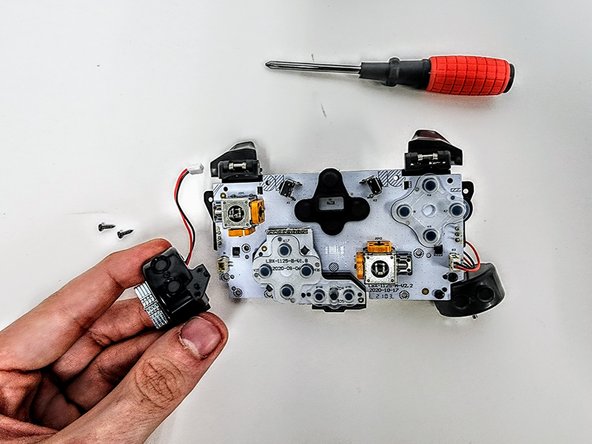
Remove the two 3.3 mm Phillips screws that secure the motherboard to the front case.
-
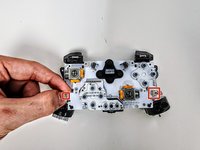
Lift the motherboard up and out of the chassis.
-
-
-
-
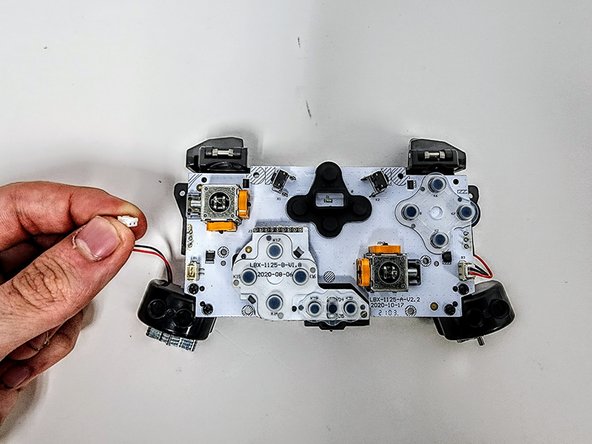
Grip the white vibration motor connectors and pull them straight up and out of their sockets.
-
Gently pull the connector from the pins
-


To reassemble your device, follow these instructions in reverse order.

팀

Austin Community College, Team 9-3, Watkins Spring 2024 Austin Community College, Team 9-3, Watkins Spring 2024 회원
AUSTINCC-WATKINS-S24S9G3
4 회원들
안내서 7개를 작성함