이 버전에는 잘못된 편집 사항이 있을 수 있습니다. 최신 확인된 스냅샷으로 전환하십시오.
필요한 것
-
이 단계는 번역되지 않았습니다. 번역을 도와주십시오
-
Remove the four 9 mm Phillips #2 screws from the base.
-
Once all four screws are removed, take the base off.
-
-
이 단계는 번역되지 않았습니다. 번역을 도와주십시오
-
Unscrew the four 13mm Phillips #2 screws but do not remove completely just yet.
-
-
이 단계는 번역되지 않았습니다. 번역을 도와주십시오
-
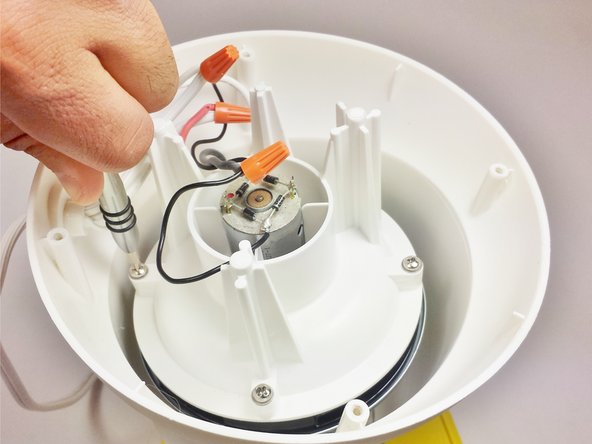
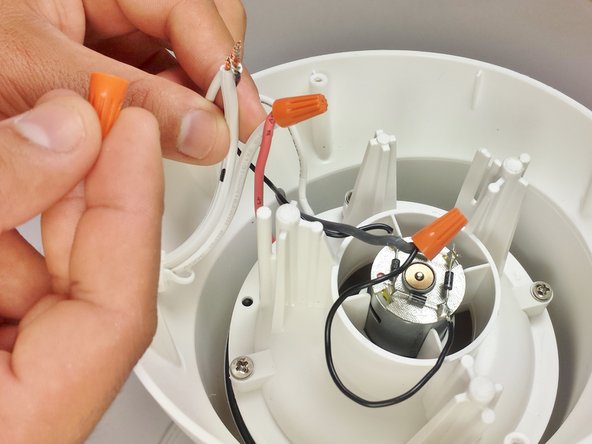
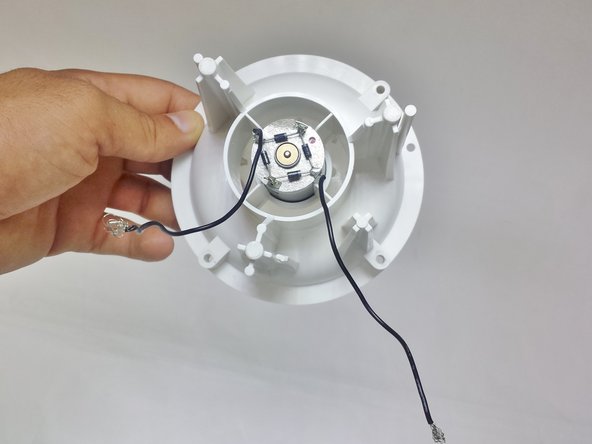
Locate the two twist-on wire connectors.
-
Unscrew the two caps and keep track of the wires that wire up together to make it easier in the end to put back together.
-
-
-
이 단계는 번역되지 않았습니다. 번역을 도와주십시오
-
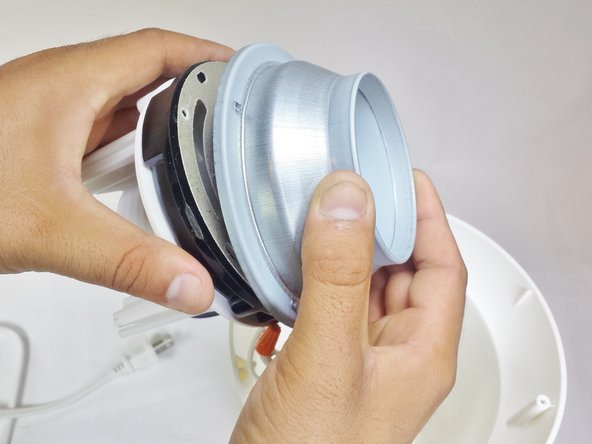
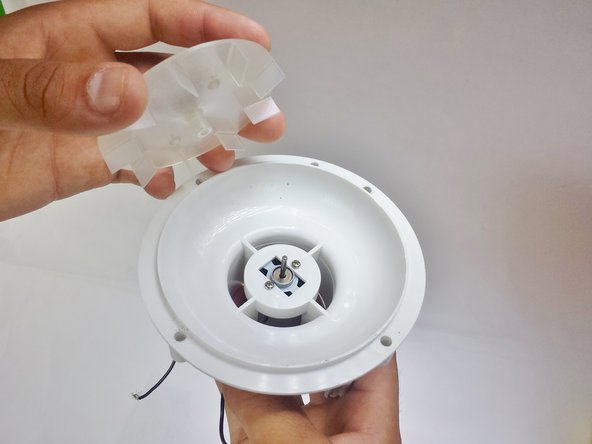
Pull the entire cavity out of the popper that holds the motor.
-
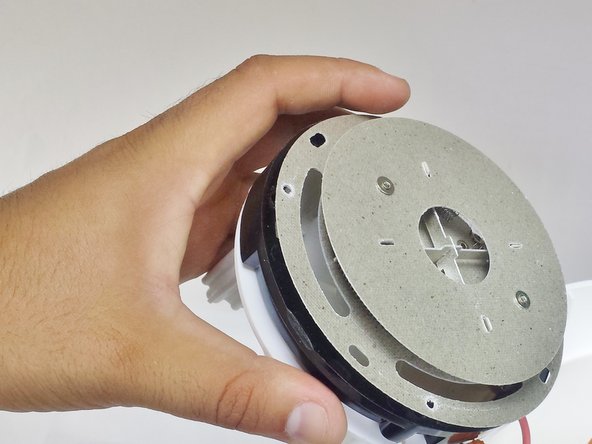
Remove the popping chamber base.
-
-
이 단계는 번역되지 않았습니다. 번역을 도와주십시오
-
Remove circuit board from the motor base holder.
-
Make sure these 3 wires are securely placed inside grooves when reassembling the motor base holder.
-
-
이 단계는 번역되지 않았습니다. 번역을 도와주십시오
-
Remove the orange twist-on wire connector connecting the black wire to the grey wire.
-
-
이 단계는 번역되지 않았습니다. 번역을 도와주십시오
-
Locate the clear plastic motor fan.
-
Grab hold of the motor and pull upwards to pop the motor fan off of the needle that connects to the motor.
-
-
이 단계는 번역되지 않았습니다. 번역을 도와주십시오
-
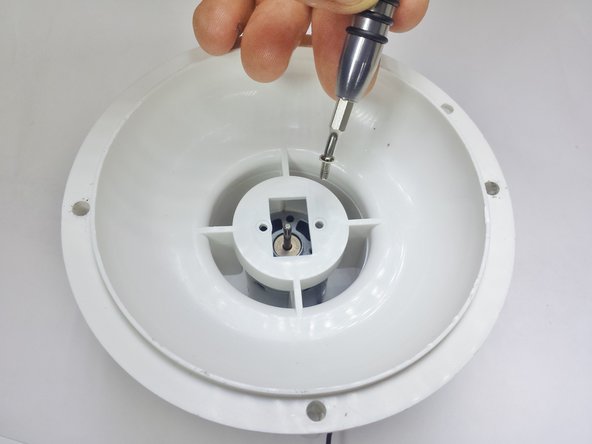
Remove the two 4 mm Phillips #00 screws.
-
Now remove the motor base to expose the motor.
-


다른 4명이 해당 안내서를 완성하였습니다.
팀

USF Tampa, Team 2-5, Blackwell Fall 2015 USF Tampa, Team 2-5, Blackwell Fall 2015 회원
USFT-BLACKWELL-F15S2G5
2 회원들
안내서 6개 작성하였습니다
댓글 한 개
What new motor? Where do we get said motor, and what are the motor specs? What about installing the bridge rectifier on the new motor? A 3rd party supplier is not likely to sell these motors with the rectifier pre-installed.