주요 콘텐츠로 건너뛰기

Probook 650 G5 Screen Replacement

필요한 것

  1. Probook 650 G5 Screen Replacement, Turn of Laptop: 1 단계, 이미지 1/1
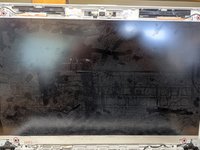
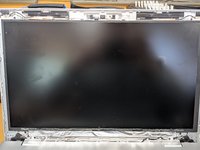
    • Turn off your Laptop and open the Lid so that you can access all sides of the Monitor

  2. Probook 650 G5 Screen Replacement, Remove Plastic Cover: 2 단계, 이미지 1/3 Probook 650 G5 Screen Replacement, Remove Plastic Cover: 2 단계, 이미지 2/3 Probook 650 G5 Screen Replacement, Remove Plastic Cover: 2 단계, 이미지 3/3
    • Gently lift the Plastic Cover and move around the Screen doing this

  3. Probook 650 G5 Screen Replacement, Remove Screen: 3 단계, 이미지 1/2 Probook 650 G5 Screen Replacement, Remove Screen: 3 단계, 이미지 2/2
    • Remove the 4 Screws and gently Pull the Screen towards you

  4. Probook 650 G5 Screen Replacement, Unplug Screen: 4 단계, 이미지 1/3 Probook 650 G5 Screen Replacement, Unplug Screen: 4 단계, 이미지 2/3 Probook 650 G5 Screen Replacement, Unplug Screen: 4 단계, 이미지 3/3
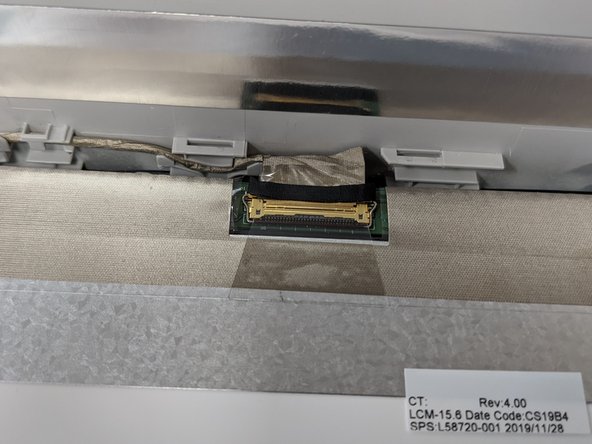
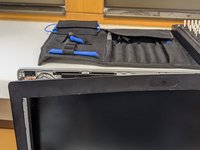
    • Lay the Screen gently on the Keyboard of the Laptop and unplug the Display Cable

    • To unplug the cable you need to pull up the adhesive Foil and lift the little Lever which secures the Display Cable

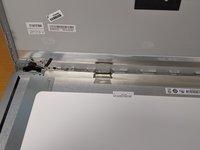
    • Remove the old screen

  5. Probook 650 G5 Screen Replacement, Connect new Screen: 5 단계, 이미지 1/1
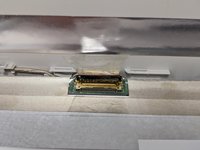
    • Place the new Screen on the keyboard and align it with the Display Cable

    • Slide the Cable in the Connector and secure it with the Lever and the adhesive foil

  6. Probook 650 G5 Screen Replacement, Place in the new Screen: 6 단계, 이미지 1/2 Probook 650 G5 Screen Replacement, Place in the new Screen: 6 단계, 이미지 2/2
    • Place the new Screen on the Little Plastic nobs and Screw it in using the old srews

    • After that place the Plastic cover on Top and gently Press in around the side

결론

Turn on the Laptop and check if the Screen is Working. If not go through the Steps again

다른 4명이 해당 안내서를 완성하였습니다.

Sebbo

회원 가입일: 09/23/20

214 평판

안내서 1개 작성함

댓글 0개

댓글 쓰기

조회 통계:

24 시간 전: 0

7일 전: 7

30일 전: 53

전체 시간: 1,745