주요 콘텐츠로 건너뛰기

Propel Gyro-X Drive Gears Replacement

필요한 것

  1. Propel Gyro-X Drive Gears Replacement, Top Propellor Blades: 1 단계, 이미지 1/1
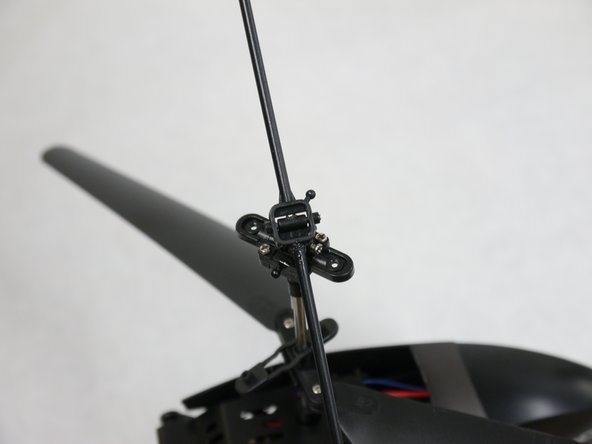
    • Stabilizing links are easy to break. Be gentle when prying them off.

    • Place the tweezers on the sides of the links and pull straight away from the top point of connection.

  2. Propel Gyro-X Drive Gears Replacement: 2 단계, 이미지 1/2 Propel Gyro-X Drive Gears Replacement: 2 단계, 이미지 2/2
    • Remove the two 6.0 mm Phillips #00 screws from the rotors.

  3. Propel Gyro-X Drive Gears Replacement: 3 단계, 이미지 1/2 Propel Gyro-X Drive Gears Replacement: 3 단계, 이미지 2/2
    • Pull the rotors away from the mounting brackets.

  4. Propel Gyro-X Drive Gears Replacement, Bottom Propellor Blades: 4 단계, 이미지 1/1
    • Remove the two 5.0 mm Phillips #00 screws from the rotors.

    • The blades will fall off when the screws have been removed.

  5. Propel Gyro-X Drive Gears Replacement, Outer Shell: 5 단계, 이미지 1/1
    • Locate the nubs on either side of the helicopter.

  6. Propel Gyro-X Drive Gears Replacement: 6 단계, 이미지 1/1
    • Pull the body shell off of the nubs on both sides.

  7. Propel Gyro-X Drive Gears Replacement: 7 단계, 이미지 1/2 Propel Gyro-X Drive Gears Replacement: 7 단계, 이미지 2/2
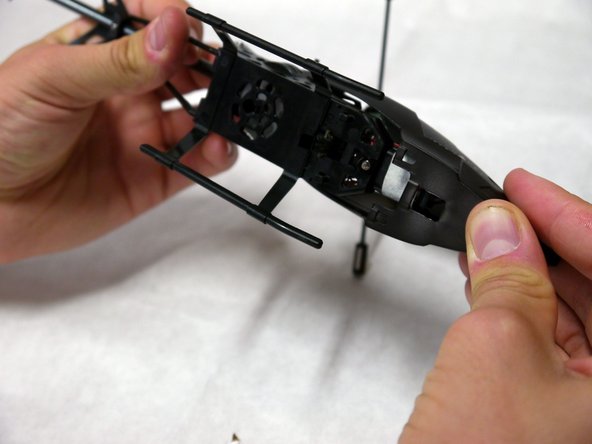
    • Push the front of the nose back towards the tail of the helicopter.

    • Push down on the shell and pull it away from the body, so that both slots pass over the hooks on the bottom of the helicopter.

  8. Propel Gyro-X Drive Gears Replacement, Drive Gears: 8 단계, 이미지 1/1
    • Remove the two 8 mm Phillips #00 screws between the motor casing and the body.

  9. Propel Gyro-X Drive Gears Replacement: 9 단계, 이미지 1/1
    • Remove the 4 mm Phillips #00 screw from the tail.

  10. Propel Gyro-X Drive Gears Replacement: 10 단계, 이미지 1/3 Propel Gyro-X Drive Gears Replacement: 10 단계, 이미지 2/3 Propel Gyro-X Drive Gears Replacement: 10 단계, 이미지 3/3
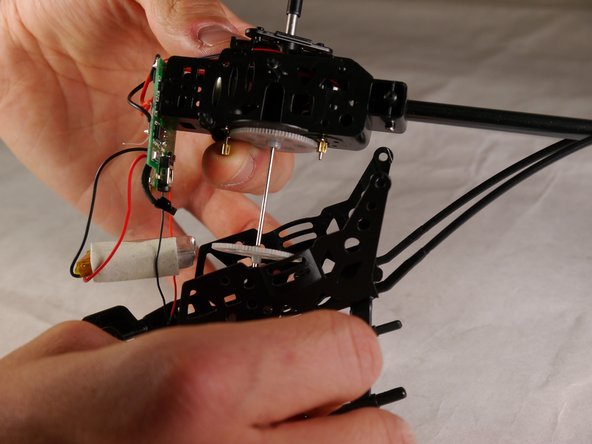
    • Use your fingers to free the motor casing from the body, by bending the plastic body casing outwards at each of the four nubs.

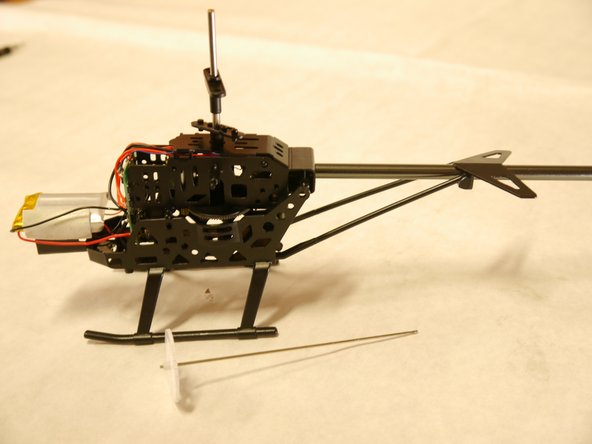
    • Pull the motor casing upwards from the body.

    • The drive gear will slide out when you lift the motor casing.

결론

To reassemble your device, follow these instructions in reverse order.

다른 2명이 해당 안내서를 완성하였습니다.

Jack Jenner

회원 가입일: 04/08/15

293 평판

안내서 2개 작성하였습니다

Cal Poly, Team 17-2, Forte Spring 2015 Cal Poly, Team 17-2, Forte Spring 2015 회원

CPSU-FORTE-S15S17G2

4 회원들

안내서 7개 작성하였습니다

댓글 0개

댓글 쓰기

조회 통계:

24 시간 전: 3

7일 전: 5

30일 전: 14

전체 시간: 3,005