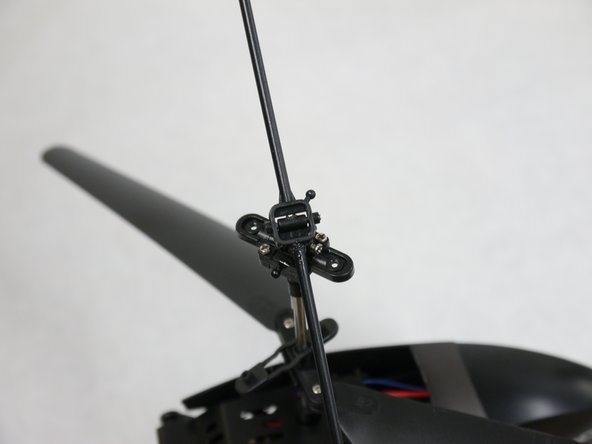
주요 콘텐츠로 건너뛰기

Propel Gyro-X Stabilizer Replacement

필요한 것

  1. Propel Gyro-X Stabilizer Replacement, Top Propellor Blades: 1 단계, 이미지 1/1
    • Stabilizing links are easy to break. Be gentle when prying them off.

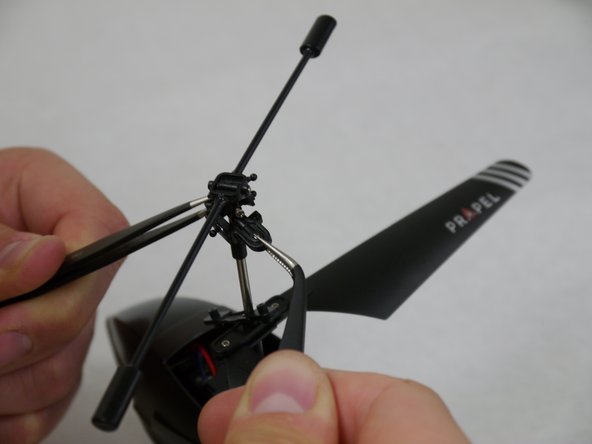
    • Place the tweezers on the sides of the links and pull straight away from the top point of connection.

  2. Propel Gyro-X Stabilizer Replacement: 2 단계, 이미지 1/2 Propel Gyro-X Stabilizer Replacement: 2 단계, 이미지 2/2
    • Remove the two 6.0 mm Phillips #00 screws from the rotors.

  3. Propel Gyro-X Stabilizer Replacement: 3 단계, 이미지 1/2 Propel Gyro-X Stabilizer Replacement: 3 단계, 이미지 2/2
    • Pull the rotors away from the mounting brackets.

  4. Propel Gyro-X Stabilizer Replacement, Stabilizer: 4 단계, 이미지 1/1
    • Remove the two 5mm PHillips #00 screws screws

  5. Propel Gyro-X Stabilizer Replacement: 5 단계, 이미지 1/2 Propel Gyro-X Stabilizer Replacement: 5 단계, 이미지 2/2
    • Using the tweezers twist the rotor attachment bracket apart.

  6. Propel Gyro-X Stabilizer Replacement: 6 단계, 이미지 1/1
    • Remove the two 6mm #00 screws

  7. Propel Gyro-X Stabilizer Replacement: 7 단계, 이미지 1/1
    • Pull up on the stabilizer assembly to remove it completely from the drive shaft.

결론

To reassemble your device, follow these instructions in reverse order.

다른 한 분이 해당 안내서를 완성하였습니다.

Sarah Atmadja

회원 가입일: 04/09/15

404 평판

안내서 3개 작성하였습니다

Cal Poly, Team 17-2, Forte Spring 2015 Cal Poly, Team 17-2, Forte Spring 2015 회원

CPSU-FORTE-S15S17G2

4 회원들

안내서 7개 작성하였습니다

댓글 한 개

Where can I get these stabilizers

lost ghost - 답글

댓글 쓰기

조회 통계:

24 시간 전: 1

7일 전: 4

30일 전: 6

전체 시간: 2,493