소개
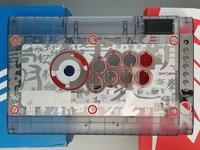
If you want to customize the parts on your Qanba Crystal then this is the guide for you. This guide will walk you through how to change the buttons, joystick and artwork on this controller.
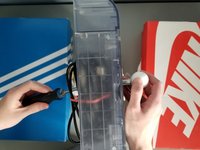
Both the controller and it’s metal plate on the bottom are heavy and in this guide you will be flipping the controller a couple of times so having a clear workstation would be advised. The use of two boxes (shoeboxes will do fine) to hold up the controller is also advised as it can avoid potential damage to the joystick.
필요한 것
-
-
Use the Phillips #1 screwdriver to remove the eight 20 mm screws.
-
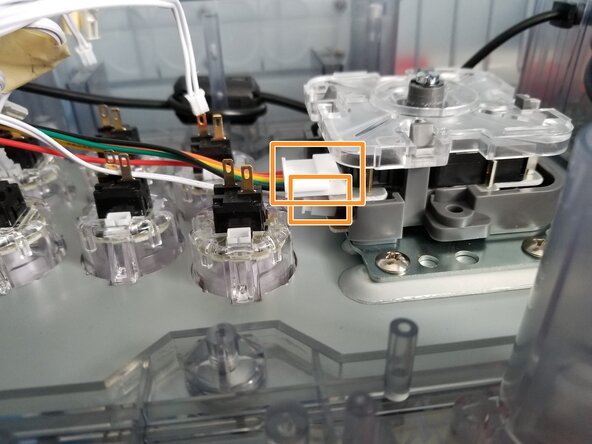
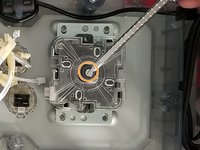
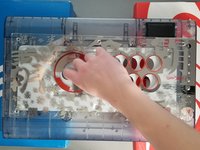
Remove the metal plate to gain access to the internals of the device.
-
-


To reassemble your device, follow these instructions in reverse order.
다른 한 분이 해당 안내서를 완성하였습니다.
팀

York University, Team S2-G28, Melo-Thaiss Summer 2021 York University, Team S2-G28, Melo-Thaiss Summer 2021 회원
YORK-MELO-THAISS-SU21S2G28
1 회원
안내서 2개를 작성함