이 버전에는 잘못된 편집 사항이 있을 수 있습니다. 최신 확인된 스냅샷으로 전환하십시오.
필요한 것
-
이 단계는 번역되지 않았습니다. 번역을 도와주십시오
-
Remove the two Phillips screws from the silver cover at the top of the Lyra.
-
Slowly wiggle the silver cover while pulling it away from the device.
-
-
이 단계는 번역되지 않았습니다. 번역을 도와주십시오
-
Remove the two Phillips screws from the bottom of the device, next to the charger port and Compact Flash release button.
-
Pull the silver case from the bottom of the device.
-
-
-
이 단계는 번역되지 않았습니다. 번역을 도와주십시오
-
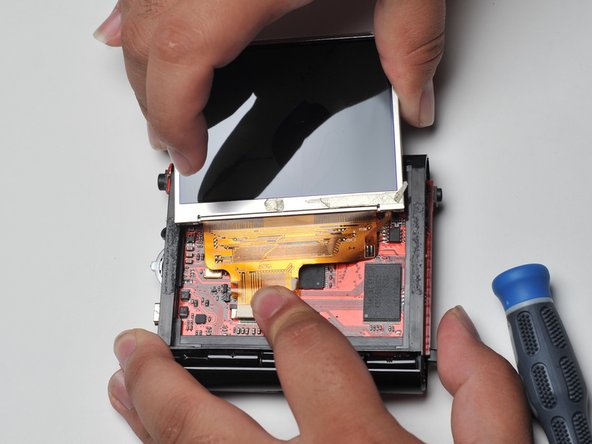
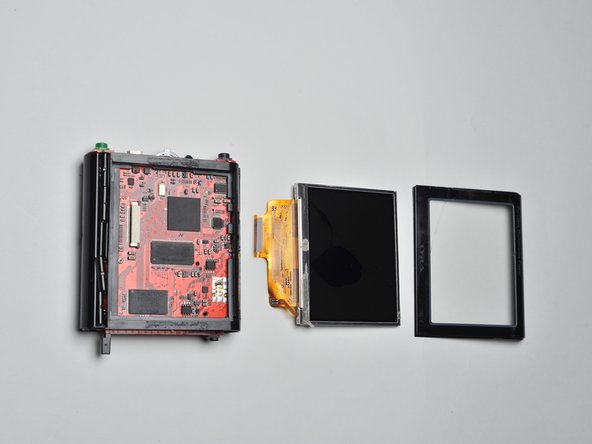
Carefully pry up the screen with a plastic opening tool.
-
Disconnect the screen's ribbon cable from the circuit board.
-
Remove the screen.
-
-
이 단계는 번역되지 않았습니다. 번역을 도와주십시오
-
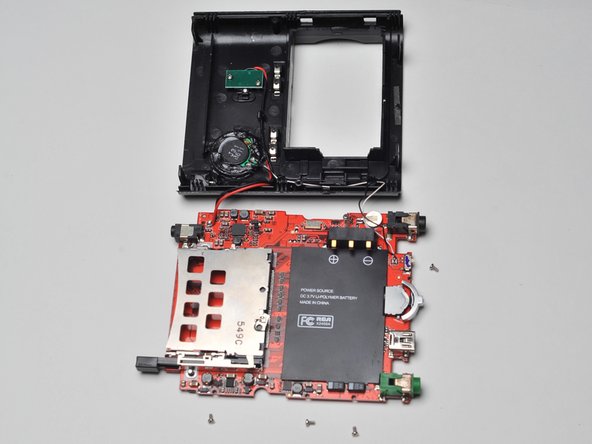
Open the case of the Lyra.
-
Remove the four screws that secure the motherboard to the frame of the Lyra X2400.
-
-
이 단계는 번역되지 않았습니다. 번역을 도와주십시오
-
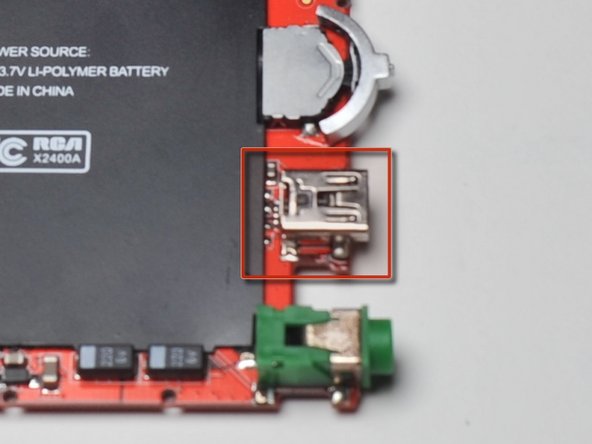
Locate the USB in/out component on your Lyra X2400. If you are having difficulty locating this component the picture to the left will show you where it is located.
-
Start using solder/desolder tools to remove the USB in/out.
-
Once removed replace it with the new working USB in/out.
-
Use the soldering tools to reattach the component back to the main logic board.
-


팀

Cal Poly, Team 17-3, Regan Spring 2013 Cal Poly, Team 17-3, Regan Spring 2013 회원
CPSU-REGAN-S13S17G3
4 회원들
안내서 8개 작성하였습니다