소개
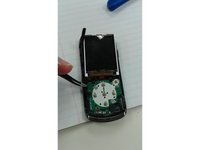
Use this guide to replace the screen on the RCA Opal.
Always use CAUTION when self-repairing and follow the instructions closely to avoid potential damage to the device.
필요한 것
-
이 단계에 사용된 도구:Tweezers$4.99
-
For this procedure, you will need a prying tool and tweezers.
-
-
-
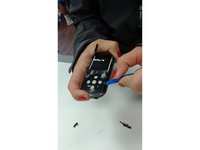
Place the blade of the tweezers in between the blue and black surfaces.
-
Twist and pull the blue plastic cover from the black back surface. You may need to work around the edges of the blue plastic in order to pry it free. It should come off in one piece.
-
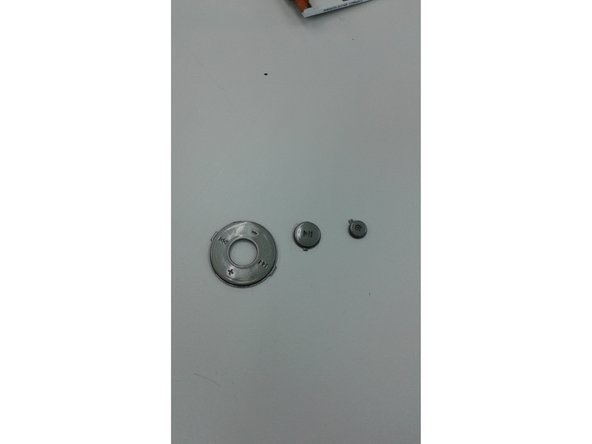
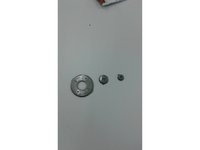
The three circular buttons should come off with the front cover. If they do not, then they can be removed with the prying tool.
-
-
-
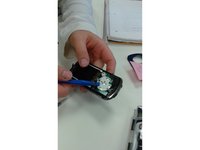
Using the prying tool, insert the tip of the tool in between the black plastic and the back cover of the device.
-
Pull upward to pry the black plastic away from the device. It will come off in pieces, but this is okay.
-
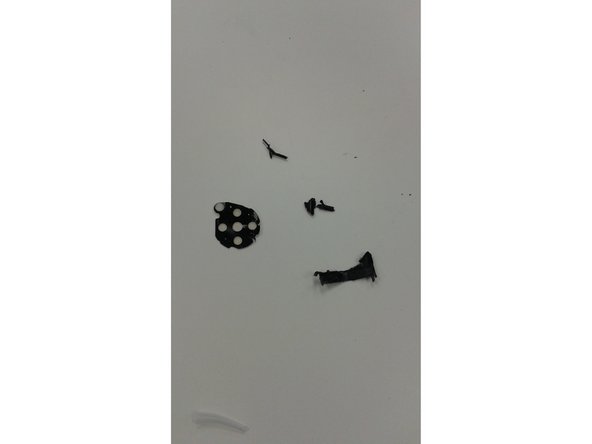
There will be thin black plastic surrounding four clear pieces where the buttons used to be located. Remove this as well.
-
-
-
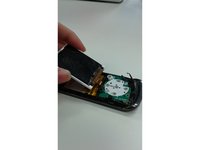
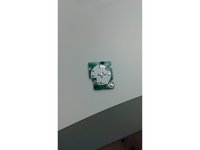
Once the black plastic is removed, you should be able to see the button control panel. This is the green board with the white circle in the middle.
-
Use the tweezers to pry this panel from the main board.
-
NOTE: There are three small screws connecting the button control panel to the main board. These are covered by black plastic and cannot be unscrewed with a screwdriver. If enough force is supplied when prying the button control panel free, these screws should come off with the panel .
-
-
-
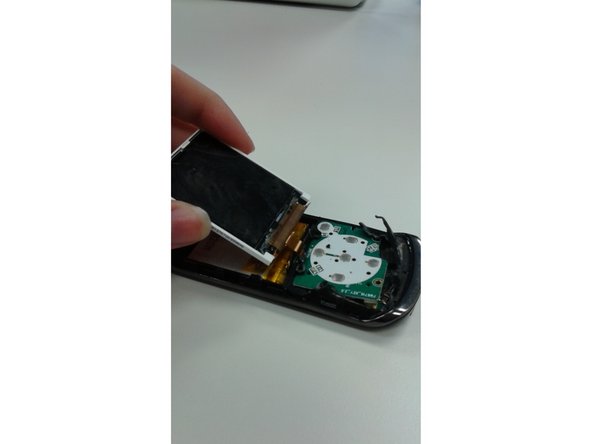
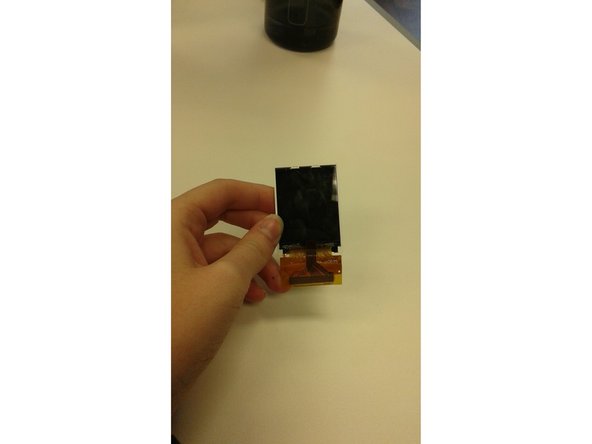
Now you should be able to see the main board. A small gold connector strip will connect the screen to the main board.
-
Locate a small white rectangular connector found at the top middle of the main board.
-
Using a prying tool or your fingernail, move the black plastic piece located at the bottom of the white connector to an upward position (toward the screen).
-
This should free the gold connector strip and allow you to remove the screen.
-


To reassemble your device, follow these instructions in reverse order.
팀

Ohio State, Team 1-1, Garvin Fall 2015 Ohio State, Team 1-1, Garvin Fall 2015 회원
OSU-GARVIN-F15S1G1
4 회원들
안내서 2개를 작성함