주요 콘텐츠로 건너뛰기

RCA Opal main board replacement

필요한 것

  1. RCA Opal main board replacement, Main Board: 1 단계, 이미지 1/3 RCA Opal main board replacement, Main Board: 1 단계, 이미지 2/3 RCA Opal main board replacement, Main Board: 1 단계, 이미지 3/3
    • For this procedure, you will need tweezers, a prying tool, and a Phillips J000 screwdriver.

  2. RCA Opal main board replacement: 2 단계, 이미지 1/2 RCA Opal main board replacement: 2 단계, 이미지 2/2
    • The RCA Opal should have a blue front cover and a black back cover.

  3. RCA Opal main board replacement: 3 단계, 이미지 1/2 RCA Opal main board replacement: 3 단계, 이미지 2/2
    • Place the blade of the tweezers in between the blue and black surfaces.

    • Twist and pull the blue plastic cover from the black back surface. You may need to work around the edges of the blue plastic in order to pry it free. It should come off in one piece.

  4. RCA Opal main board replacement: 4 단계, 이미지 1/1
    • The circular buttons should come off with the blue cover. If they do not, they can be removed with the prying tool.

  5. RCA Opal main board replacement: 5 단계, 이미지 1/3 RCA Opal main board replacement: 5 단계, 이미지 2/3 RCA Opal main board replacement: 5 단계, 이미지 3/3
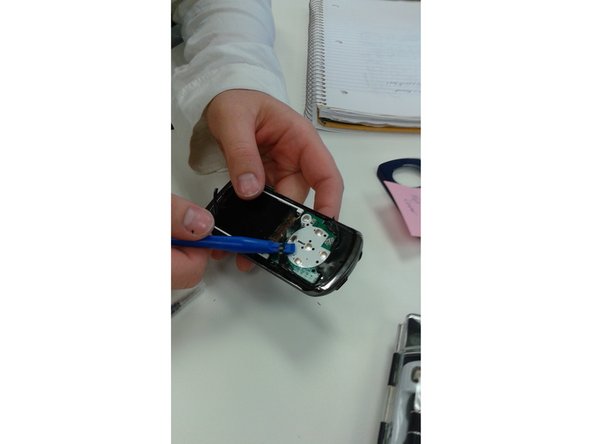
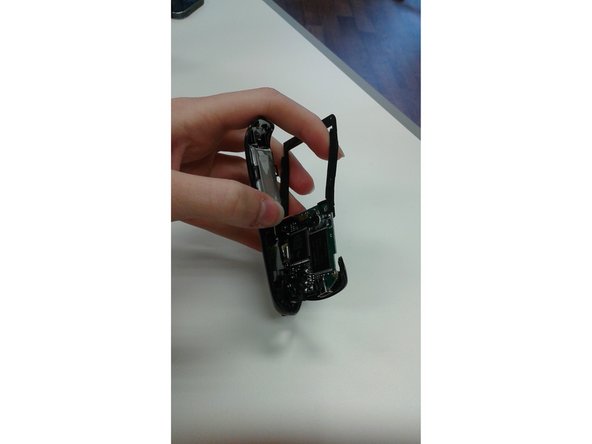
    • Using the prying tool, insert the tip of the tool in between the black plastic and the back cover of the device.

    • Pull upward to pry the black plastic away from the device. It will come off in pieces, but this is okay.

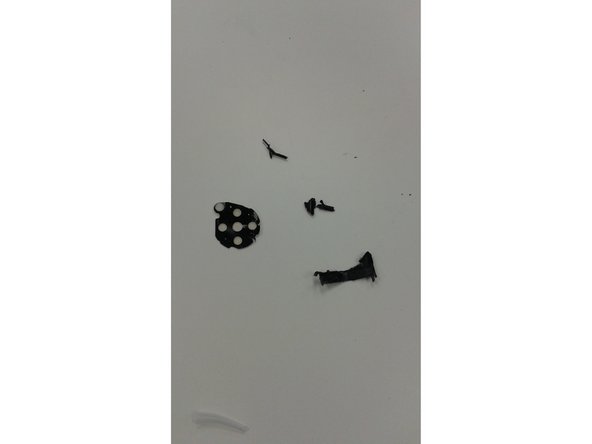
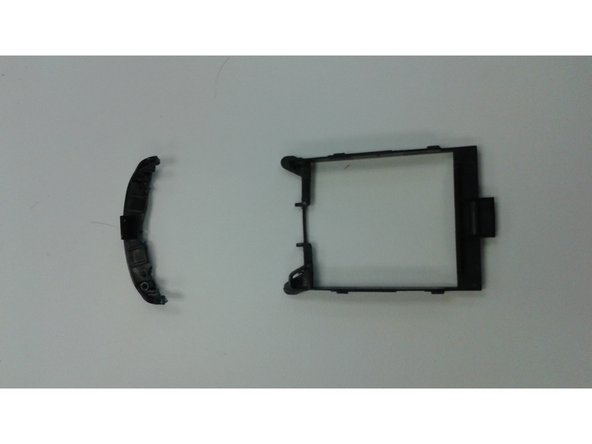
    • There will be thin black plastic surrounding four clear pieces where the buttons used to be located. Remove this as well.

  6. RCA Opal main board replacement: 6 단계, 이미지 1/2 RCA Opal main board replacement: 6 단계, 이미지 2/2
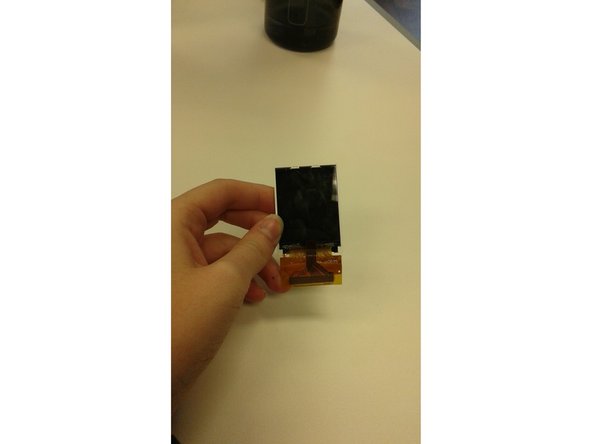
    • Now you should be able to see the main board. A small gold connector strip will connect the screen to the main board.

    • Locate a small white rectangular connector found at the top middle of the main board.

    • Using a prying tool or your fingernail, move the black plastic piece located at the bottom of the white connector to an upward position (toward the screen).

    • This should free the gold connector strip and allow you to remove the screen.

  7. RCA Opal main board replacement: 7 단계, 이미지 1/1
    • Use the tweezers to pry off the black and silver plastic that lines the edges of the device.

  8. RCA Opal main board replacement: 8 단계, 이미지 1/3 RCA Opal main board replacement: 8 단계, 이미지 2/3 RCA Opal main board replacement: 8 단계, 이미지 3/3
    • Lift up to remove the black plastic outline that fits within the back cover. This will be connected to the main board and battery.

  9. RCA Opal main board replacement: 9 단계, 이미지 1/3 RCA Opal main board replacement: 9 단계, 이미지 2/3 RCA Opal main board replacement: 9 단계, 이미지 3/3
    • Locate four small screws on the four edges of the main board.

    • Using the Phillips +J000 screwdriver, remove these four screws.

    • This should disconnect the main board and battery from the remaining black plastic.

결론

To reassemble your device, follow these instructions in reverse order.

Jane Beaufore

회원 가입일: 09/24/15

219 평판

안내서 2개 작성하였습니다

Ohio State, Team 1-1, Garvin Fall 2015 Ohio State, Team 1-1, Garvin Fall 2015 회원

OSU-GARVIN-F15S1G1

4 회원들

안내서 2개 작성하였습니다

댓글 0개

댓글 쓰기

조회 통계:

24 시간 전: 0

7일 전: 1

30일 전: 14

전체 시간: 697