주요 콘텐츠로 건너뛰기

RCA RCT6773W22 Speaker Replacement

필요한 것

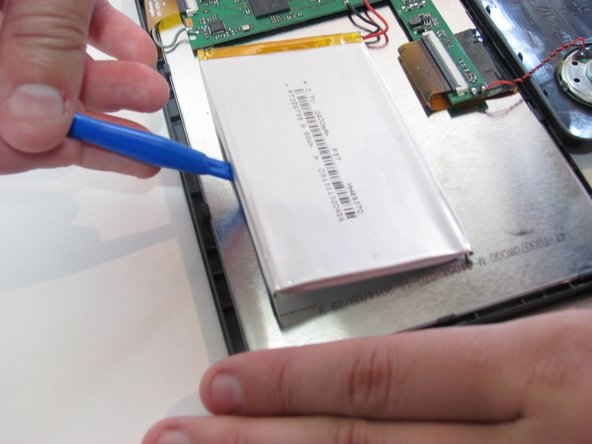
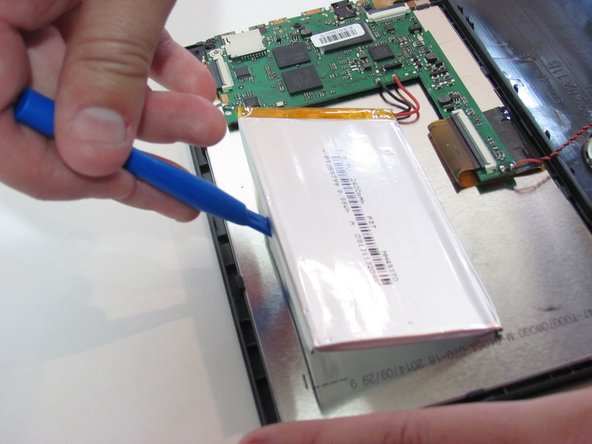
  1. RCA RCT6773W22 Speaker Replacement, Battery: 1 단계, 이미지 1/2 RCA RCT6773W22 Speaker Replacement, Battery: 1 단계, 이미지 2/2
    • Remove the two 5mm screws from the bottom of the device using a Phillips #000 screwdriver.

  2. RCA RCT6773W22 Speaker Replacement: 2 단계, 이미지 1/3 RCA RCT6773W22 Speaker Replacement: 2 단계, 이미지 2/3 RCA RCT6773W22 Speaker Replacement: 2 단계, 이미지 3/3
    • Place the plastic opening tool between the case and the screen.

    • Slide the tool clockwise around the case until all the clips are removed.

    • Do not completely separate the case from the screen because there is a wire connecting the motherboard to the speaker.

  3. RCA RCT6773W22 Speaker Replacement: 3 단계, 이미지 1/3 RCA RCT6773W22 Speaker Replacement: 3 단계, 이미지 2/3 RCA RCT6773W22 Speaker Replacement: 3 단계, 이미지 3/3
    • Desolder the two wires that connect the battery to the motherboard.

    • Learn more about soldering with this soldering technique guide.

    • Using the blue plastic opening tool, lift the battery away from the device.

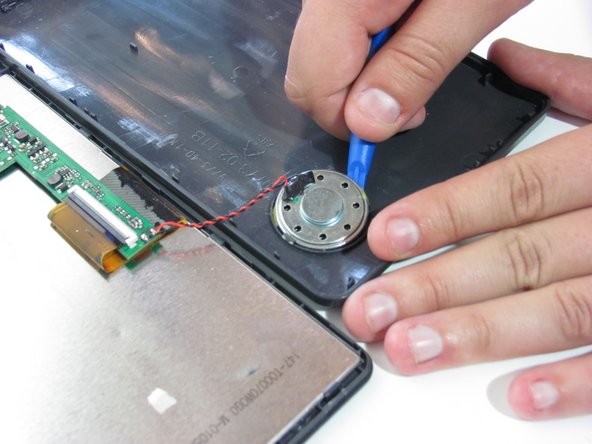
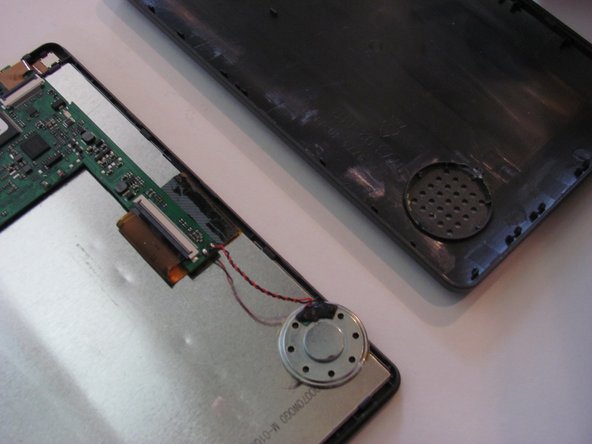
  4. RCA RCT6773W22 Speaker Replacement, Speaker: 4 단계, 이미지 1/3 RCA RCT6773W22 Speaker Replacement, Speaker: 4 단계, 이미지 2/3 RCA RCT6773W22 Speaker Replacement, Speaker: 4 단계, 이미지 3/3
    • Desolder the wire connected from the speaker to the motherboard.

    • Pry the speaker from the casing with a plastic opening tool.

결론

To reassemble your device, follow these instructions in reverse order.

다른 한 분이 해당 안내서를 완성하였습니다.

Kelsea Weber

회원 가입일: 11/12/15

19,857 평판

안내서 32개 작성하였습니다

iFixit iFixit 회원

Staff

135 회원들

안내서 16,731개 작성하였습니다

댓글 한 개

Where can I buy a replacement speaker?

laubd - 답글

댓글 쓰기

조회 통계:

24 시간 전: 0

7일 전: 0

30일 전: 0

전체 시간: 1,087