소개
This guide will show you how to replace the wire harness in the Razer BlackWidow Chroma keyboard.
필요한 것
-
-
Turn the keyboard over so that it is lying flat on its face.
-
Use the iFixit opening tool to pry the rubber feet off the keyboard.
-
-
-
Use a Phillips #1 screwdriver to remove the six screws on the back of the keyboard.
-
Use an opening tool as a wedge between the front and back panel to pry open the front panel.
-
Instead, slide the opening tool across the keyboard in between the front and back panel. Go around the edges of the keyboard until the panels disconnect.
-
Flip the keyboard over so the keys are facing up.
-
Grabbing the left and right lips of the front panel, lift both ends up, removing the front panel.
-
-
-
-
Using a Philips #1 screwdriver, remove all ten screws found on the edges of the keyboard.
-


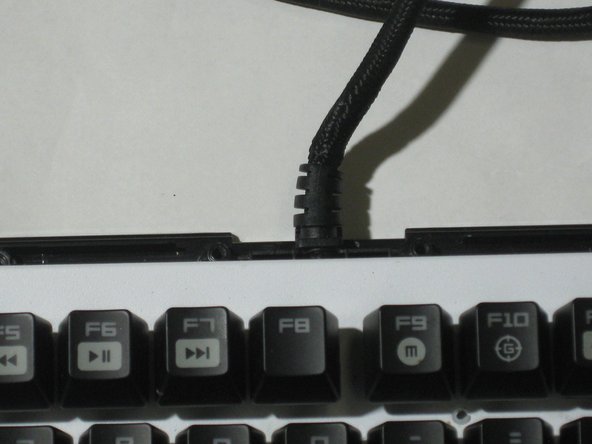
To reassemble your device, follow these instructions in reverse order.
To reassemble your device, follow these instructions in reverse order.
다른 한 분이 해당 안내서를 완성하였습니다.



팀

The Citadel Military College of South Carolina, Team S2-G21, Eggleston Spring 2021 The Citadel Military College of South Carolina, Team S2-G21, Eggleston Spring 2021 회원
CMCSC-EGGLESTON-S21S2G21
3 회원들
안내서 5개 작성하였습니다
