소개
If your port is either wobbly or non-functional, use this guide to replace it. This guide should take a half hour.
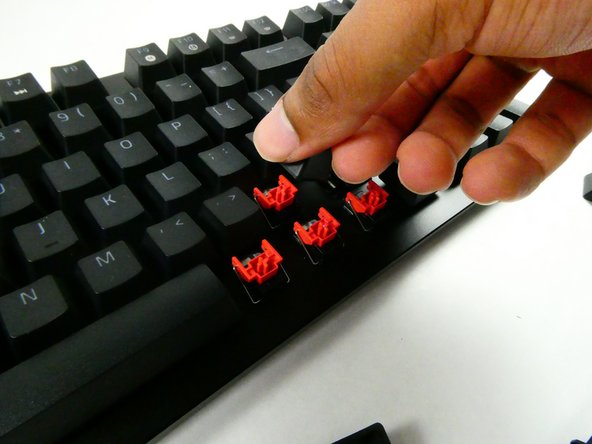
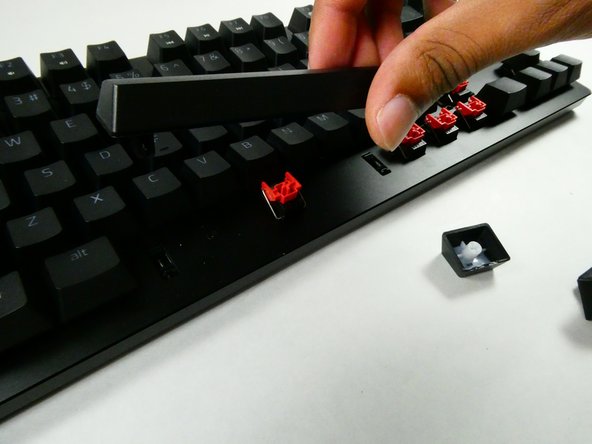
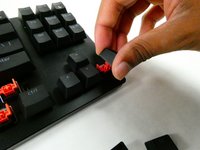
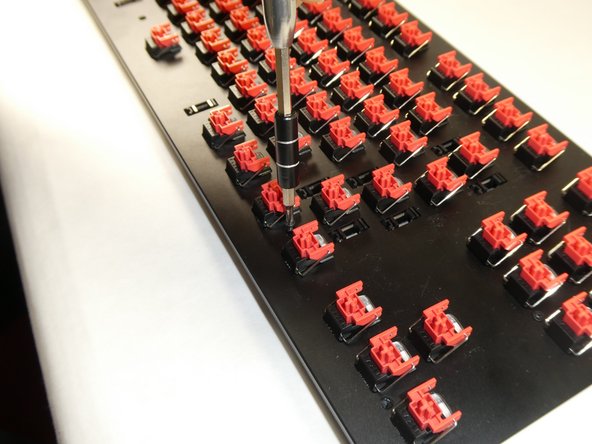
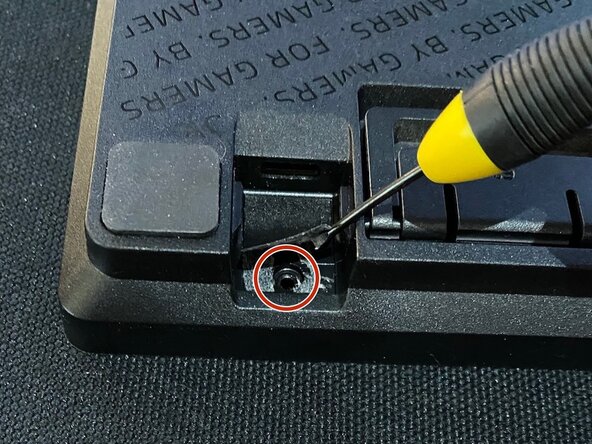
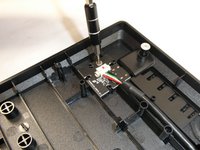
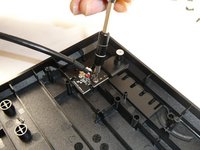
The Razer Huntsman Tournament Edition is a tenkeyless mechanical keyboard. Its USB port is easily swappable, being held in by a screw and a cable.
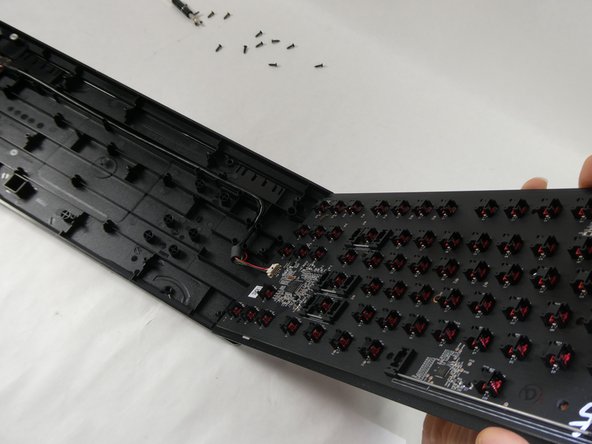
You must know how to remove the back of the keyboard before beginning this guide.
필요한 것


To reassemble your device, follow these instructions in reverse order.
다른 한 분이 해당 안내서를 완성하였습니다.

팀

UMass Dartmouth, Team 4-3, Sinclaire Fall 2022 UMass Dartmouth, Team 4-3, Sinclaire Fall 2022 회원
UMASSD-SINCLAIRE-F22S4G3
5 회원들
안내서 7개를 작성함